Canon PIXMA Pro9000 Mark II Getting Started - Page 20
Start Print Head Alignment, Align Print Head, Print Head, Alignment, Alarm, Basic Guide - manual
 |
View all Canon PIXMA Pro9000 Mark II manuals
Add to My Manuals
Save this manual to your list of manuals |
Page 20 highlights
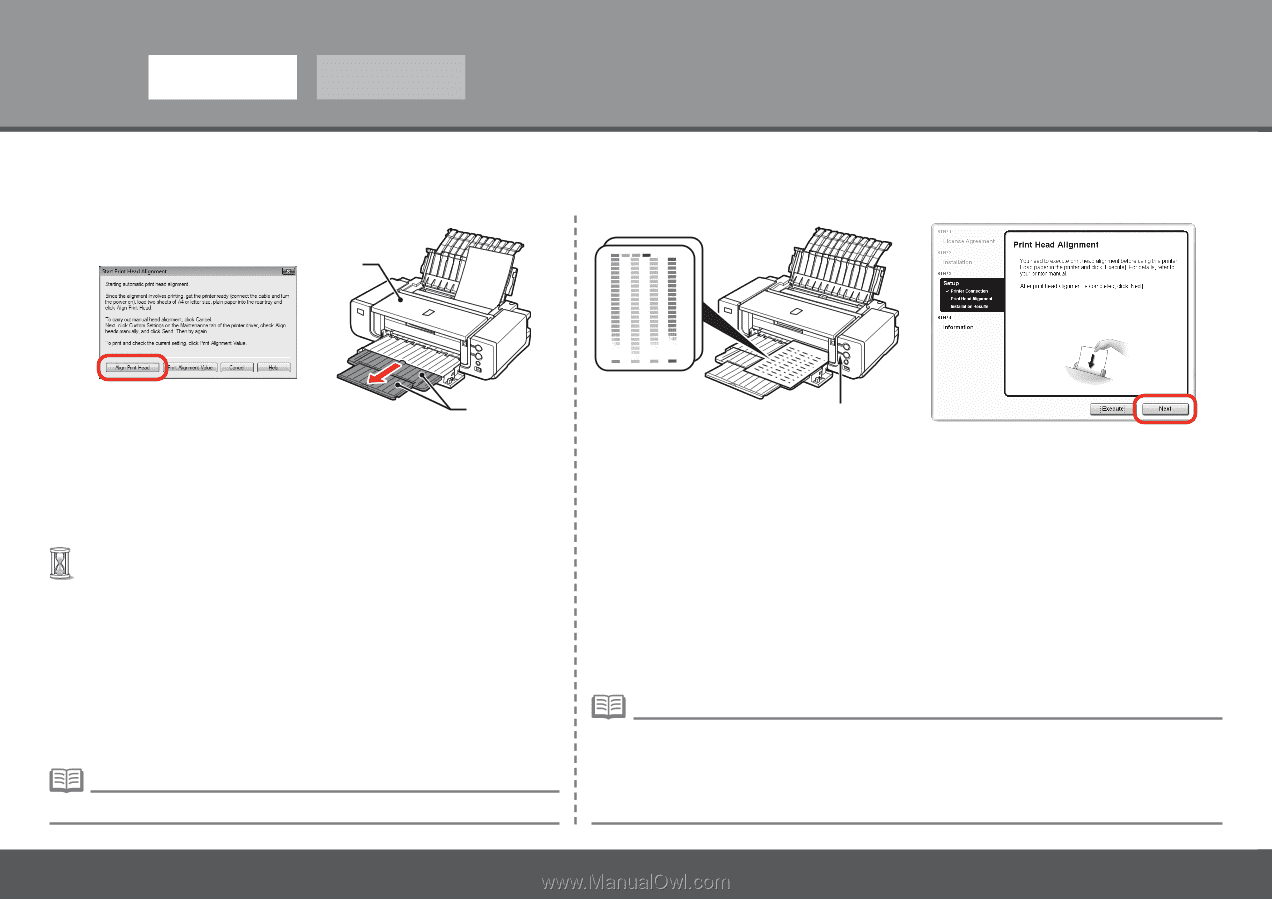
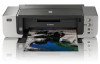
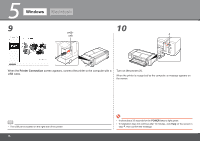
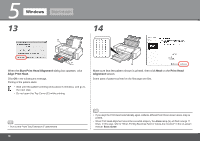
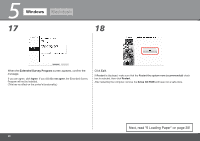
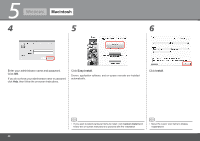
5 Windows Macintosh 13 14 E F When the Start Print Head Alignment dialog box appears, click Align Print Head. Click OK in the subsequent message. Printing of the pattern starts. • Wait until the pattern printing ends (about 5 minutes), and go to the next step. • Do not open the Top Cover (E) while printing. G Make sure that the pattern shown is printed, then click Next on the Print Head Alignment screen. Some parts of patterns printed on the first page are faint. • Pull out the Front Tray Extension (F) beforehand. 18 • If you align the Print Head automatically again, patterns different from those shown above may be printed. • When Print Head Alignment cannot be executed properly, the Alarm lamp (G) will flash orange 11 times. In this case, refer to "When Printing Becomes Faint or Colors Are Incorrect" in the on-screen manual: Basic Guide.
-
 1
1 -
2
-
3
-
4
-
5
-
6
-
7
-
8
-
9
-
10
-
11
-
12
-
13
-
14
-
 15
15 -
 16
16 -
 17
17 -
 18
18 -
 19
19 -
 20
20 -
 21
21 -
 22
22 -
 23
23 -
 24
24 -
 25
25 -
26
-
27
-
28
-
29
-
30
-
31
-
32
-
33
-
34
-
35
-
36
 |
 |