Canon imageFORMULA DR-M140 WA10 User Manual - Page 38
Specifying the Device's IP Address to, Display the Web Menu, s of the Web Menu, Click [Login].
 |
View all Canon imageFORMULA DR-M140 manuals
Add to My Manuals
Save this manual to your list of manuals |
Page 38 highlights
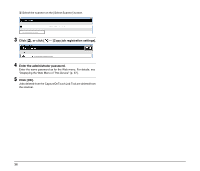
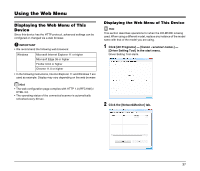
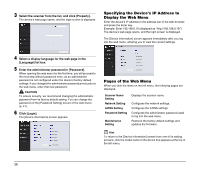
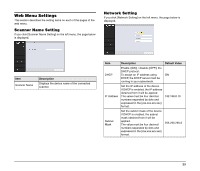
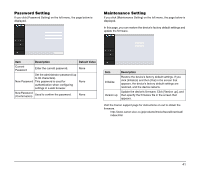
3 Select the scanner from the list, and click [Property]. The device's web page opens, and the login screen is displayed. Specifying the Device's IP Address to Display the Web Menu Enter the device's IP address in the address bar of the web browser, and press the Enter key. Example: Enter 192.168.0.10 (displayed as "http://192.168.0.10/") The device's web page opens, and the login screen is displayed. The [Device information] screen appears immediately after you log into the web menu, allowing you to view the current settings. 4 Select a display language for the web page in the [Language] list box. 5 Enter the administrator password in [Password]. When opening the web menu for the first time, you will proceed to the next step without password entry, as an administrator password is not configured under the device's factory default settings. If you changed the administrator password previously via the web menu, enter that new password. CAUTION To ensure security, we recommend changing the administrator password from its factory default setting. You can change the password on the [Password Setting] screen of the web menu (p. 41). 6 Click [Login]. The [Device information] screen appears. Pages of the Web Menu When you click the items on the left menu, the following pages are displayed. Scanner Name Setting Network Setting mDNS Setting Password Setting Maintenance Setting Displays the scanner name. Configures the network settings. Configures the mDNS settings. Configures the administrator password used to log into the web menu. Restores the factory default settings and updates the firmware. Hint To return to the [Device information] screen from one of its setting screens, click the model name of the device that appears at the top of the left menu. 38
-
 1
1 -
2
-
3
-
4
-
5
-
6
-
7
-
8
-
9
-
10
-
11
-
12
-
13
-
14
-
15
-
16
-
17
-
18
-
19
-
20
-
21
-
22
-
23
-
24
-
25
-
26
-
27
-
28
-
29
-
30
-
31
-
32
-
 33
33 -
 34
34 -
 35
35 -
 36
36 -
 37
37 -
 38
38 -
 39
39 -
 40
40 -
 41
41 -
 42
42 -
 43
43 -
44
-
45
-
46
-
47
-
48
-
49
-
50
-
51
 |
 |
