Denon S-301 Owners Manual - Page 56
Setting CHANNEL LEVEL - subwoofer
 |
UPC - 081757506748
View all Denon S-301 manuals
Add to My Manuals
Save this manual to your list of manuals |
Page 56 highlights
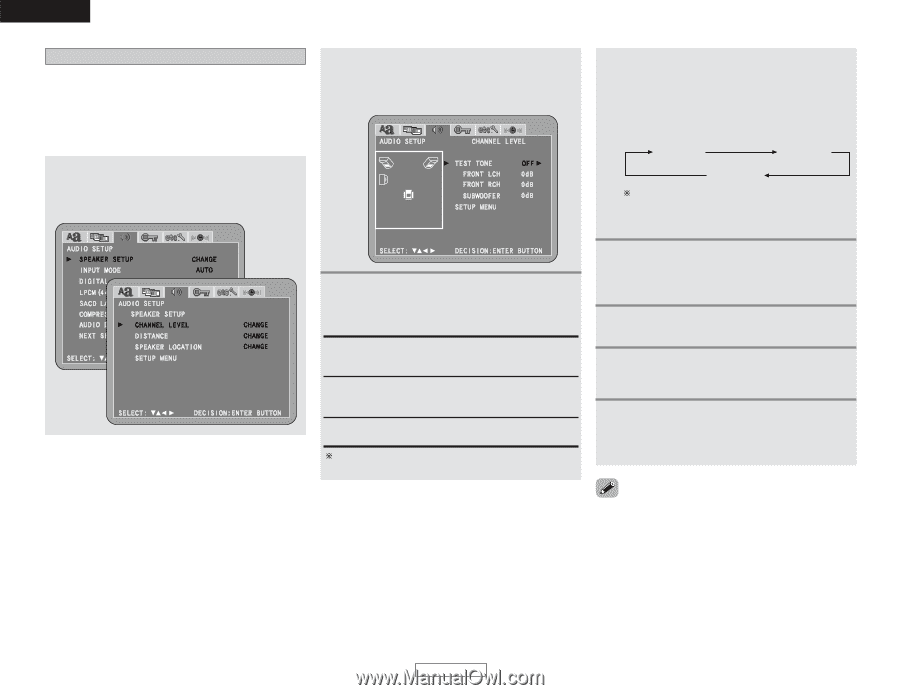
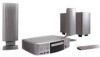
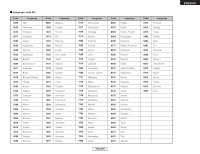
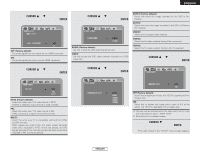
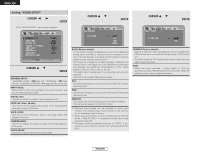
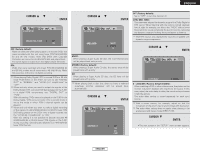
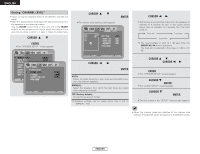
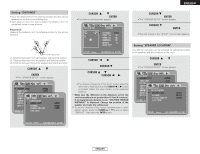
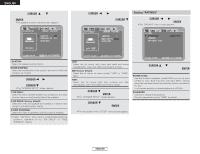
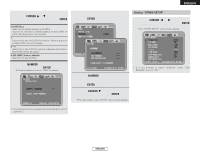
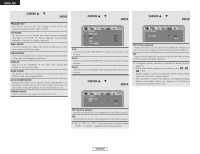
ENGLISH System Setup Setting "CHANNEL LEVEL" • Adjust so that the playback levels of the different channels are equal. • Make this adjustment by listening to the test tones output from the speakers at the listening position. Use the VOLUME control knob on the main unit or the VOLUME buttons on the remote control unit to adjust the volume of the test tone to a level at which it is easy to make this adjustment. 2 Press the CURSOR • or ª button to select "CHANNEL LEVEL", then press the ENTER button. • The channel level setting screen appears. 1 Press the CURSOR • or ª button to select "SPEAKER SETUP" at the "AUDIO SETUP", then press the ENTER button. • The "SPEAKER SETUP" screen appears. 3 Press the CURSOR 0 or 1 button to select "AUTO", "MANUAL" or "OFF" for the "TEST TONE" mode, then press the ENTER button. AUTO: Adjust the levels listening to test tones automatically output from the different speakers. MANUAL: Select the speakers from which the test tones are output when adjusting the levels. OFF (Factory default): The test tones are not output. Detailed settings can be made when this is set to "MANUAL" first. System Setup 4 When "AUTO" mode is selected: Press the CURSOR 0 or 1 button to adjust all -1 the speakers to the same volume. • Test tones are automatically output from the speakers at intervals of 4 seconds for two of the cycles shown below, then at intervals of 2 seconds from the third cycle on. Front left Front right Subwoofer The level changes in units of 1 dB each time the CURSOR 0 or 1 button is pressed. The level can be adjusted in the range -12 dB to +12 dB. 4 When "MANUAL" or "OFF" mode is selected: Press the CURSOR • or ª button to select the -2 speaker, then press the CURSOR 0 or 1 button to adjust all the speakers to the same volume. 5 Press the ENTER button twice. • The "SPEAKER SETUP" screen appears. 6 Press the CURSOR ª button to select "SETUP MENU", then press the ENTER button. • The "AUDIO SETUP" screen appears. 7 Press the CURSOR ª button to select "NEXT SETUP MENU", then press the ENTER to enter the setting. • The next screen in the "SETUP" menu screen appears. • When the channel levels are adjusted at the channel level settings, the adjusted values are applied to all playback modes. 53 ENGLISH
-
 1
1 -
2
-
3
-
4
-
5
-
6
-
7
-
8
-
9
-
10
-
11
-
12
-
13
-
14
-
15
-
16
-
17
-
18
-
19
-
20
-
21
-
22
-
23
-
24
-
25
-
26
-
27
-
28
-
29
-
30
-
31
-
32
-
33
-
34
-
35
-
36
-
37
-
38
-
39
-
40
-
41
-
42
-
43
-
44
-
45
-
46
-
47
-
48
-
49
-
50
-
 51
51 -
 52
52 -
 53
53 -
 54
54 -
 55
55 -
 56
56 -
 57
57 -
 58
58 -
 59
59 -
 60
60 -
 61
61 -
62
-
63
-
64
-
65
-
66
-
67
-
68
-
69
-
70
-
71
-
72
-
73
-
74
-
75
-
76
-
77
-
78
-
79
-
80
-
81
-
82
-
83
-
84
-
85
-
86
-
87
-
88
-
89
-
90
-
91
-
92
-
93
-
94
-
95
-
96
-
97
-
98
-
99
-
100
-
101
-
102
-
103
-
104
-
105
-
106
-
107
-
108
-
109
-
110
-
111
-
112
-
113
-
114
-
115
-
116
-
117
-
118
-
119
-
120
-
121
-
122
-
123
-
124
-
125
-
126
-
127
-
128
-
129
-
130
-
131
-
132
-
133
-
134
-
135
-
136
-
137
-
138
-
139
-
140
-
141
-
142
-
143
-
144
-
145
-
146
-
147
-
148
 |
 |