Dewalt DCGG571M1 Instruction Manual - Page 9
Chargers, Charging Procedure Fig. 1
 |
View all Dewalt DCGG571M1 manuals
Add to My Manuals
Save this manual to your list of manuals |
Page 9 highlights
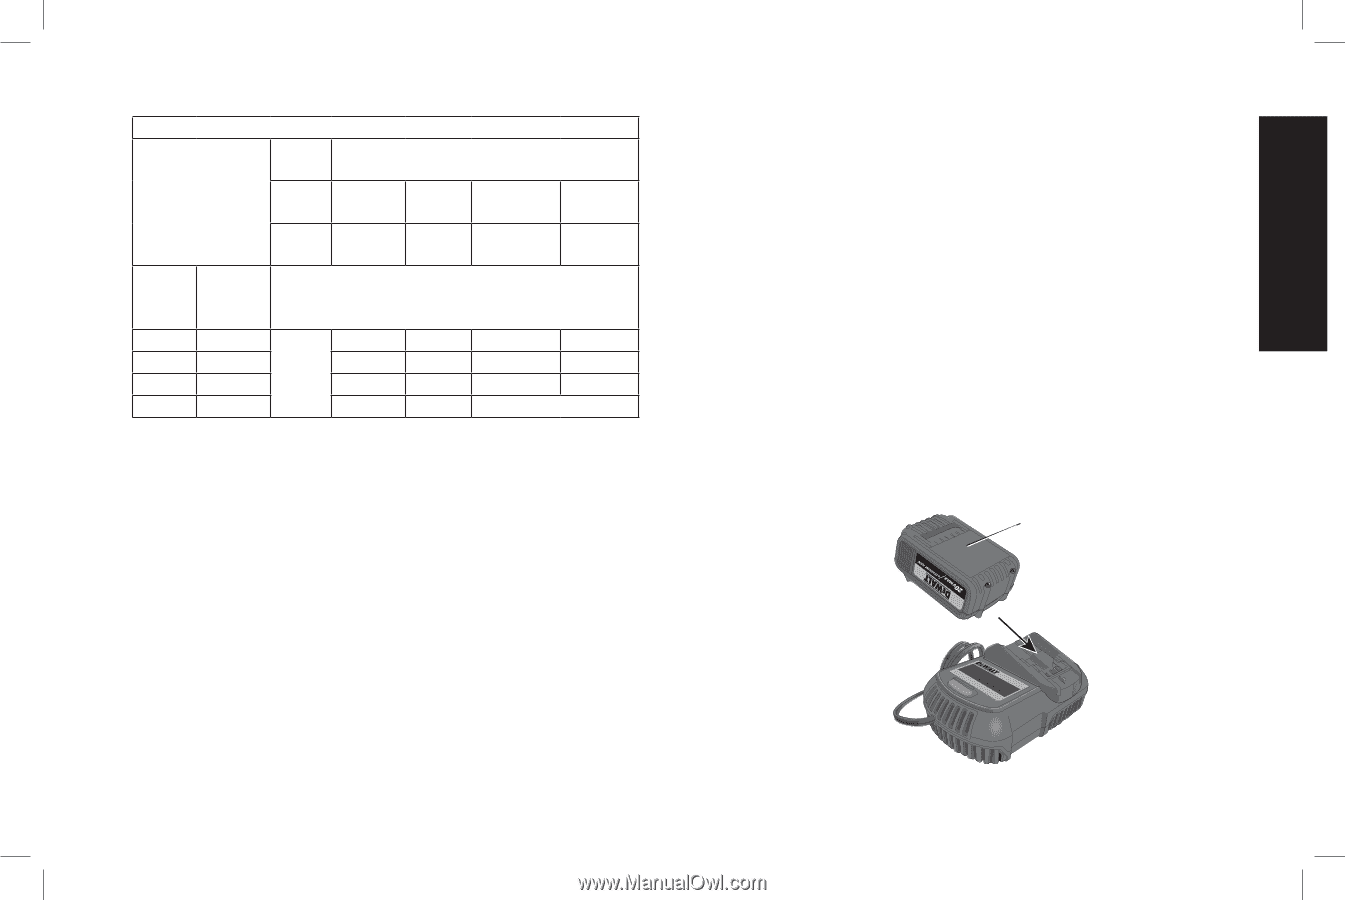
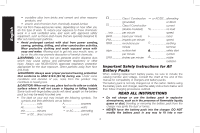
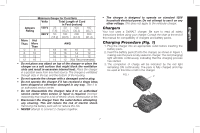
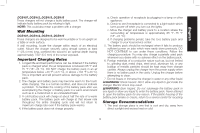
English Ampere Rating Minimum Gauge for Cord Sets Volts Total Length of Cord in Feet (meters) 120 V 25 50 100 150 (7.6) (15.2) (30.5) (45.7) 240 V 50 100 200 300 (15.2) (30.5) (61.0) (91.4) More Not Than More Than AWG 0 6 18 16 16 14 6 10 18 16 14 12 10 12 16 16 14 12 12 16 14 12 Not Recommended • Do not place any object on top of the charger or place the charger on a soft surface that might block the ventilation slots and result in excessive internal heat. Place the charger in a position away from any heat source. The charger is ventilated through slots in the top and the bottom of the housing. • Do not operate the charger with a damaged cord or plug. • Do not operate the charger if it has received a sharp blow, been dropped or otherwise damaged in any way. Take it to an authorized service center. • Do not disassemble the charger; take it to an authorized service center when service or repair is required. Incorrect reassembly may result in a risk of electric shock, electrocution or fire. • Disconnect the charger from the outlet before attempting any cleaning. This will reduce the risk of electric shock. Removing the battery pack will not reduce this risk. • NEVER attempt to connect 2 chargers together. • The charger is designed to operate on standard 120V household electrical power. Do not attempt to use it on any other voltage. This does not apply to the vehicular charger. Chargers Your tool uses a DeWALT charger. Be sure to read all safety instructions before using your charger. Consult the chart at the end of this manual for compatibility of chargers and battery packs. Charging Procedure (Fig. 1) 1. Plug the charger into an appropriate outlet before inserting the battery pack. 2. Insert the battery pack (P) into the charger, as shown in Figure 1, making sure the pack is fully seated in charger. The red (charging) light will blink continuously, indicating that the charging process has started. 3. The completion of charge will be indicated by the red light remaining ON continuously. The pack is fully charged and may be used at this time or left in the charger. FIG. 1 P 7
-
 1
1 -
2
-
3
-
 4
4 -
 5
5 -
 6
6 -
 7
7 -
 8
8 -
 9
9 -
 10
10 -
 11
11 -
 12
12 -
 13
13 -
 14
14 -
15
-
16
-
17
-
18
-
19
-
20
-
21
-
22
-
23
-
24
-
25
-
26
-
27
-
28
-
29
-
30
-
31
-
32
-
33
-
34
-
35
-
36
-
37
-
38
-
39
-
40
-
41
-
42
-
43
-
44
-
45
-
46
-
47
-
48
-
49
-
50
-
51
-
52
-
53
-
54
-
55
-
56
-
57
-
58
-
59
-
60
-
61
-
62
-
63
-
64
-
65
-
66
-
67
-
68
 |
 |