Dewalt DCT412S1 Instruction Manual - Page 13
Belt Hook Fig. 9, Optional Accessory, OPERATION, Installing and Removing the Battery Pack, Fig. 10,
 |
View all Dewalt DCT412S1 manuals
Add to My Manuals
Save this manual to your list of manuals |
Page 13 highlights
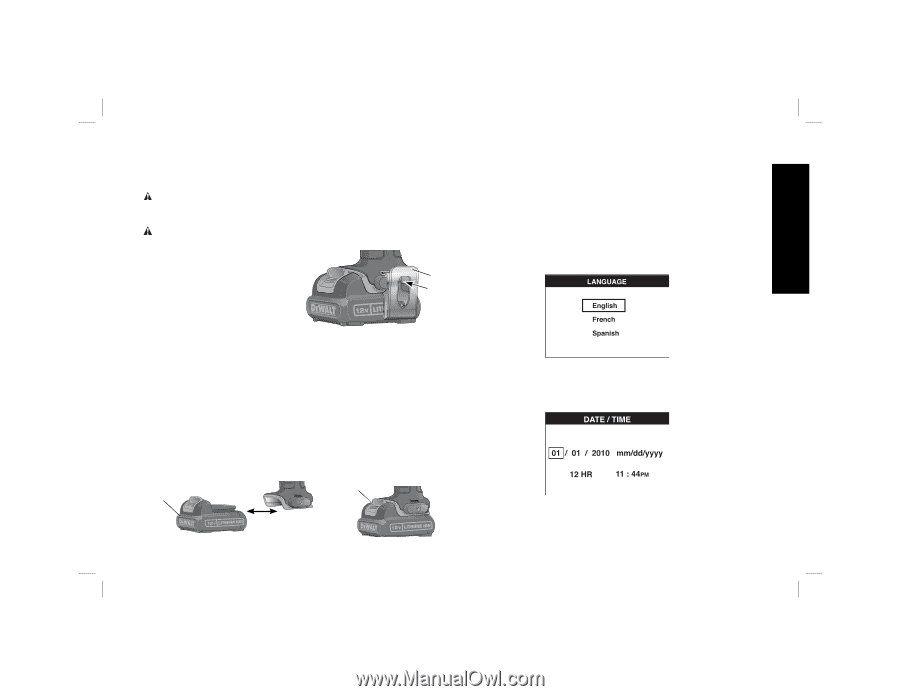
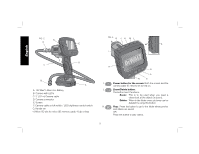
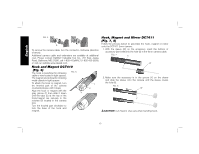
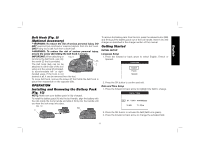
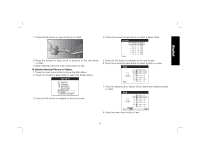
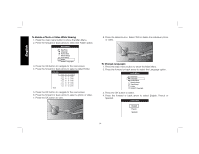
English Belt Hook (Fig. 9) (Optional Accessory) WARNING: To reduce the risk of serious personal injury, DO NOT suspend tool overhead or suspend objects from the belt hook. ONLY hang tool's belt hook from a work belt. WARNING: To reduce the risk of serious personal injury, ensure the screw (Z) holding the belt hook is secure. IMPORTANT: When attaching or FIG. 9 removing the belt hook, use only the screw (Z) that is provided. AA The belt hook (AA) can be be Z attached to either side of the tool using only the screw (Z) provided, to accommodate left- or right- handed users. If the hook is not desired at all, it can be removed from the tool. To move belt hook, remove the screw (Z) that holds the belt hook in place then reassemble on the opposite side. OPERATION Installing and Removing the Battery Pack (Fig. 10) NOTE: Make sure your battery pack is fully charged. To install the battery pack (A) into the tool handle, align the battery with the rails inside the tool's handle and slide it firmly into the handle until you hear the lock snap into place. FIG. 10 BB A To remove the battery pack from the tool, press the release button (BB) and firmly pull the battery pack out of the tool handle. Insert it into the charger as described in the charger section of this manual. Getting Started INITIAL SETUP Language Setup 1. Press the forward or back arrow to select English, French or Spanish. 2. Press the OK button to confirm and exit. Date and Time Setup 1. Press the forward or back arrow to highlight the field to change. 2. Press the OK button to activate the field (field turns green). 3. Press the forward or back arrow to change the activated field. 11
-
 1
1 -
2
-
3
-
4
-
5
-
6
-
7
-
 8
8 -
 9
9 -
 10
10 -
 11
11 -
 12
12 -
 13
13 -
 14
14 -
 15
15 -
 16
16 -
 17
17 -
 18
18 -
19
-
20
-
21
-
22
-
23
-
24
-
25
-
26
-
27
-
28
-
29
-
30
-
31
-
32
-
33
-
34
-
35
-
36
-
37
-
38
-
39
-
40
-
41
-
42
-
43
-
44
-
45
-
46
-
47
-
48
-
49
-
50
-
51
-
52
-
53
-
54
-
55
-
56
-
57
-
58
-
59
-
60
-
61
-
62
-
63
-
64
 |
 |