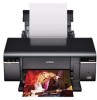
Epson 50 Quick Guide - Page 20
Replacing Ink Cartridges
 |
UPC - 010343168718
View all Epson 50 manuals
Add to My Manuals
Save this manual to your list of manuals |
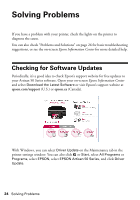
Page 20 highlights
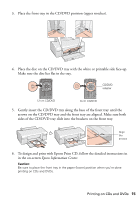
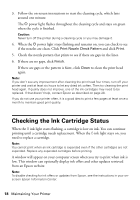
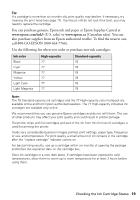
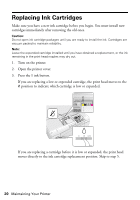
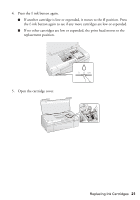
Replacing Ink Cartridges Make sure you have a new ink cartridge before you begin. You must install new cartridges immediately after removing the old ones. Caution: Do not open ink cartridge packages until you are ready to install the ink. Cartridges are vacuum packed to maintain reliability. Note: Leave the expended cartridge installed until you have obtained a replacement, or the ink remaining in the print head nozzles may dry out. 1. Turn on the printer. 2. Open the printer cover. 3. Press the H ink button. If you are replacing a low or expended cartridge, the print head moves to the _ position to indicate which cartridge is low or expended. If you are replacing a cartridge before it is low or expended, the print head moves directly to the ink cartridge replacement position. Skip to step 5. 20 Maintaining Your Printer
-
 1
1 -
2
-
3
-
4
-
5
-
6
-
7
-
8
-
9
-
10
-
11
-
12
-
13
-
14
-
 15
15 -
 16
16 -
 17
17 -
 18
18 -
 19
19 -
 20
20 -
 21
21 -
 22
22 -
 23
23 -
 24
24 -
 25
25 -
26
-
27
-
28
-
29
-
30
-
31
-
32
-
33
-
34
-
35
-
36
 |
 |
