Epson GT-2500 Plus Product Information Guide - Page 5
Scanning Using the Start Button, Scanning Using Epson Scan, Scanning to a PDF File, Windows, Mac OS X - document imaging scanner
 |
View all Epson GT-2500 Plus manuals
Add to My Manuals
Save this manual to your list of manuals |
Page 5 highlights
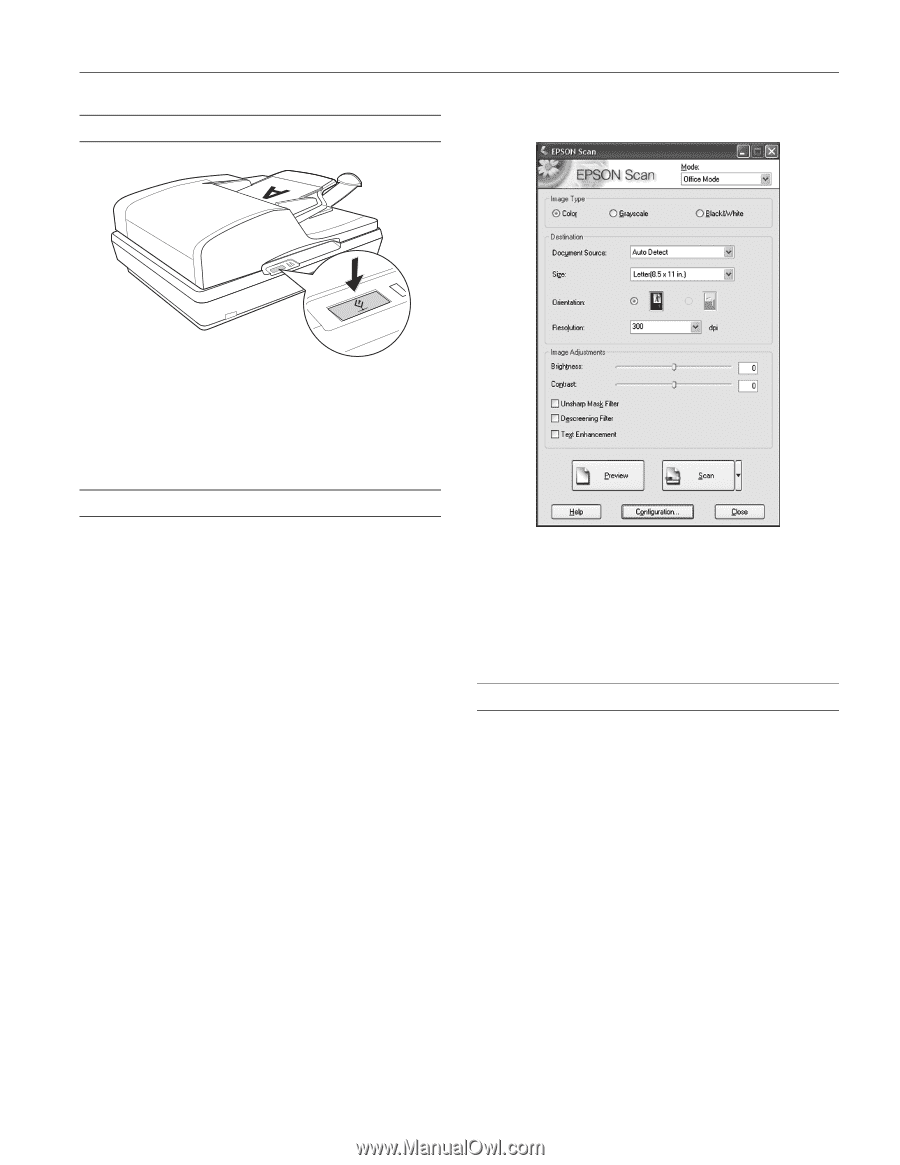
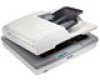
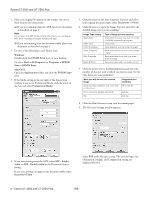
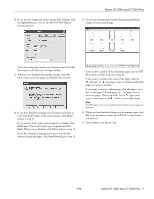
Scanning Using the Start Button Epson GT-2500 and GT-2500 Plus You see the Office Mode window: To start a basic scan, press the ] Start button on the scanner. Your computer automatically starts Epson Scan in Office Mode. From Epson Scan, you can select scan settings, and then scan and save your image to a file on your computer. See the onscreen User's Guide for details on using the ] Start button. Scanning Using Epson Scan If you want to scan a document and save it directly to a file, you can start Epson Scan as a "standalone" program. 1. Place your original document on the scanner. See one of these sections for instructions: ❏ If you are scanning using the ADF, load your document as described on page 3. Note: Do not open the ADF while you are scanning or you will see an ADF error message and paper feeding will stop. ❏ If you are scanning from the document table, place your document or photo as described on page 4. 2. Do one of the following to start Epson Scan: Windows®: Double-click the EPSON Scan icon on your desktop. Or select Start > All Programs or Programs > EPSON Scan > EPSON Scan. Mac OS X: Open the Applications folder and click the EPSON Scan icon. 3. Epson Scan starts in Office Mode the first time you open it. If necessary, click the arrow in the Mode box at the top right of the Epson Scan window and select Office Mode. For instructions on using Office Mode, see the on-screen User's Guide. If the Mode setting in the upper right corner of the window is set to Professional Mode, you see a different Epson Scan settings window. For instructions on using Professional Mode, see the on-screen User's Guide. Scanning to a PDF File You can scan multiple pages of a document using the ADF and save them as one PDF file on your computer. Epson Scan displays an editing page so you can view the pages as you scan them and reorder, rotate, or delete them as necessary. You can also scan one page at a time on the document table and save it as a PDF file. Note: If you are scanning from Adobe Acrobat 7 on a Macintosh® system, you may not be able to use the ADF to scan multiple pages. Use the document table to scan your pages individually, or scan multiple pages using Epson Scan as described on page 6. 7/06 Epson GT-2500 and GT-2500 Plus - 5
-
 1
1 -
 2
2 -
 3
3 -
 4
4 -
 5
5 -
 6
6 -
 7
7 -
 8
8 -
 9
9 -
 10
10
 |
 |