Epson PowerLite 1825 Product Information Guide - Page 6
PowerLite 1825
 |
View all Epson PowerLite 1825 manuals
Add to My Manuals
Save this manual to your list of manuals |
Page 6 highlights
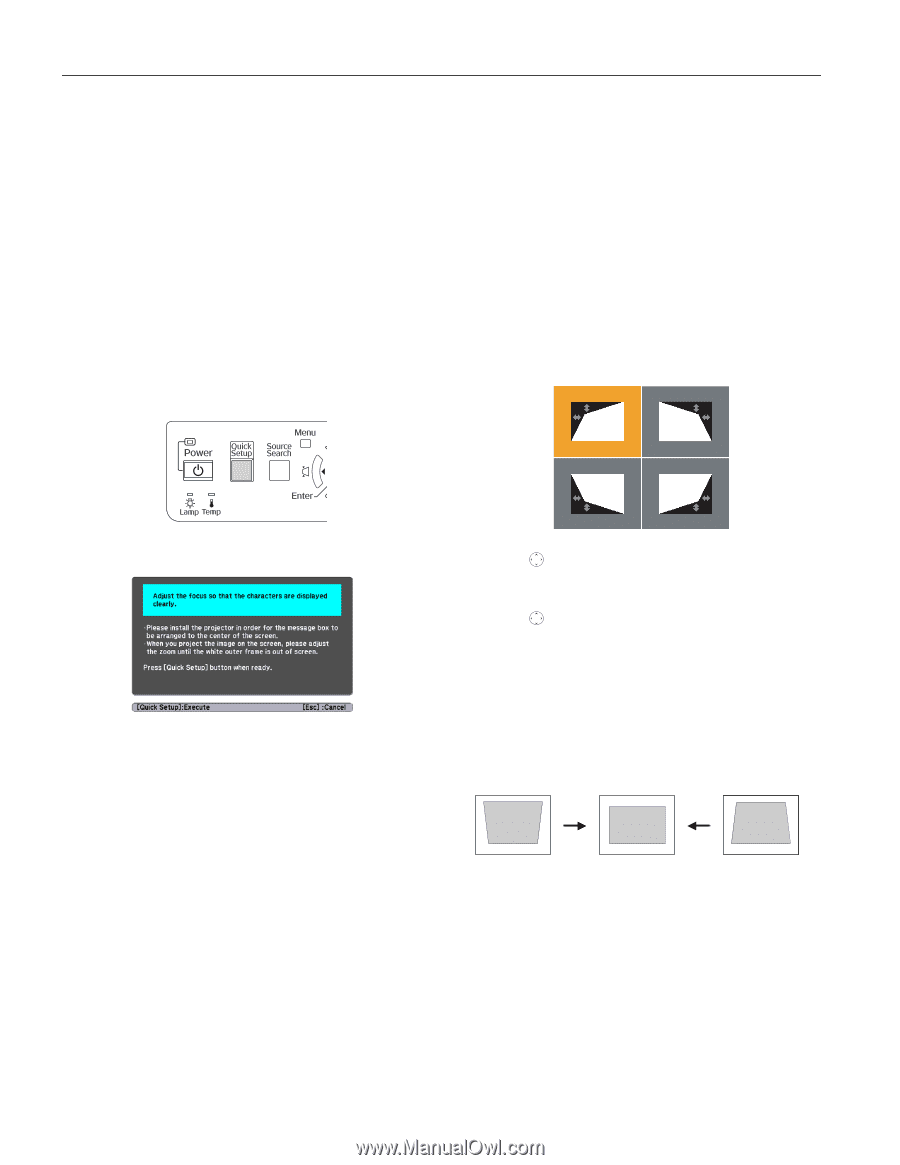
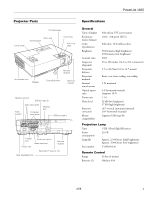
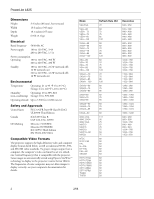
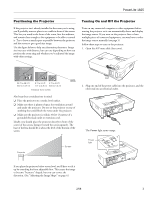
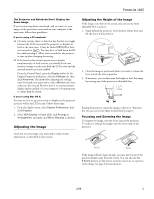
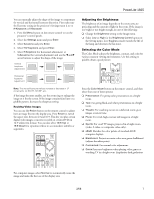
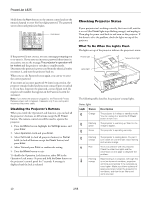
PowerLite 1825 Adjusting the Image Shape You can maintain a square or rectangular image by placing the projector directly in front of the screen and keeping it level. This also produces the best picture quality. If the projector is tilted up or placed at an angle, you'll need to correct the image shape by using one of the functions described below. Automatic Image Adjustment Use the projector's Quick Setup feature to set up quickly for a presentation. This function automatically corrects the shape and position of the image to fit on a screen with a 4:3 aspect ratio. It can correct image distortion when the projector is placed up to a 45° angle to the screen (vertically) and 20° (horizontally). 1. Press the Quick Setup button on the projector's control panel. Using Quick Corner Use Quick Corner to adjust the shape and size of the image when it's uneven on all sides, or to finely adjust the image after performing Quick Setup. If you just used Quick Setup, you can use the projector's arrow buttons to make the Quick Corner adjustment. If not, you'll have to select Quick Corner as follows: 1. Press the Menu button on the remote control or on the projector's control panel. 2. Select the Settings menu and press Enter. 3. Select Keystone and press Enter. 4. Select Quick Corner and press Enter. You see this screen: You see this message projected: 2. Aim the projector so the message appears near the middle of the screen. Then use the zoom ring to enlarge the image so the white frame (not shown above) extends beyond the edges of the screen on all sides. 3. Press the Quick Setup button again. Two white boxes flash momentarily onto the screen, and the adjustment is complete. Your projected image now fits on the screen (some slight overlap is normal). The Quick Setup adjustment is retained when the projector is turned off. If the projector is installed in a fixed location, you won't need to repeat the adjustment each time you turn it on. To fine-tune the Quick Setup adjustment, use Quick Corner®. 5. Use the pointer button on the remote control (or the arrow buttons on the projector) to select the corner you want to adjust, and press Enter. 6. Use the pointer button on the remote control (or the arrow buttons on the projector) to adjust the shape. 7. Repeat steps 5 and 6 as needed to adjust any remaining corners. When done, press Menu to exit the menu system. Using Keystone Correction The projector automatically corrects vertical keystone distortion when it is tilted within a range of 45° up or down. Projector tilted up Corrected image Projector tilted down It takes about one second after projection starts for the image to be corrected. During this time, a vertical keystone correction gauge appears on the screen. If keystone correction isn't automatically performed, you may need to turn on the Auto V-Keystone setting in the projector's Settings menu. 6 2/08
-
 1
1 -
 2
2 -
 3
3 -
 4
4 -
 5
5 -
 6
6 -
 7
7 -
 8
8 -
 9
9 -
 10
10 -
 11
11 -
 12
12 -
13
 |
 |