Epson RX700 Basics - Page 67
Printing Your Stored Photos
 |
UPC - 010343853775
View all Epson RX700 manuals
Add to My Manuals
Save this manual to your list of manuals |
Page 67 highlights
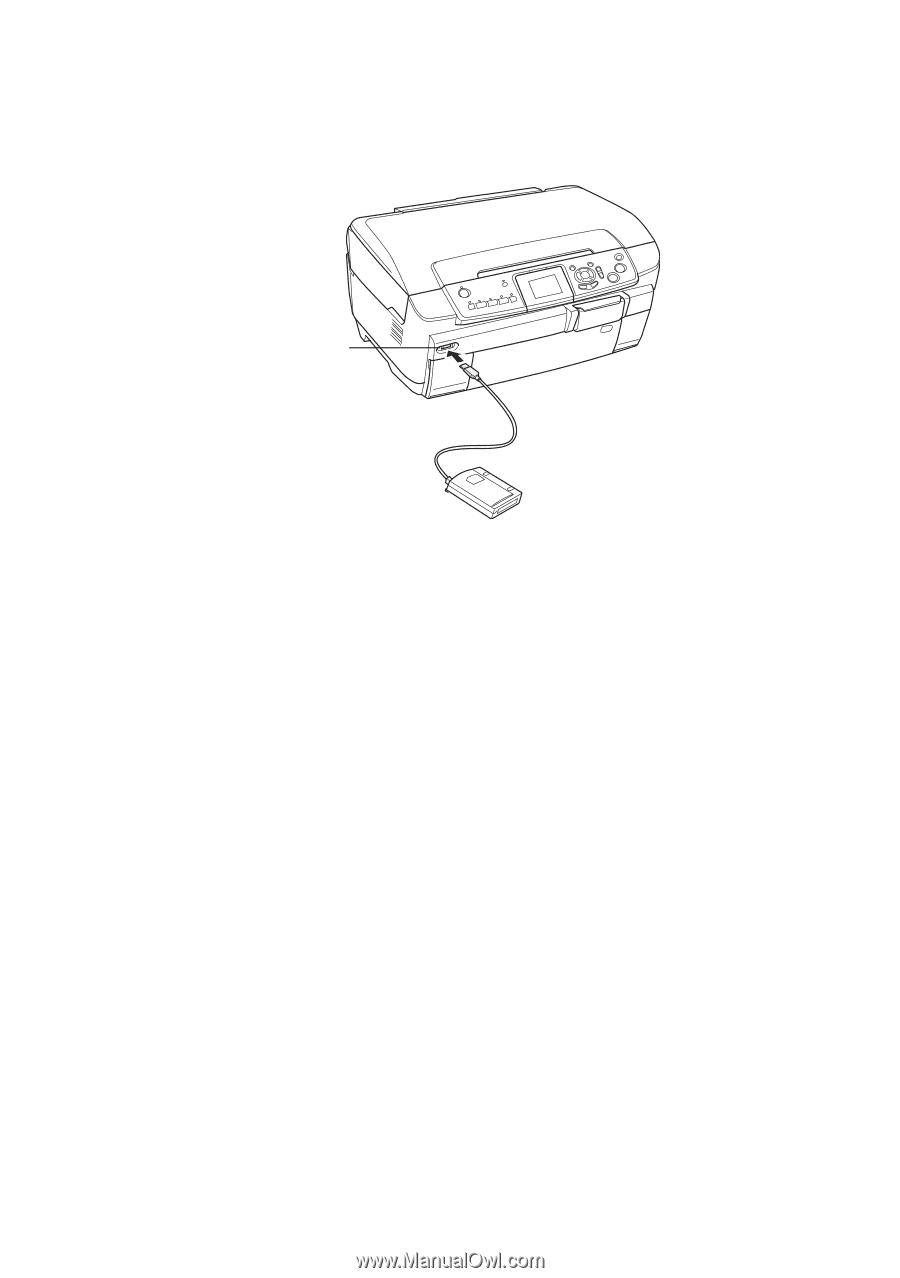
3. Connect a USB cable from your storage drive to the EXT. I/F port on the front of the Stylus Photo RX700. (If you're using a thumb drive, plug it in directly.) EXT/IF port 4. Press the Setup button. 5. Press the d button to choose Backup Memory Card, then press OK. 6. Press OK again to start the backup procedure. You may have to follow additional instructions on the RX700 screen. All the photos on your card are copied to your connected storage device. Depending on how many photos there are, this may take several minutes. 7. When you're done copying photos, make sure the memory card light is not flashing and then remove the card. Note: When backing up photos to a CD-R/RW, the Stylus Photo RX700 creates a folder for each backup session. You can store multiple backup sessions on a CD-R/RW. Caution: Once the backup starts, do not disconnect the cable or interrupt the process, or you may lose data. If you need to stop the backup, press the y Stop button. Printing Your Stored Photos Once you have copied photos to your storage drive, you can print them by following these steps. Note: You can view and print photos this way only if they have been backed up to your USB device as described in the previous section. Copying Photos to a USB Drive 67
-
 1
1 -
2
-
3
-
4
-
5
-
6
-
7
-
8
-
9
-
10
-
11
-
12
-
13
-
14
-
15
-
16
-
17
-
18
-
19
-
20
-
21
-
22
-
23
-
24
-
25
-
26
-
27
-
28
-
29
-
30
-
31
-
32
-
33
-
34
-
35
-
36
-
37
-
38
-
39
-
40
-
41
-
42
-
43
-
44
-
45
-
46
-
47
-
48
-
49
-
50
-
51
-
52
-
53
-
54
-
55
-
56
-
57
-
58
-
59
-
60
-
61
-
 62
62 -
 63
63 -
 64
64 -
 65
65 -
 66
66 -
 67
67 -
 68
68 -
 69
69 -
 70
70 -
 71
71 -
 72
72 -
73
-
74
-
75
-
76
-
77
-
78
-
79
-
80
-
81
-
82
-
83
-
84
-
85
-
86
-
87
-
88
-
89
-
90
-
91
-
92
-
93
-
94
-
95
-
96
-
97
-
98
 |
 |