Epson Stylus COLOR 740i User Manual - Page 67
Browse, Watermark, the list, then click
 |
View all Epson Stylus COLOR 740i manuals
Add to My Manuals
Save this manual to your list of manuals |
Page 67 highlights
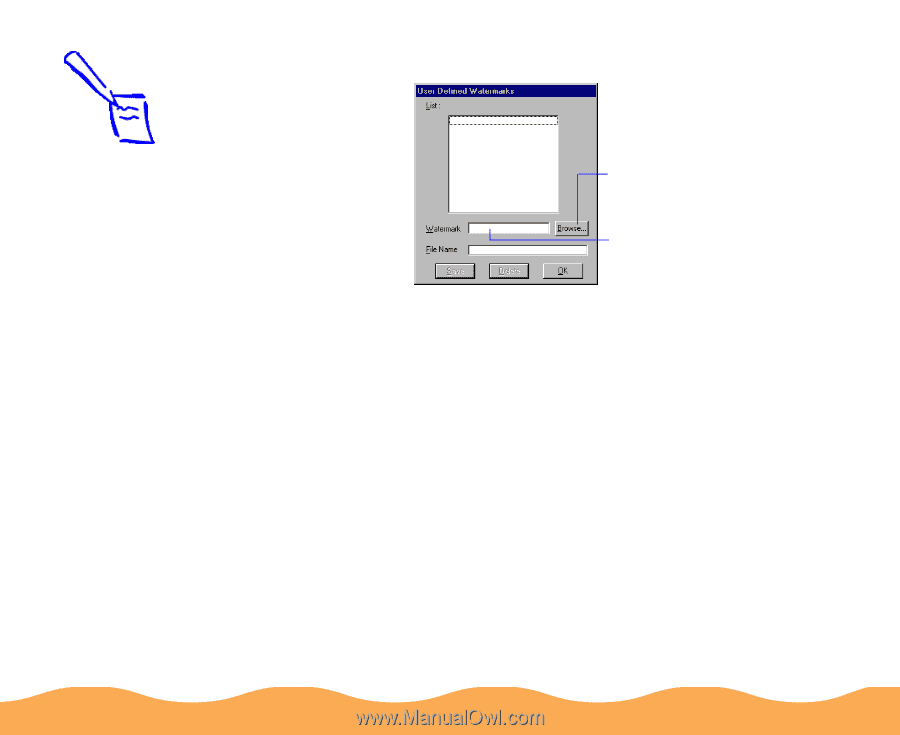
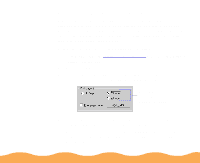
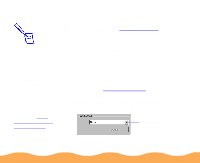
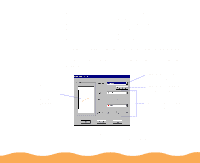
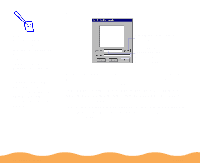
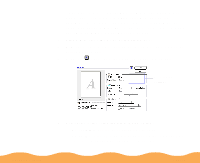
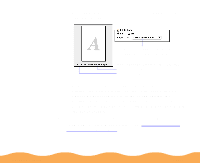
You see the following dialog box: Note: You can create up to 10 custom watermarks. In Windows 95 and 98, you can use any bitmap file up to 15MB in size. With Windows NT, the file can be any size. To delete a custom watermark from the list, click the User Defined button, select the watermark, and click Delete. Click Browse to select your bitmap file Then type a name for your custom watermark here and click Save Click the Browse button. You see a file selection dialog box. Navigate to the folder containing the bitmap file you want to use, select the file, and click OK. Type a name for the custom watermark (up to 24 characters long) in the Watermark field. Click the Save button to add it to the list, then click OK. The custom watermark now appears as the selected watermark in the Watermark Settings dialog box and is shown in the on-screen graphic. Advanced Printing Page 67
-
 1
1 -
2
-
3
-
4
-
5
-
6
-
7
-
8
-
9
-
10
-
11
-
12
-
13
-
14
-
15
-
16
-
17
-
18
-
19
-
20
-
21
-
22
-
23
-
24
-
25
-
26
-
27
-
28
-
29
-
30
-
31
-
32
-
33
-
34
-
35
-
36
-
37
-
38
-
39
-
40
-
41
-
42
-
43
-
44
-
45
-
46
-
47
-
48
-
49
-
50
-
51
-
52
-
53
-
54
-
55
-
56
-
57
-
58
-
59
-
60
-
61
-
 62
62 -
 63
63 -
 64
64 -
 65
65 -
 66
66 -
 67
67 -
 68
68 -
 69
69 -
 70
70 -
 71
71 -
 72
72 -
73
-
74
-
75
-
76
-
77
-
78
-
79
-
80
-
81
-
82
-
83
-
84
-
85
-
86
-
87
-
88
-
89
-
90
-
91
-
92
-
93
-
94
-
95
-
96
-
97
-
98
-
99
-
100
-
101
-
102
-
103
-
104
-
105
-
106
-
107
-
108
-
109
-
110
-
111
-
112
-
113
-
114
-
115
-
116
-
117
-
118
-
119
-
120
-
121
-
122
-
123
-
124
-
125
-
126
-
127
-
128
-
129
-
130
-
131
-
132
-
133
-
134
-
135
-
136
-
137
-
138
-
139
-
140
-
141
-
142
-
143
-
144
-
145
-
146
-
147
-
148
-
149
-
150
-
151
-
152
-
153
-
154
-
155
-
156
-
157
-
158
-
159
-
160
-
161
-
162
-
163
-
164
-
165
-
166
-
167
-
168
-
169
-
170
-
171
-
172
-
173
-
174
-
175
-
176
-
177
-
178
-
179
-
180
-
181
-
182
-
183
-
184
-
185
-
186
 |
 |