Epson Stylus Photo R2000 Basics - Page 23
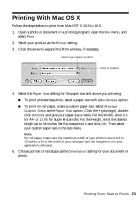
Printing With Mac OS X - software
 |
View all Epson Stylus Photo R2000 manuals
Add to My Manuals
Save this manual to your list of manuals |
Page 23 highlights
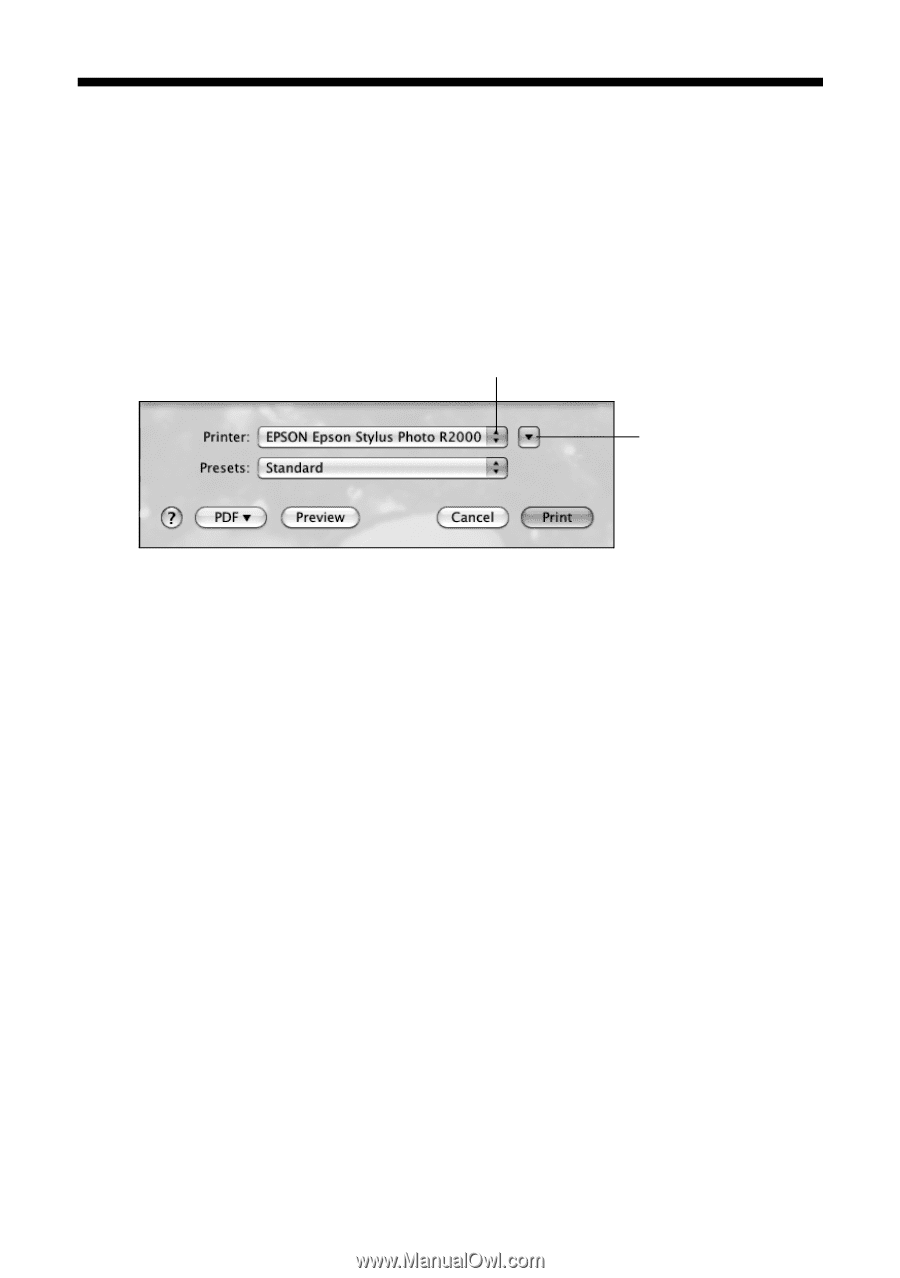
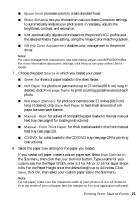
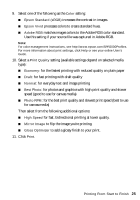
Printing With Mac OS X Follow the steps below to print from Mac OS® X 10.5 to 10.6. 1. Open a photo or document in a printing program, open the File menu, and select Print. 2. Select your product as the Printer setting. 3. Click the arrow to expand the Print window, if necessary. Select your Epson product Click to expand 4. Select the Paper Size setting for the paper size and source you are using: ■ To print a borderless photo, select a paper size with a Borderless option. ■ To print on roll paper, create a custom paper size. Select Manage Custom Sizes as the Paper Size option. Click the + (plus sign), doubleclick Untitled and give your paper size a name. For the Width, enter 8.3 for A4- or 12.95 for Super B-size rolls. For the Height, enter the desired length up to 44 inches. Set the margins to 0 and click OK. Then select your custom paper size in the size menu. Note: For roll paper, make sure the maximum width of your photo is set to 8.3 or 13 inches to fit in the width of your roll paper (set the margins to 0 in your application software). 5. Choose portrait or landscape as the Orientation setting for your document or photo. Printing From Start to Finish 23
-
 1
1 -
2
-
3
-
4
-
5
-
6
-
7
-
8
-
9
-
10
-
11
-
12
-
13
-
14
-
15
-
16
-
17
-
 18
18 -
 19
19 -
 20
20 -
 21
21 -
 22
22 -
 23
23 -
 24
24 -
 25
25 -
 26
26 -
 27
27 -
 28
28 -
29
-
30
-
31
-
32
-
33
-
34
-
35
-
36
-
37
-
38
-
39
-
40
-
41
-
42
-
43
-
44
-
45
-
46
-
47
-
48
-
49
-
50
-
51
-
52
-
53
-
54
-
55
-
56
-
57
-
58
-
59
-
60
 |
 |