Epson Stylus Photo R2000 Basics - Page 32
Removing Your Printed CD/DVD - drive
 |
View all Epson Stylus Photo R2000 manuals
Add to My Manuals
Save this manual to your list of manuals |
Page 32 highlights
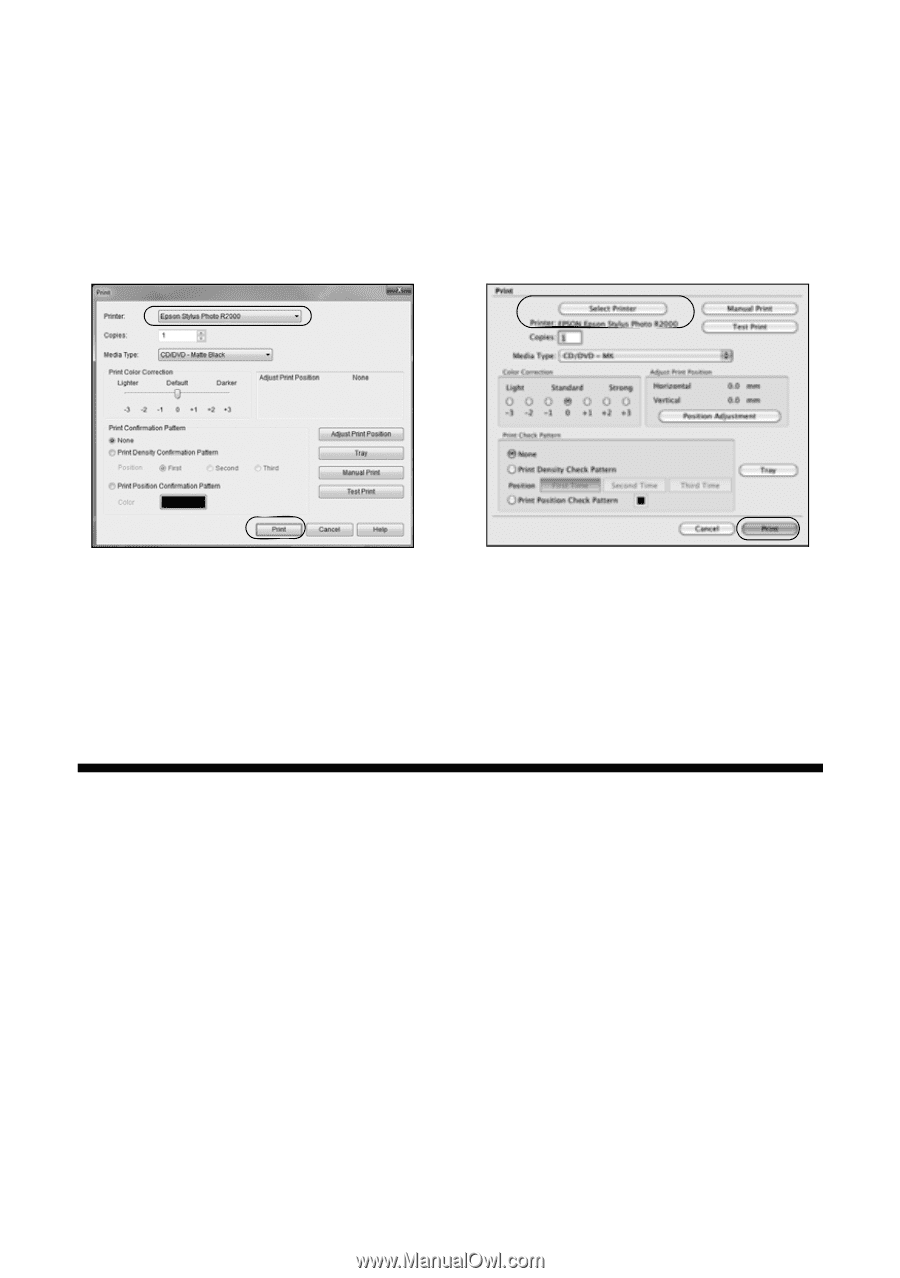
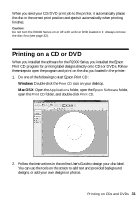
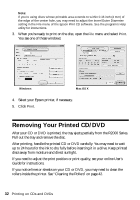
Note: If you're using discs whose printable area extends to within 0.16 inch (4 mm) of the edge of the center hole, you may need to adjust the Inner/Outer Diameter setting in the File menu of the Epson Print CD software. See the program's Help utility for instructions. 3. When you're ready to print on the disc, open the File menu and select Print. You see one of these windows: Windows Mac OS X 4. Select your Epson printer, if necessary. 5. Click Print. Removing Your Printed CD/DVD After your CD or DVD is printed, the tray ejects partially from the R2000 Series. Pull out the tray and remove the disc. After printing, handle the printed CD or DVD carefully. You may need to wait up to 24 hours for the ink to dry fully before inserting it in a drive. Keep printed discs away from moisture and direct sunlight. If you need to adjust the print position or print quality, see your online User's Guide for instructions. If you notice lines or streaks on your CD or DVD, you may need to clean the rollers inside the printer. See "Cleaning the Rollers" on page 42. 32 Printing on CDs and DVDs
-
 1
1 -
2
-
3
-
4
-
5
-
6
-
7
-
8
-
9
-
10
-
11
-
12
-
13
-
14
-
15
-
16
-
17
-
18
-
19
-
20
-
21
-
22
-
23
-
24
-
25
-
26
-
 27
27 -
 28
28 -
 29
29 -
 30
30 -
 31
31 -
 32
32 -
 33
33 -
 34
34 -
 35
35 -
 36
36 -
 37
37 -
38
-
39
-
40
-
41
-
42
-
43
-
44
-
45
-
46
-
47
-
48
-
49
-
50
-
51
-
52
-
53
-
54
-
55
-
56
-
57
-
58
-
59
-
60
 |
 |