Epson SureColor F2100 Users Guide - Page 119
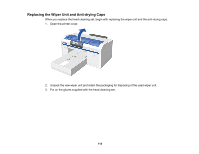
Replacing the Flushing Pad, Replacing the Head Cleaning Set, Optional Equipment and Replacement Parts
 |
View all Epson SureColor F2100 manuals
Add to My Manuals
Save this manual to your list of manuals |
Page 119 highlights
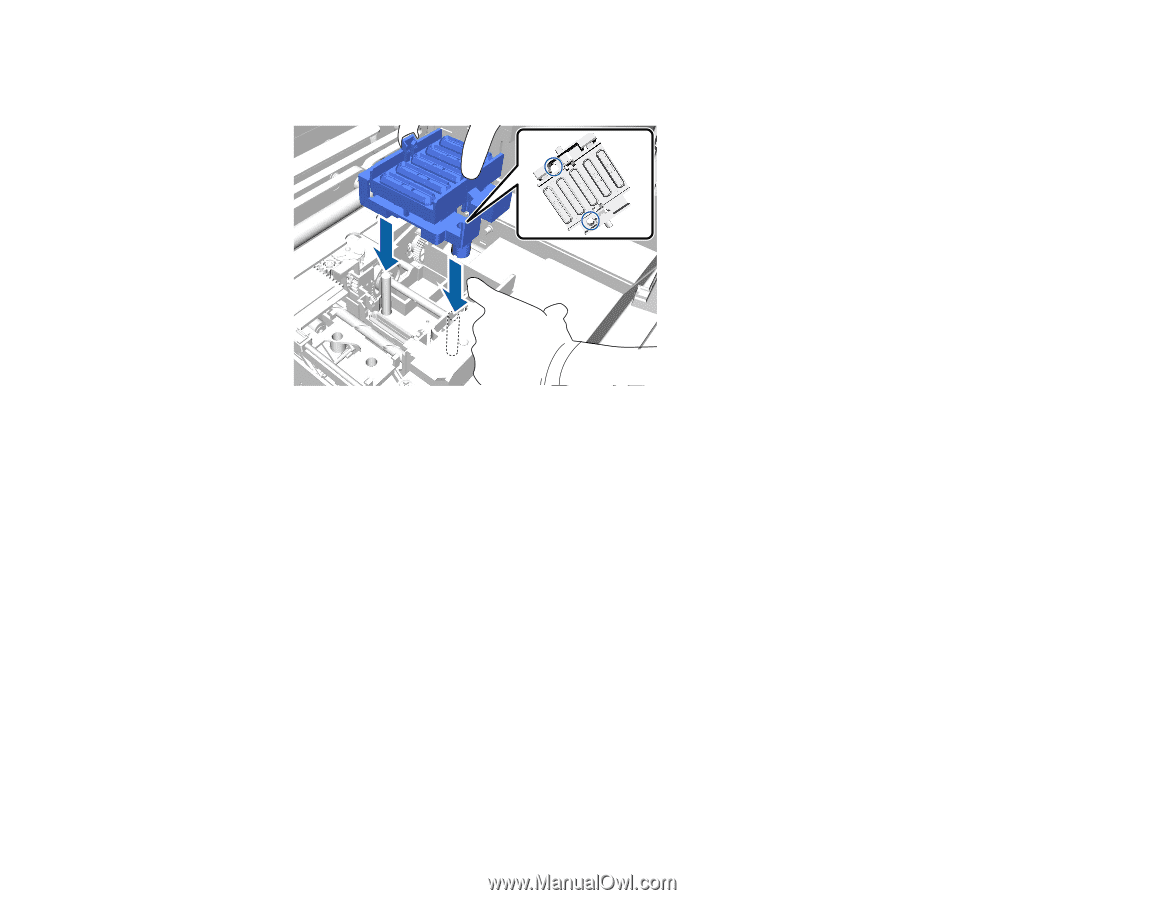
13. Pull the lever forward as shown, and install the new anti-drying cap, placing the holes in the antidrying cap over the posts on the printer. 14. Close the printer cover. 15. Press the OK button. 16. Press the up or down arrow button to highlight Yes, and press the OK button. 17. Press the OK button again to move the print head to the flushing pad replacement position. Parent topic: Replacing the Head Cleaning Set Related references Optional Equipment and Replacement Parts Related tasks Replacing the Flushing Pad Related topics Disposing of Used Consumables and Optional Parts Replacing the Flushing Pad Replace the flushing pad after replacing the wiper unit and anti-drying caps included in the head cleaning set. 119
-
 1
1 -
2
-
3
-
4
-
5
-
6
-
7
-
8
-
9
-
10
-
11
-
12
-
13
-
14
-
15
-
16
-
17
-
18
-
19
-
20
-
21
-
22
-
23
-
24
-
25
-
26
-
27
-
28
-
29
-
30
-
31
-
32
-
33
-
34
-
35
-
36
-
37
-
38
-
39
-
40
-
41
-
42
-
43
-
44
-
45
-
46
-
47
-
48
-
49
-
50
-
51
-
52
-
53
-
54
-
55
-
56
-
57
-
58
-
59
-
60
-
61
-
62
-
63
-
64
-
65
-
66
-
67
-
68
-
69
-
70
-
71
-
72
-
73
-
74
-
75
-
76
-
77
-
78
-
79
-
80
-
81
-
82
-
83
-
84
-
85
-
86
-
87
-
88
-
89
-
90
-
91
-
92
-
93
-
94
-
95
-
96
-
97
-
98
-
99
-
100
-
101
-
102
-
103
-
104
-
105
-
106
-
107
-
108
-
109
-
110
-
111
-
112
-
113
-
 114
114 -
 115
115 -
 116
116 -
 117
117 -
 118
118 -
 119
119 -
 120
120 -
 121
121 -
 122
122 -
 123
123 -
 124
124 -
125
-
126
-
127
-
128
-
129
-
130
-
131
-
132
-
133
-
134
-
135
-
136
-
137
-
138
-
139
-
140
-
141
-
142
-
143
-
144
-
145
-
146
-
147
-
148
-
149
-
150
-
151
-
152
-
153
-
154
-
155
-
156
-
157
-
158
-
159
-
160
-
161
-
162
-
163
-
164
-
165
-
166
-
167
-
168
-
169
-
170
-
171
-
172
-
173
-
174
-
175
-
176
-
177
-
178
-
179
-
180
-
181
-
182
-
183
-
184
-
185
-
186
-
187
-
188
-
189
-
190
-
191
-
192
-
193
-
194
-
195
-
196
-
197
-
198
-
199
-
200
-
201
-
202
-
203
-
204
 |
 |
119
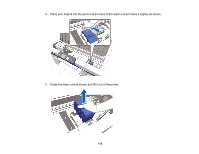
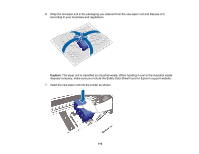
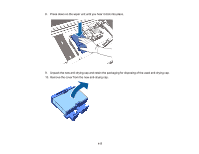
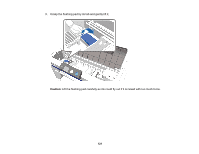
13. Pull the lever forward as shown, and install the new anti-drying cap, placing the holes in the anti-
drying cap over the posts on the printer.
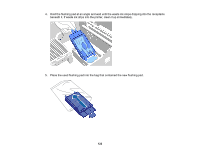
14. Close the printer cover.
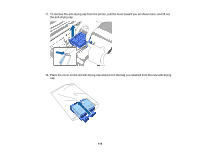
15. Press the
OK
button.
16. Press the up or down arrow button to highlight
Yes
, and press the
OK
button.
17. Press the
OK
button again to move the print head to the flushing pad replacement position.
Parent topic:
Replacing the Head Cleaning Set
Related references
Optional Equipment and Replacement Parts
Related tasks
Replacing the Flushing Pad
Related topics
Disposing of Used Consumables and Optional Parts
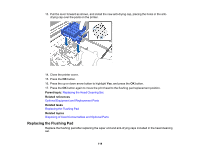
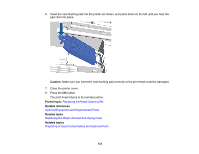
Replacing the Flushing Pad
Replace the flushing pad after replacing the wiper unit and anti-drying caps included in the head cleaning
set.