Epson WorkForce 600 Network Installation Guide - Page 27
Finish the Installation, Windows - printer not printing
 |
View all Epson WorkForce 600 manuals
Add to My Manuals
Save this manual to your list of manuals |
Page 27 highlights
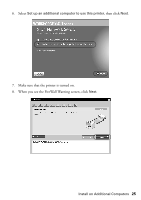
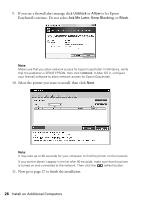
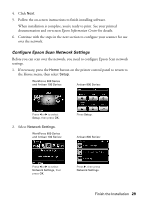
Finish the Installation Follow the steps for your operating system: ■ "Windows" below ■ "Mac OS X" on page 28 Windows 1. Follow the on-screen instructions. When you see the screen below, you can do the following: ■ Enter a new name for the printer in the Printer Name text box (optional) ■ Select Set as default to make the printer your default printer (optional) 2. When you're finished selecting settings, click Next. 3. Wait for the software installation to complete, then click Next. 4. Follow the on-screen instructions to print a test page and finish the installation. When installation is complete, you're ready to scan and print. See your printed documentation and on-screen Epson Information Center for details. Finish the Installation 27
-
 1
1 -
2
-
3
-
4
-
5
-
6
-
7
-
8
-
9
-
10
-
11
-
12
-
13
-
14
-
15
-
16
-
17
-
18
-
19
-
20
-
21
-
 22
22 -
 23
23 -
 24
24 -
 25
25 -
 26
26 -
 27
27 -
 28
28 -
 29
29 -
 30
30 -
 31
31 -
 32
32 -
33
-
34
-
35
-
36
-
37
-
38
-
39
-
40
 |
 |
Finish the Installation
27
Finish the Installation
Follow the steps for your operating system:
■
“Windows” below
■
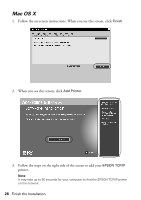
“Mac OS X” on page 28
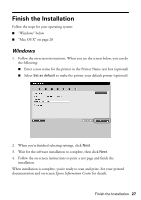
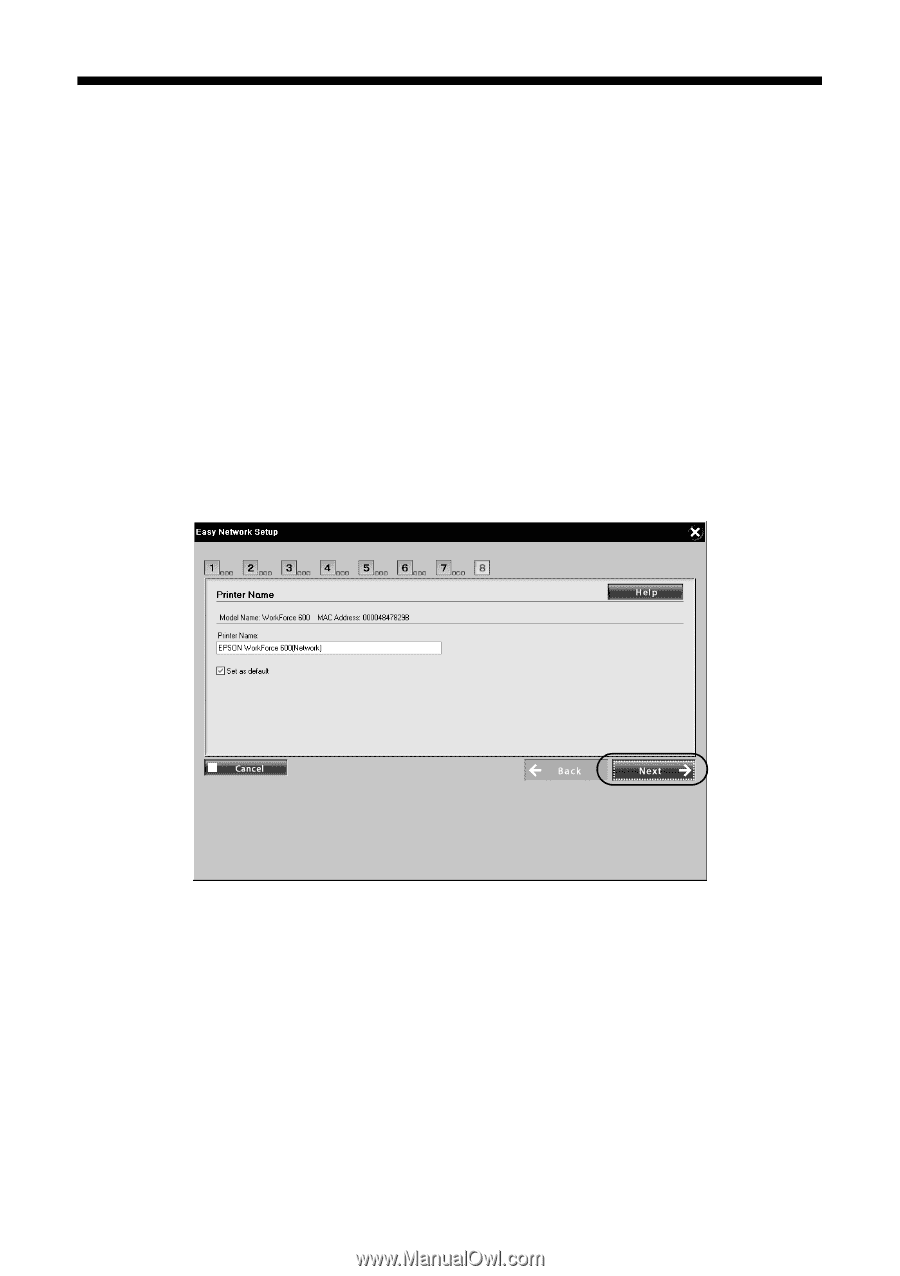
Windows
1.
Follow the on-screen instructions. When you see the screen below, you can do
the following:
■
Enter a new name for the printer in the Printer Name text box (optional)
■
Select
Set as default
to make the printer your default printer (optional)
2.
When you’re finished selecting settings, click
Next
.
3.
Wait for the software installation to complete, then click
Next
.
4.
Follow the on-screen instructions to print a test page and finish the
installation.
When installation is complete, you’re ready to scan and print. See your printed
documentation and on-screen
Epson Information Center
for details.