Fujitsu 6130 Getting Started Guide - Page 13
Adobe Acrobat, Insert the Adobe Acrobat CD-ROM into the CD - scanner manual
 |
UPC - 097564307287
View all Fujitsu 6130 manuals
Add to My Manuals
Save this manual to your list of manuals |
Page 13 highlights
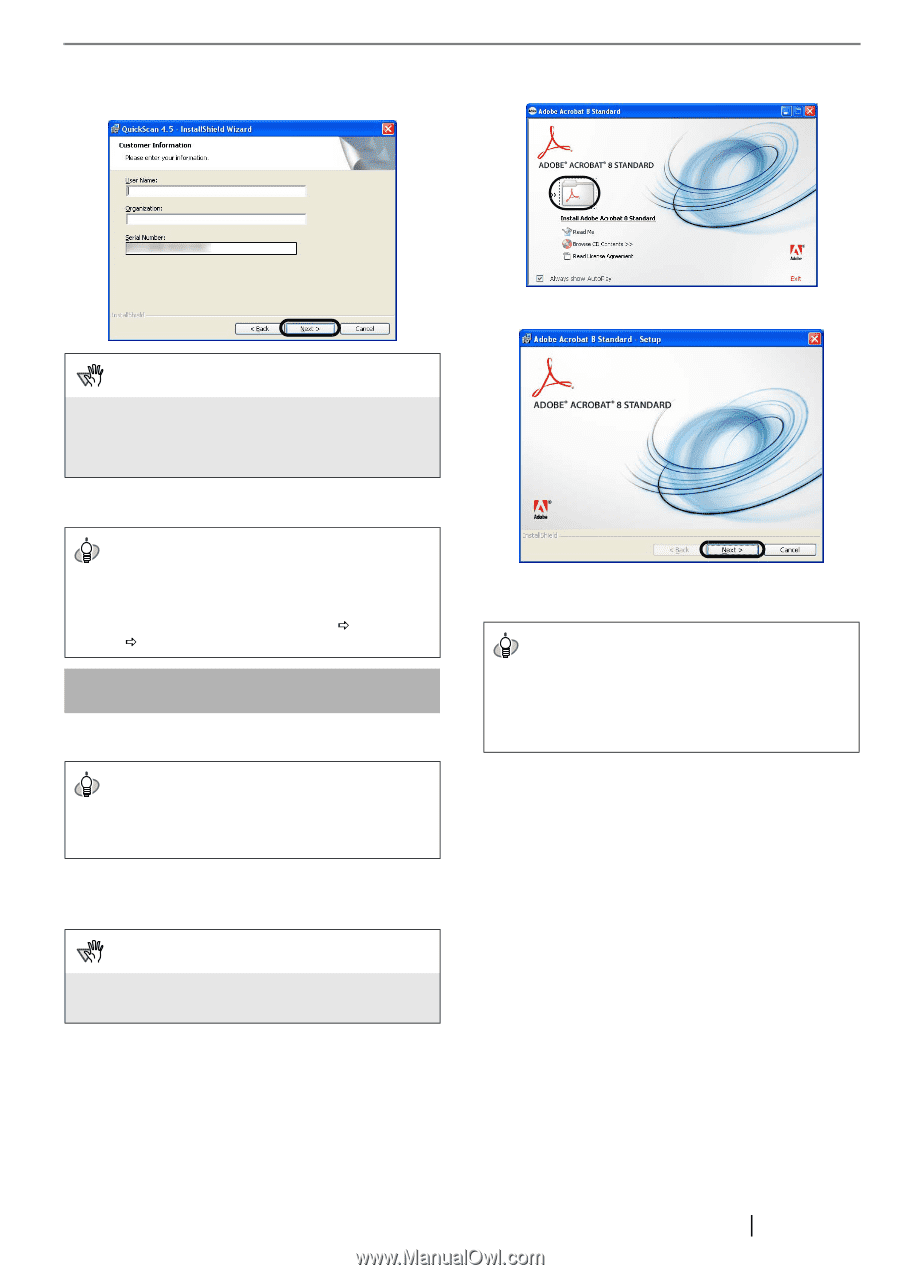
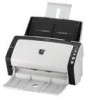
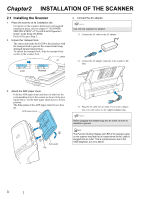
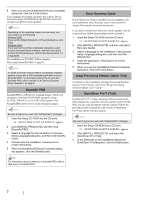
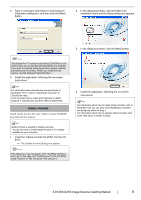
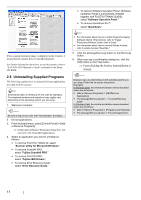
4. Type in necessary information in the [Customer Information] dialog box, and then click the [Next] button. 2. In the dialog box below, click the folder icon; installation starts and the Setup dialog box appears. 3. In the dialog box below, click the [Next] button. ATTENTION "QuickScan Pro™" included in the Setup CD-ROM is a trial version that can be executed 30 times before it is disabled. If you wish to continue using this product, please consider purchasing the full version. (When you install the trial version, use the displayed Serial Number.) 5. Install the application, following the on-screen instructions. HINT For information about the features and operations of QuickScan Pro™, refer to "QuickScan Overview" or "QuickScan Help." Form the [start] menu, select [All Programs] D [EMC Captiva] D [QuickScan], and then select a desired file. Adobe Acrobat Install Adobe Acrobat from the "Adobe Acrobat CD-ROM" provided with this scanner. HINT Adobe Acrobat is needed to display manuals. * You do not have to install Adobe Acrobat if it is already installed on your computer. 1. Insert the "Adobe Acrobat CD-ROM" into the CD drive. ⇒ The [Adobe Acrobat] dialog box appears. ATTENTION This dialog box may not appear if the "AutoPlay" setting is set to off. In this case, find "AutoPlay.exe" in the CD-ROM using "Explore" or "My Computer" and execute it. 4. Install the application, following the on-screen instructions. HINT For information about how to install Adobe Acrobat, refer to "Read Me" that you can view when [Readme] is clicked in the dialog box shown in Step 2. For information about how to operate Adobe Acrobat, refer to the Help topics in Adobe Acrobat. fi-6130/fi-6230 Image Scanner Getting Started 8
-
 1
1 -
2
-
3
-
4
-
5
-
6
-
7
-
 8
8 -
 9
9 -
 10
10 -
 11
11 -
 12
12 -
 13
13 -
 14
14 -
 15
15 -
 16
16 -
 17
17 -
 18
18 -
19
-
20
 |
 |