Garmin Edge 810 Owner's Manual - Page 12
Deleting History, Data Recording, Data Management - reset
 |
View all Garmin Edge 810 manuals
Add to My Manuals
Save this manual to your list of manuals |
Page 12 highlights
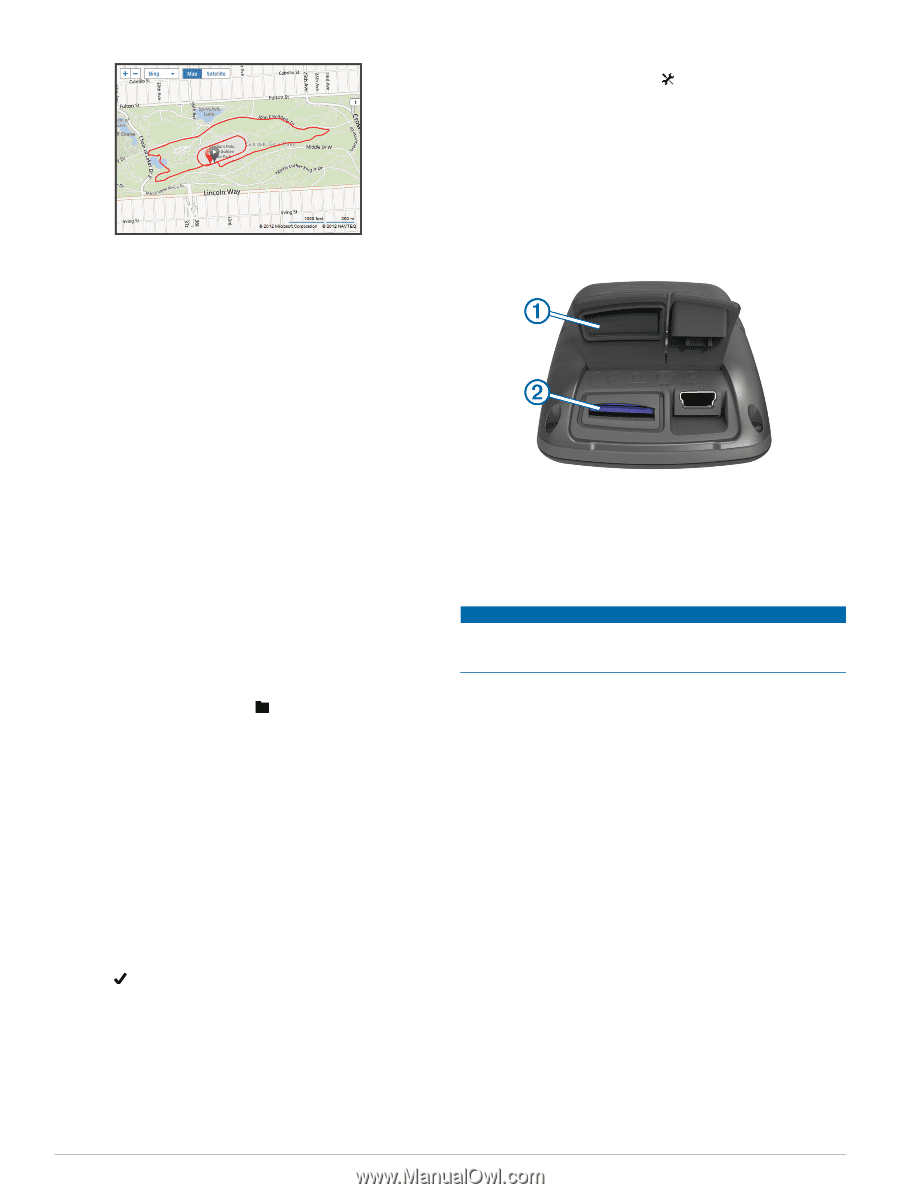
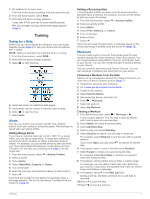
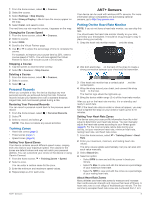
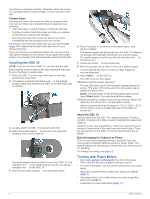
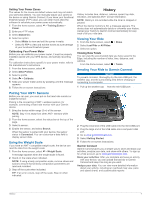
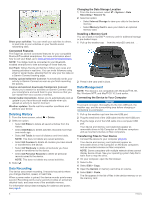
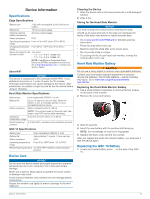
Share your activities: You can email your activities to others, or post links to your activities on your favorite social networking sites. Connected Features The Edge has several connected features for your compatible Bluetooth®-enabled smartphone. For more information about how to use your Edge, go to www.garmin.com/ intosports / apps. NOTE: Your Edge must be connected to your Bluetoothenabled smartphone to take advantage of these features. LiveTrack: Allows friends and family to follow your races and training activities in real time. You can invite followers using email or social media, allowing them to view your live data on a Garmin Connect tracking page. Activity upload toGarmin Connect: Automatically sends your activity to Garmin Connect as soon as you finish recording the activity. Course and workout downloads fromGarmin Connect: Allows you to search for activities on Garmin Connect using your smartphone and send them to your device so that you can repeat them as a course or workout. Social media interactions: Allows you to automatically post an update to your favorite social media website when you upload an activity to Garmin Connect. Weather updates: Sends real-time weather conditions and alerts to your device. Deleting History 1 From the home screen, select > Delete. 2 Select an option: • Select All Rides to delete all saved activities from the history. • Select Old Rides to delete activities recorded more than one month ago. • Select All Totals to reset all distance and time totals. NOTE: This does not delete any saved activities. • Select All Courses to delete all courses you have saved or transferred to the device. • Select All Workouts to delete all workouts you have saved or transferred to the device. • Select All Personal Records to delete all personal records saved to the device. NOTE: This does not delete any saved activities. 3 Select . Data Recording The device uses smart recording. It records key points where you change direction, speed, or heart rate. When a power meter is paired, the device records points every second. Recording points every second provides an extremely detailed track, and uses more of the available memory. For information about data averaging for cadence and power, see page 6. Changing the Data Storage Location 1 From the home screen, select > System > Data Recording > Record To. 2 Select an option: • Select Internal Storage to save your data to the device memory. • Select Memory Card to save your data to an optional memory card. Installing a Memory Card You can install a microSD™ memory card for additional storage or pre-loaded maps. 1 Pull up the weather cap À from the microSD card slot Á. 2 Press in the card until it clicks. Data Management NOTE: The device is not compatible with Windows® 95, 98, Me, Windows NT®, and Mac® OS 10. 3 and earlier. Connecting the Device to Your Computer NOTICE To prevent corrosion, thoroughly dry the mini-USB port, the weather cap, and the surrounding area before charging or connecting to a computer. 1 Pull up the weather cap from the mini-USB port. 2 Plug the small end of the USB cable into the mini-USB port. 3 Plug the large end of the USB cable into a computer USB port. Your device and memory card (optional) appear as removable drives in My Computer on Windows computers and as mounted volumes on Mac computers. Transferring Files to Your Device 1 Connect the device to your computer (page 8). Your device and memory card (optional) appear as removable drives in My Computer on Windows computers and as mounted volumes on Mac computers. NOTE: Some computers with multiple network drives cannot display device drives. See your operating system help file to learn how to map the drive. 2 On your computer, open the file browser. 3 Select a file. 4 Select Edit > Copy. 5 Open the Garmin or memory card drive or volume. 6 Select Edit > Paste. The file appears in the list of files in the device memory or on the memory card. 8 History
-
 1
1 -
2
-
3
-
4
-
5
-
6
-
 7
7 -
 8
8 -
 9
9 -
 10
10 -
 11
11 -
 12
12 -
 13
13 -
 14
14 -
 15
15 -
 16
16 -
 17
17 -
18
-
19
-
20
-
21
-
22
 |
 |