Garmin GNS 430W Quick Reference Guide - Page 8
Power - gps
 |
View all Garmin GNS 430W manuals
Add to My Manuals
Save this manual to your list of manuals |
Page 8 highlights
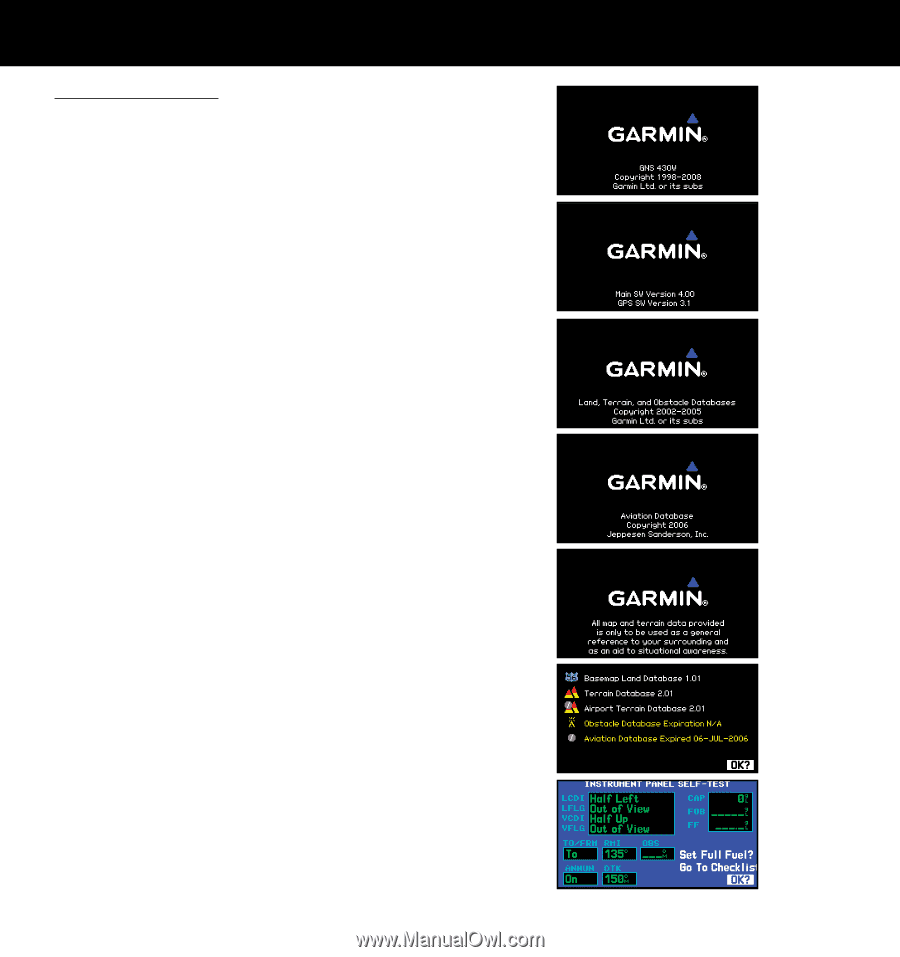
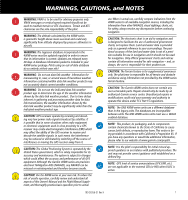
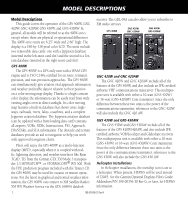
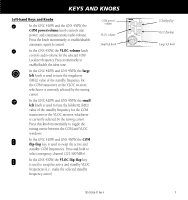
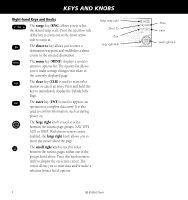
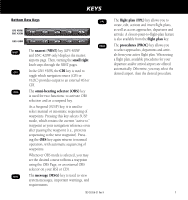
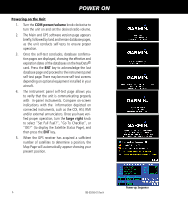
POWER ON Powering on the Unit 1. Turn the COM power/volume knob clockwise to turn the unit on and set the desired radio volume. 2. The Main and GPS software version page appears briefly, followed by land and terrain database pages, as the unit conducts self-tests to ensure proper operation. 3. Once the self-test concludes, database confirmation pages are displayed, showing the effective and expiration dates of the databases on the NavData® card. Press the ENT key to acknowledge the last database page and proceed to the instrument panel self-test page. There may be more self-test screens depending on optional equipment installed in your aircraft. 4. The instrument panel self-test page allows you to verify that the unit is communicating properly with in-panel instruments. Compare on-screen indications with the information depicted on connected instruments, such as the CDI, HSI, RMI and/or external annunciators. Once you have verified proper operation, turn the large right knob to select "Set Full Fuel?", "Go To Checklist", or "OK?" (to display the Satellite Status Page), and then press the ENT key. 5. When the GPS receiver has acquired a sufficient number of satellites to determine a position, the Map Page will automatically appear showing your present position. Power-up Sequence 6 190-00356-01 Rev H
-
 1
1 -
2
-
 3
3 -
 4
4 -
 5
5 -
 6
6 -
 7
7 -
 8
8 -
 9
9 -
 10
10 -
 11
11 -
 12
12 -
 13
13 -
14
-
15
-
16
-
17
-
18
-
19
-
20
-
21
-
22
-
23
-
24
 |
 |