GE JXGB90S Use and Care Manual - Page 10
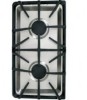
Surface burner and grill modules. - jxgb90 module
 |
UPC - 084691143420
View all GE JXGB90S manuals
Add to My Manuals
Save this manual to your list of manuals |
Page 10 highlights
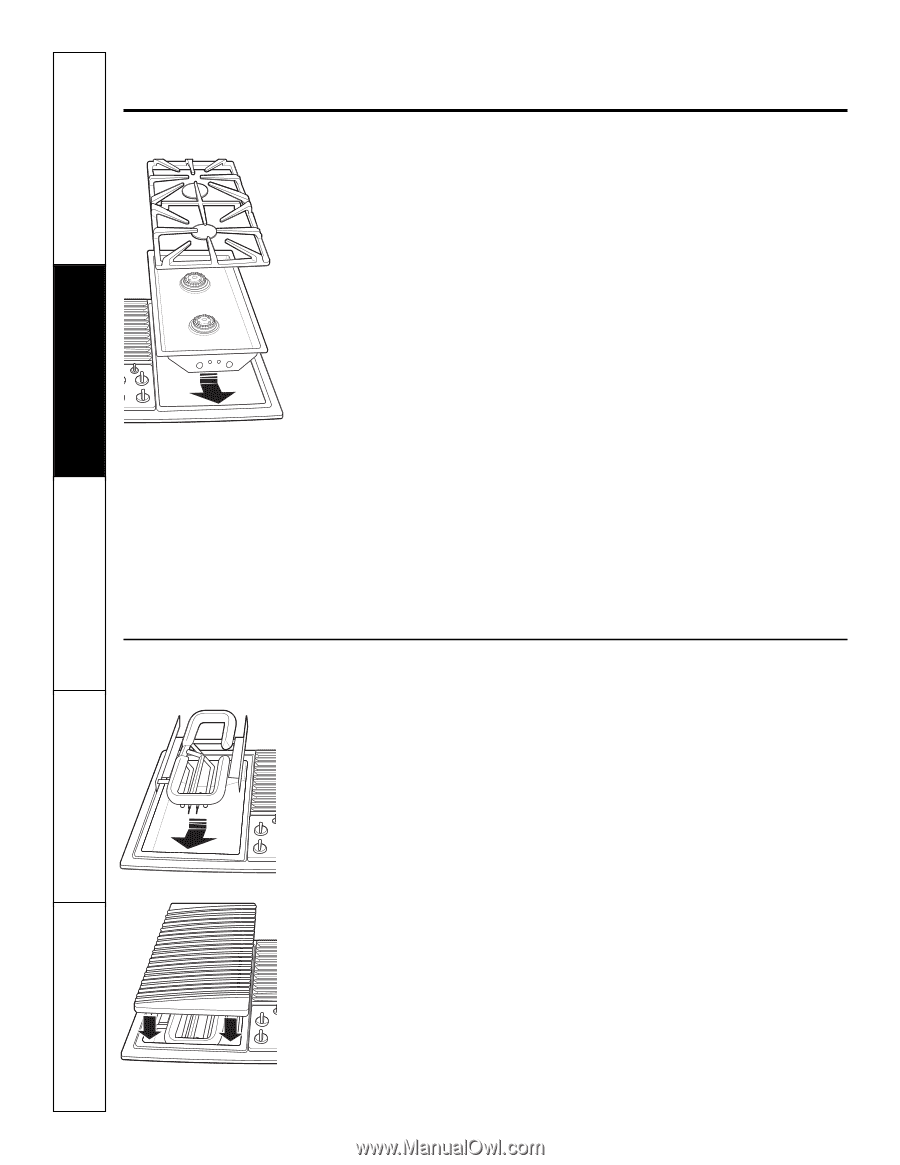
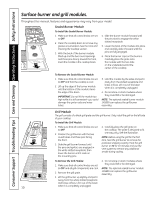
Consumer Support Troubleshooting Tips Care and Cleaning Operating Instructions Safety Instructions Surface burner and grill modules. Throughout this manual, features and appearance may vary from your model. Sealed Burner Module To Install the Sealed Burner Module: 1. Make sure that all control knobs are set to OFF. 2. Clean the cooktop basin to remove any grease accumulation. See the Care and Cleaning the Cooktop section. 3. With the back of the burner module tilted up and the two round openings and three pins facing toward the front, insert the module in the cooktop basin. 4. Slide the burner module forward until the pins start to engage the white slotted receptacle. 5. Lower the back of the module into place and carefully slide it forward until the pins are fully engaged. 6. Place the burner caps on the burners. Carefully place the grate onto the module with the two tabs on the underside toward the center of the cooktop. To Remove the Sealed Burner Module: 1. Make sure that all control knobs are set to OFF and that the cooktop is cool. 2. Lift up the edge of the burner module until the bottom of the module clears the edge of the basin. IMPORTANT: Do not lift the module too high while it is still connected-you could damage the ignitor rods and mixer tubes. 3. Hold the module by the sides and pull it away from the slotted receptacle and brass orifices. Lift it out of the basin when it is completely unplugged. 4. Do not store or stack modules where they could fall or be damaged. NOTE: The optional sealed burner module JXGB90 can replace the grill burner assembly. Grill Module The grill consists of a black grill grate and the grill burner. Only install the grill on the left side of your cooktop. To Install the Grill Module: 1. Make sure that all control knobs are set to OFF. 2. Position the grill burner with the two round tubes and three pins facing the front. 3. Slide the grill burner forward until the pins and ignitors are engaged in the white slotted receptacle; then lower the burner until it rests on the mounting pins. 4. Carefully place the grill grate on the cooktop. The grate is designed to fit one way only. See the illustration. NOTE: Before using the grill for the first time, heat the grill burner to remove the protective shipping coating. Heat the grill burner on HI for 10 minutes and use the vent system to remove any additional smoke during cooling. To Remove the Grill Module: 4. Do not store or stack modules where 1. Make sure that all control knobs are set they could fall or be damaged. to OFF and all grill components are cool. NOTE: The optional sealed burner module 2. Remove the grill grate. JXGB90 can replace the grill burner assembly. 3. Lift the grill burner up slightly and pull it away from the white slotted receptacle and brass orifices. Lift it out of the basin 10 when it is completely unplugged.
-
 1
1 -
2
-
3
-
4
-
 5
5 -
 6
6 -
 7
7 -
 8
8 -
 9
9 -
 10
10 -
 11
11 -
 12
12 -
 13
13 -
 14
14 -
 15
15 -
16
-
17
-
18
-
19
-
20
-
21
-
22
-
23
-
24
-
25
-
26
-
27
-
28
-
29
-
30
-
31
-
32
-
33
-
34
-
35
-
36
-
37
-
38
-
39
-
40
-
41
-
42
-
43
-
44
-
45
-
46
-
47
-
48
-
49
-
50
-
51
-
52
-
53
-
54
-
55
-
56
-
57
-
58
-
59
-
60
-
61
-
62
-
63
-
64
-
65
-
66
-
67
-
68
-
69
-
70
-
71
-
72
-
73
-
74
-
75
-
76
-
77
-
78
-
79
-
80
 |
 |