Gigabyte X299X AORUS XTREME WATER User Manual - Page 83
Configuring Intel® Virtual RAID on CPU (Intel® VROC), Virtual RAID on CPU Intel
 |
View all Gigabyte X299X AORUS XTREME WATER manuals
Add to My Manuals
Save this manual to your list of manuals |
Page 83 highlights
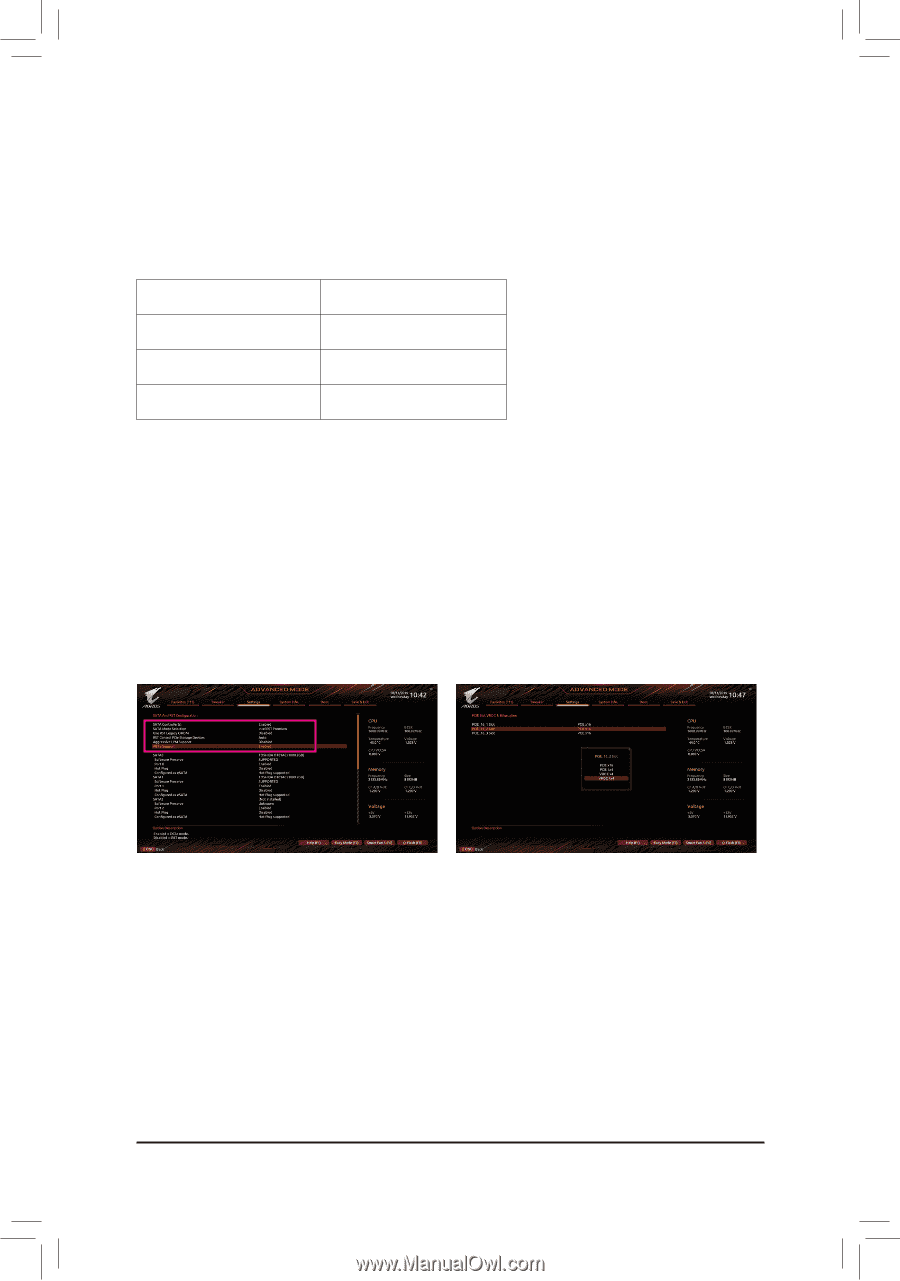
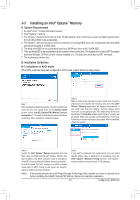
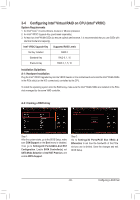
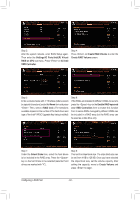
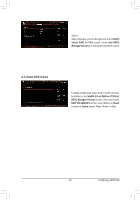
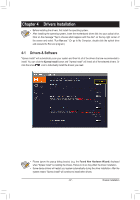
3-4 Configuring Intel® Virtual RAID on CPU (Intel® VROC) System Requirements 1. An Intel® Core™ X series 48-lane, 44-lane or 28-lane processor 2. An Intel® VROC Upgrade Key (purchased separately) 3. At least two Intel® NVMe SSDs (to ensure optimal performance, it is recommended that you use SSDs with identical model and capacity). Intel® VROC Upgrade Key Supported RAID Levels No Key Installed RAID 0 Standard Key RAID 0, 1, 10 Premium Key RAID 0, 1, 5, 10 Installation Guidelines A-1: Hardware Installation Plug the Intel® VROC Upgrade Key into the VROC header on the motherboard and install the Intel® NVMe SSDs in the PCIe slot(s) or the M.2 connector(s) controlled by the CPU. To install the operating system onto the RAID array, make sure the Intel® NVMe SSDs are installed in the PCIe slots managed by the same VMD controller. A-2: Creating a RAID Array Step 1: After the system starts, go to the BIOS Setup, make sure CSM Support on the Boot menu is disabled. Then go to Settings\IO Ports\SATA And RST Configuration. Enable SATA Controller(s), set SATA Mode Selection to Intel RST Premium, and enable iRSTe Support. Step 2: Go to Settings\IO Ports\PCIE Slot VROC & Bifurcation to set how the bandwidth of the PCIe slot you use is divided. Save the changes and exit BIOS Setup. - 83 - Configuring a RAID Set
-
 1
1 -
2
-
3
-
4
-
5
-
6
-
7
-
8
-
9
-
10
-
11
-
12
-
13
-
14
-
15
-
16
-
17
-
18
-
19
-
20
-
21
-
22
-
23
-
24
-
25
-
26
-
27
-
28
-
29
-
30
-
31
-
32
-
33
-
34
-
35
-
36
-
37
-
38
-
39
-
40
-
41
-
42
-
43
-
44
-
45
-
46
-
47
-
48
-
49
-
50
-
51
-
52
-
53
-
54
-
55
-
56
-
57
-
58
-
59
-
60
-
61
-
62
-
63
-
64
-
65
-
66
-
67
-
68
-
69
-
70
-
71
-
72
-
73
-
74
-
75
-
76
-
77
-
 78
78 -
 79
79 -
 80
80 -
 81
81 -
 82
82 -
 83
83 -
 84
84 -
 85
85 -
 86
86 -
 87
87 -
 88
88 -
89
-
90
-
91
-
92
-
93
-
94
-
95
-
96
-
97
-
98
-
99
-
100
-
101
-
102
-
103
-
104
-
105
-
106
-
107
-
108
-
109
-
110
-
111
-
112
-
113
-
114
-
115
-
116
-
117
-
118
-
119
-
120
-
121
-
122
-
123
-
124
-
125
-
126
-
127
-
128
-
129
-
130
-
131
-
132
-
133
-
134
-
135
-
136
 |
 |