HealthRider H90e Elliptical English Manual - Page 18
How To Create A Custom Workout
 |
View all HealthRider H90e Elliptical manuals
Add to My Manuals
Save this manual to your list of manuals |
Page 18 highlights
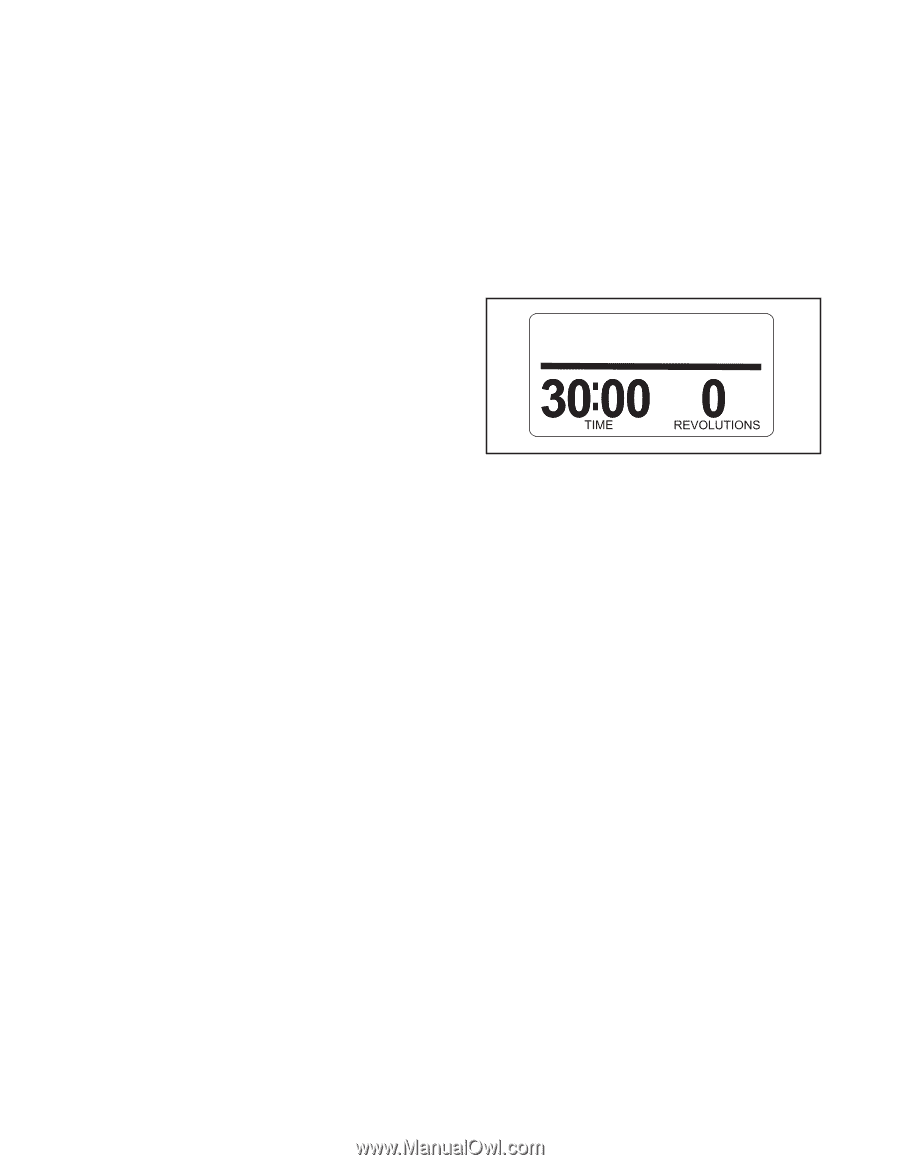
4. Follow your progress with the display. HOW TO CREATE A CUSTOM WORKOUT During the workout, the display will show the workout profile, the time remaining in the workout, and the distance you have pedaled. 1. Turn on the console. See step 1 on page 15. To view the profile, your pedaling pace, and the distance you have pedaled, press the Display button. Note: The words SPEED UP or SLOW DOWN may appear in the display to prompt you to keep your pedaling pace near the target pace setting for the current segment. To view the time remaining in the workout and the distance pedaled, press the Display button. Press the Display button again to view the time remaining and the approximate number of calories burned. 2. Select a custom workout. To select a custom workout, press the Custom Workouts button once or twice. When you select a custom workout, the name of the workout and the settings for the workout will appear in the display for a few seconds. To view the time remaining, distance pedaled, ramp incline, number of grams of carbs burned, and pedaling pace, press the Display button again. Note: An upward- or downward-pointing arrow may appear in the display to prompt you to keep your pedaling pace near the target pace setting for the current segment. 3. Begin pedaling to start the workout, and workout the desired settings. To view the first display again, press the Display button again. 5. Measure your heart rate if desired. Each custom workout is divided into 30 oneminute segments. You can workout one resistance level and one target pace setting for each segment. See step 5 on page 16. 6. Turn on the fan if desired. See step 6 on page 16. To workout a resistance level for the first segment, simply adjust the resistance of the pedals by pressing the Quick Resistance buttons. To workout a target pace for the first segment, simply pedal at the desired pace. 7. When you are finished exercising, the console will turn off automatically. See step 7 on page 16. At the end of the first segment, the workout will store the current resistance level and your current pace in memory. Workout a resistance level and a target pace for the second segment as described above. Continue exercising for up to thirty minutes. Stop pedaling when you are finished with your workout. The workout you created will then be stored in memory. Note: If your workout is less than thirty minutes long, any remaining segments in the workout will be stored with the last resistance level and target pace setting you programmed. 4. When the workout is finished, the console will turn off automatically. See step 7 on page 16. 18
-
 1
1 -
2
-
3
-
4
-
5
-
6
-
7
-
8
-
9
-
10
-
11
-
12
-
 13
13 -
 14
14 -
 15
15 -
 16
16 -
 17
17 -
 18
18 -
 19
19 -
 20
20 -
 21
21 -
 22
22 -
 23
23 -
24
-
25
-
26
-
27
-
28
-
29
-
30
-
31
-
32
 |
 |