HP Deskjet 1200c HP Photo Scanner 1200 - (English) User Manual - Page 15
turn on scanner power, scan a photo, to disconnect the scanner, insert the batteries
 |
View all HP Deskjet 1200c manuals
Add to My Manuals
Save this manual to your list of manuals |
Page 15 highlights
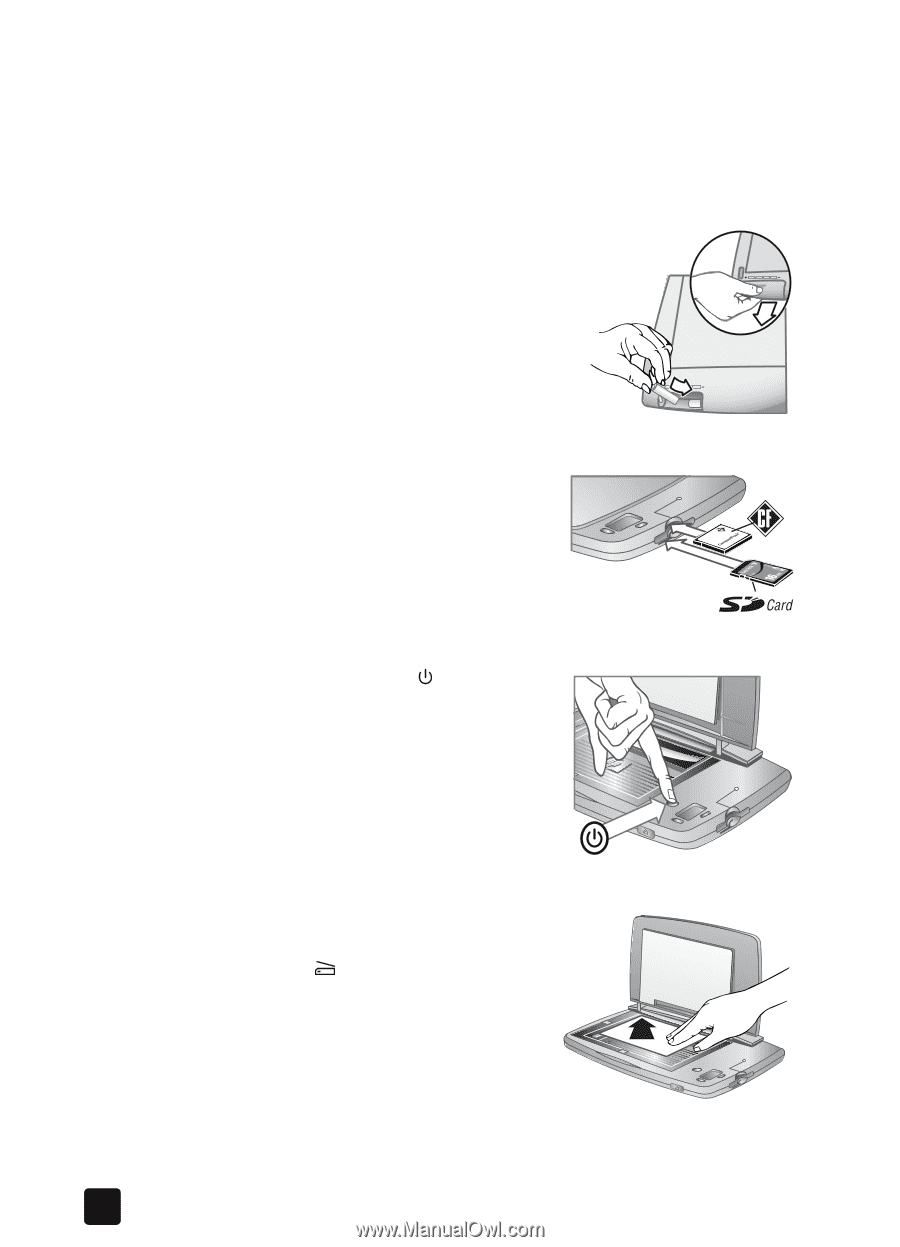
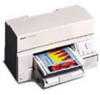
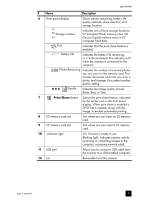
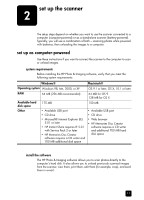
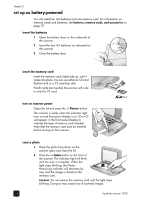
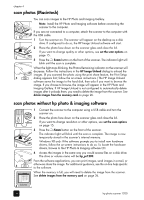
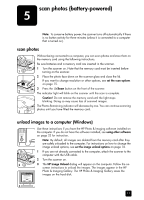
chapter 2 set up as battery-powered You will need four AA batteries and one memory card. For information on memory cards and batteries, see batteries, memory cards, and accessories on page 37. insert the batteries 1 Open the battery door on the underside of the scanner. 2 Insert the four AA batteries as indicated on the scanner. 3 Close the battery door. insert the memory card Insert the memory card, label side up, until it snaps into place. You can use either an SD card (bottom slot) or a CF card (top slot). If both cards are inserted, the scanner will write to only the CF card. turn on scanner power Open the lid and press the Power button. The scanner is ready when the indicator light turns on and front panel display is on. SD or CF will appear in the front panel display to indicate the type of memory card inserted. Note that the memory card must be inserted before turning on the scanner. scan a photo 1 Place the photo face down on the scanner glass and close the lid. 2 Press the Scan button on the front of the scanner. The indicator light will blink until the scan is complete. When the light stops blinking, the Photos Remaining indicator will decrease by one, and the image is stored on the memory card. Caution! Do not remove the memory card until the light stops blinking. Doing so may cause loss of scanned images. 14 hp photo scanner 1200
-
 1
1 -
2
-
3
-
4
-
5
-
6
-
7
-
8
-
9
-
 10
10 -
 11
11 -
 12
12 -
 13
13 -
 14
14 -
 15
15 -
 16
16 -
 17
17 -
 18
18 -
 19
19 -
 20
20 -
21
-
22
-
23
-
24
-
25
-
26
-
27
-
28
-
29
-
30
-
31
-
32
-
33
-
34
-
35
-
36
-
37
-
38
-
39
-
40
-
41
-
42
-
43
-
44
-
45
-
46
-
47
-
48
 |
 |