HP Deskjet 9600 HP Deskjet 9600 - User Guide - Page 58
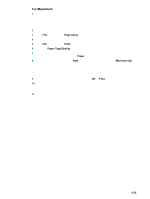
For Macintosh, Setup, Print, Paper Type/Quality, Paper, Maximum dpi
 |
View all HP Deskjet 9600 manuals
Add to My Manuals
Save this manual to your list of manuals |
Page 58 highlights
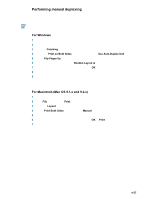
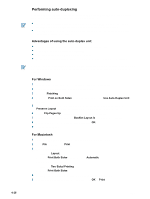
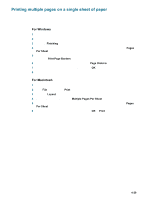
For Macintosh 1 Load the appropriate paper: • If you are printing one or just a few sheets, you can use the front or rear manual feed slot. If so, continue with the steps below and load the paper in a later step. • If you are using the input tray, see "Loading media in the input tray". 2 Open the file you wish to print. 3 Click File, and then click Page Setup. 4 Select the borderless paper size. 5 Click File, and then click Print. 6 Open the Paper Type/Quality panel. 7 Mac OS 9.1.x and 9.2.x: Select the media group and type. Mac OS X (10.1 and later): Click the Paper tab and select the media type and source. 8 If you are printing photos, select Best print quality. Alternatively, select Maximum dpi, which provides up to 4800 x 1200 optimized dpi* for optimum print quality. *Up to 4800 x 1200 optimized dpi for color printing and 1200 input dpi. This setting will temporarily use a large amount of hard disk space (400 MB or more) and will print slower. Photo cartridge, if present, further enhances the print quality. 9 Change any other desired print settings and click OK or Print. 10 If you are printing on thick or photo paper, insert paper into the rear manual feed slot at the back of the printer. (For instructions on feeding paper manually, see "Printing with the front or rear manual feed slot".) 11 If you printed on photo paper with a tear-off tab, remove the tab to make the document completely borderless. ENWW 4-25
-
 1
1 -
2
-
3
-
4
-
5
-
6
-
7
-
8
-
9
-
10
-
11
-
12
-
13
-
14
-
15
-
16
-
17
-
18
-
19
-
20
-
21
-
22
-
23
-
24
-
25
-
26
-
27
-
28
-
29
-
30
-
31
-
32
-
33
-
34
-
35
-
36
-
37
-
38
-
39
-
40
-
41
-
42
-
43
-
44
-
45
-
46
-
47
-
48
-
49
-
50
-
51
-
52
-
 53
53 -
 54
54 -
 55
55 -
 56
56 -
 57
57 -
 58
58 -
 59
59 -
 60
60 -
 61
61 -
 62
62 -
 63
63 -
64
-
65
-
66
-
67
-
68
-
69
-
70
-
71
-
72
-
73
-
74
-
75
-
76
-
77
-
78
-
79
-
80
-
81
-
82
-
83
-
84
-
85
-
86
-
87
-
88
-
89
-
90
-
91
-
92
-
93
-
94
-
95
-
96
-
97
-
98
-
99
-
100
-
101
-
102
-
103
-
104
-
105
-
106
-
107
-
108
-
109
-
110
-
111
-
112
-
113
-
114
-
115
-
116
-
117
-
118
-
119
-
120
-
121
-
122
-
123
 |
 |