HP PSC 500 HP PSC 500 - (English) Setup Guide - Page 16
Step 5 - Install the HP PSC 500 Software - scanning software
 |
View all HP PSC 500 manuals
Add to My Manuals
Save this manual to your list of manuals |
Page 16 highlights
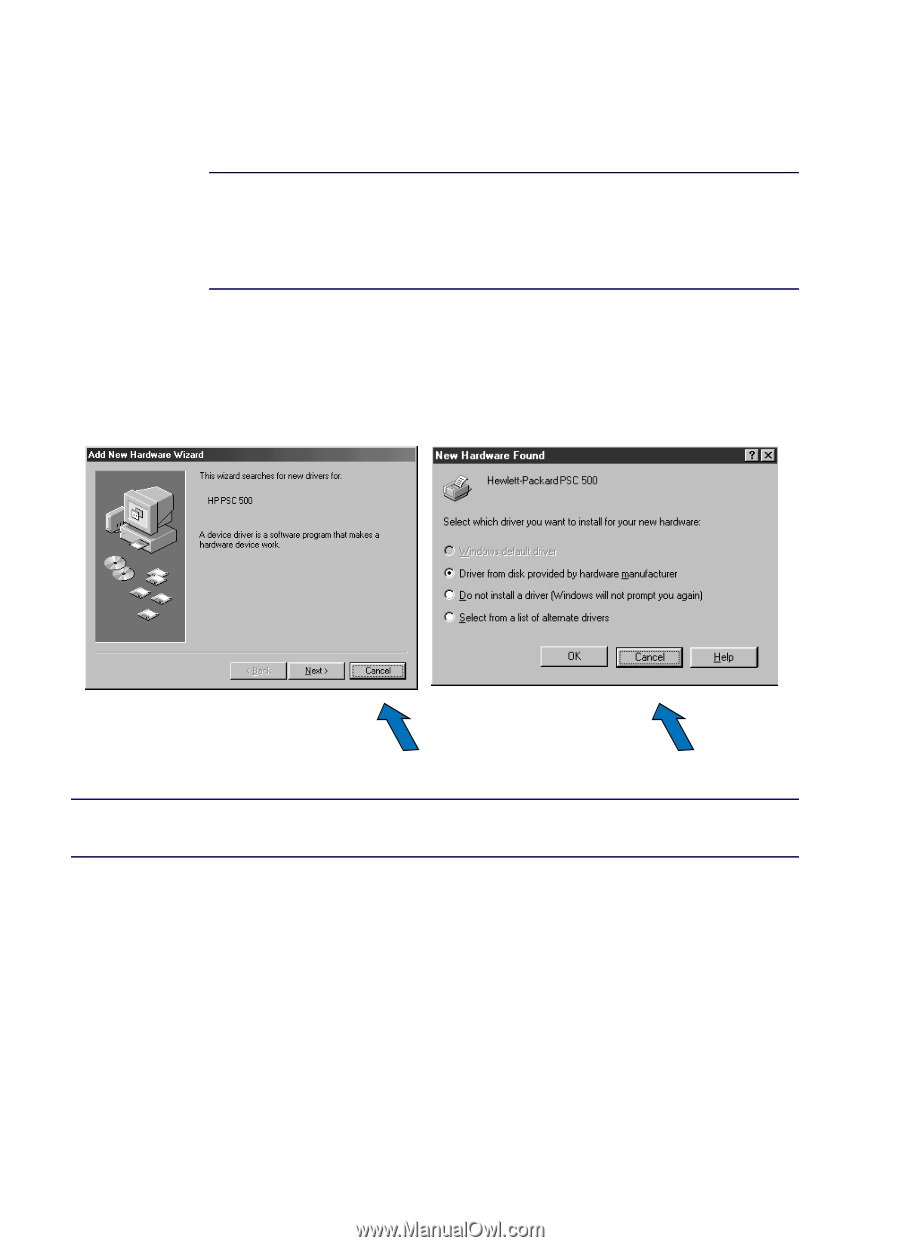
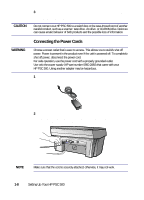
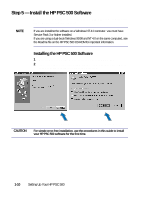
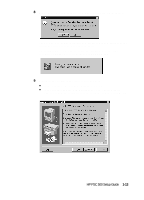
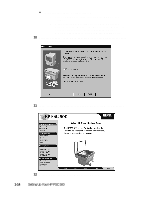
Step 5 - Install the HP PSC 500 Software Now you need to install software so that the HP PSC 500 can work with your computer for printing and scanning. NOTE If you are installing the software on a Windows NT 4.0 computer, you must have Service Pack 3 or higher installed. If you are using a dual-boot (Windows 95/98 and NT 4.0 on the same computer), see the Readme file on the HP PSC 500 CD-ROM for important information. Installing the HP PSC 500 Software 1 Turn on your computer, but do not turn on your HP PSC 500. 2 If you see either of the following windows, click Cancel or press Esc on your keyboard. Otherwise, skip to the next step. CAUTION Click Cancel. Click Cancel. For simple error-free installation, use the procedures in this guide to install your HP PSC 500 software for the first time. 1-10 Setting Up Your HP PSC 500
-
 1
1 -
2
-
3
-
4
-
5
-
6
-
7
-
8
-
9
-
10
-
 11
11 -
 12
12 -
 13
13 -
 14
14 -
 15
15 -
 16
16 -
 17
17 -
 18
18 -
 19
19 -
 20
20 -
 21
21 -
22
-
23
-
24
-
25
-
26
-
27
-
28
-
29
-
30
-
31
-
32
 |
 |