HP Photosmart 240 HP Photosmart 240 series - (English) Reference Guide - Page 14
remove the print cartridge - ink
 |
View all HP Photosmart 240 manuals
Add to My Manuals
Save this manual to your list of manuals |
Page 14 highlights
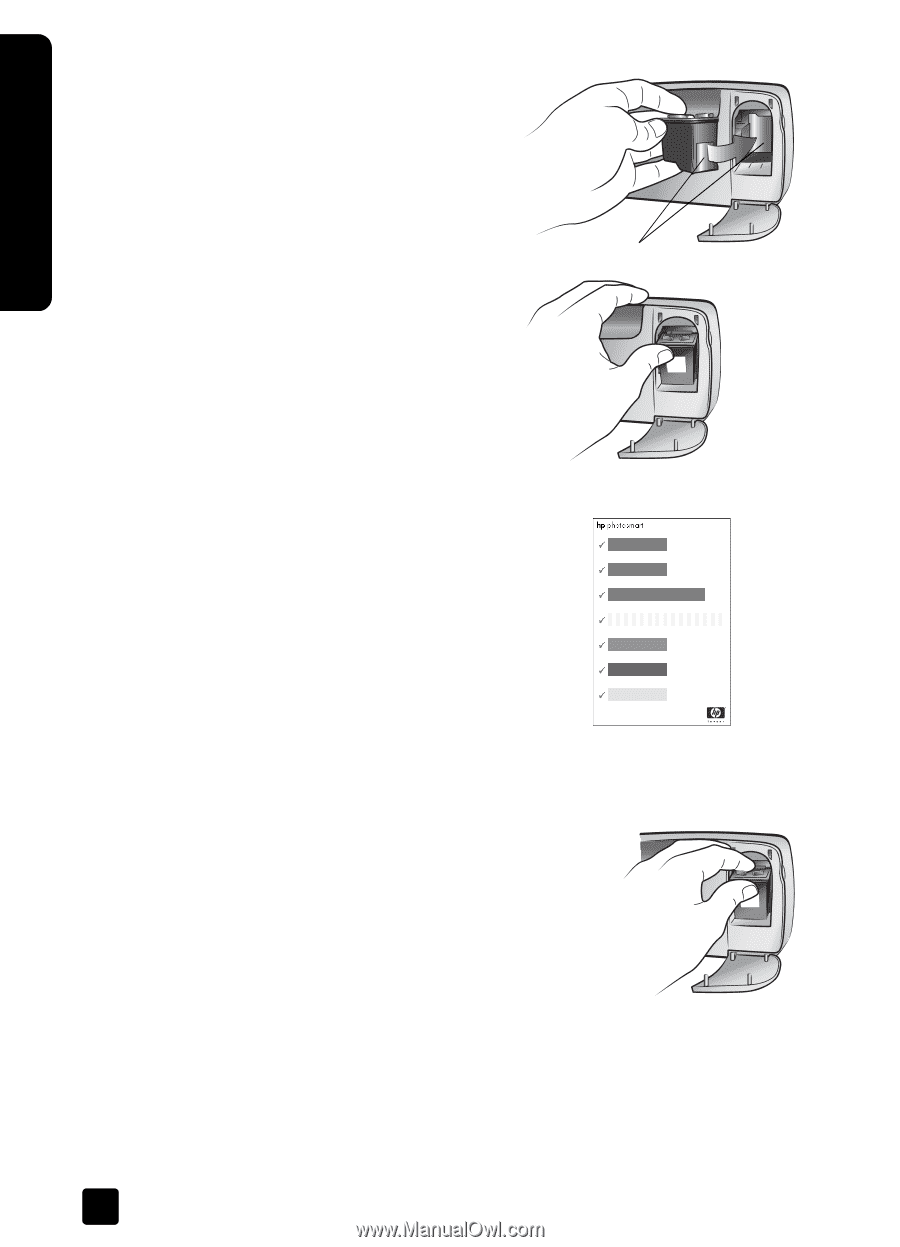
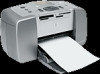
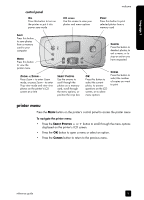
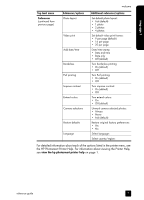
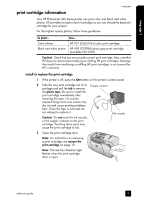
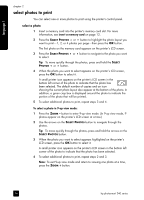
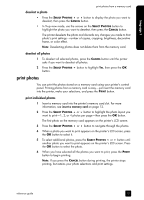
language 1 chapter 1 4 Place the print cartridge in the print cartridge cradle with the copper contacts facing toward the inside of the printer and the ink nozzles facing down. 5 Push the print cartridge into the print cartridge cradle until you feel it snap into place. 6 Close the print cartridge door. After you install a new print cartridge, a message appears on the printer's LCD screen asking you to load plain paper. Load an index card in the paper tray, then press the OK button. The printer automatically calibrates the new print cartridge and prints a calibration page. Copper contacts Calibration page • The check marks verify that the print cartridge is installed correctly and functioning properly. • If an "x" appears to the left of any of the bars, calibrate the print cartridge again using the Calibrate Printer option under Tools in the printer menu. If the "x" still appears, replace the print cartridge. remove the print cartridge 1 Open the print cartridge door. 2 Push down and pull outward on the top of the print cartridge to unsnap it from the print cartridge cradle. Remove the print cartridge from the printer. 3 If there is ink in the print cartridge, place the cartridge in a print cartridge protector for storage. If the print cartridge is empty, discard or recycle the print cartridge. For information about recycling print cartridges, go to www.hp.com/recycle. 10 hp photosmart 240 series
-
 1
1 -
2
-
3
-
4
-
5
-
6
-
7
-
8
-
 9
9 -
 10
10 -
 11
11 -
 12
12 -
 13
13 -
 14
14 -
 15
15 -
 16
16 -
 17
17 -
 18
18 -
 19
19 -
20
-
21
-
22
-
23
-
24
-
25
-
26
-
27
-
28
-
29
-
30
-
31
-
32
-
33
-
34
-
35
-
36
-
37
-
38
-
39
-
40
-
41
-
42
 |
 |