HP ProLiant DL380p HP Insight Server Migration Software for ProLiant User Guid - Page 31
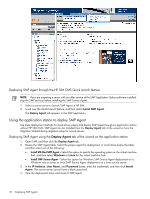
Deploying SMP Source Agent directly from the Migration Wizard on the application station
 |
View all HP ProLiant DL380p manuals
Add to My Manuals
Save this manual to your list of manuals |
Page 31 highlights
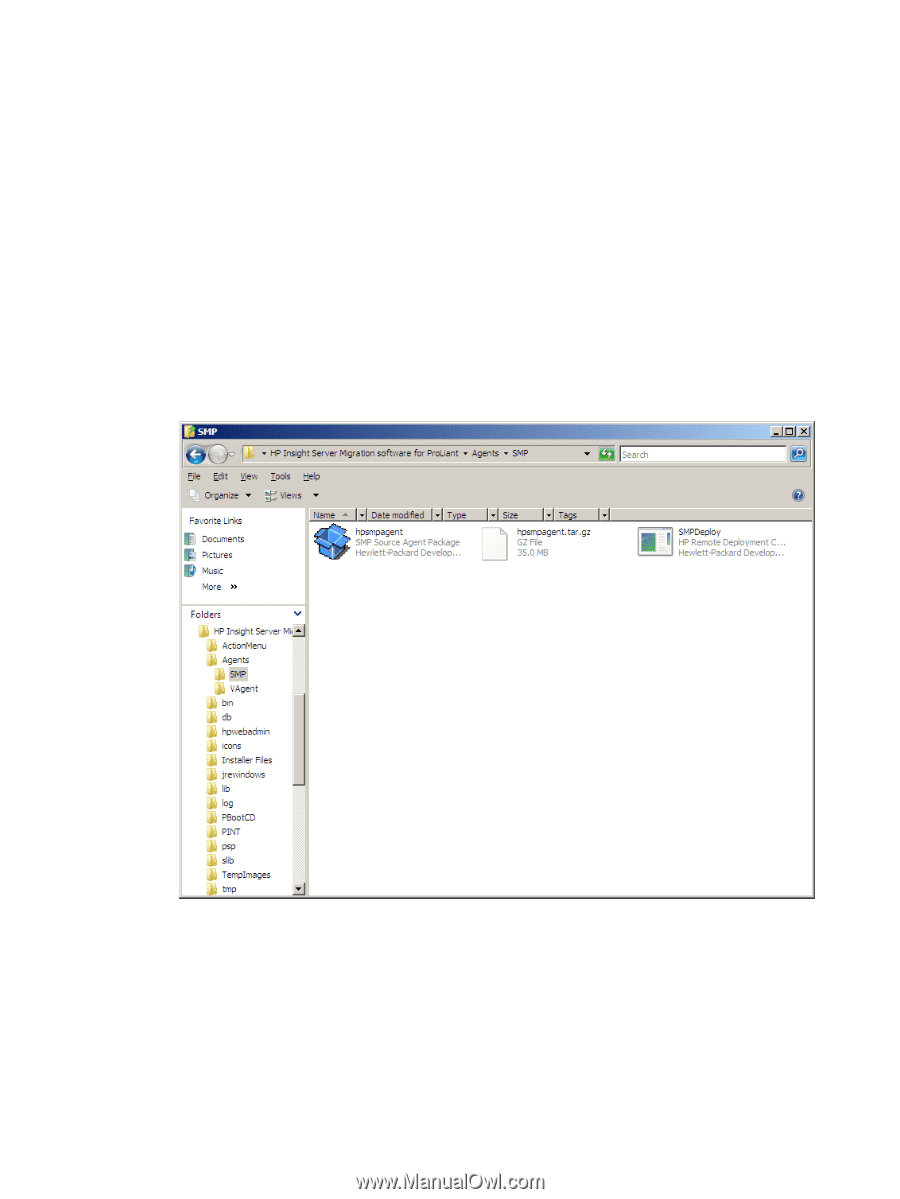
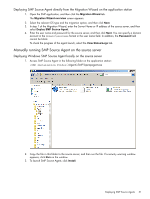
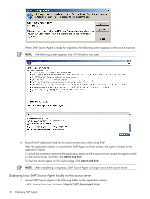
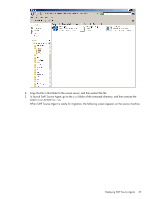
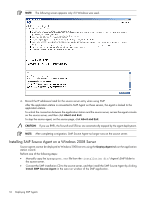
Deploying SMP Source Agent directly from the Migration Wizard on the application station 1. Open the SMP application, and then click the Migration Wizard tab. The Migration Wizard overview screen appears. 2. Select the relevant OS type and the migration option, and then click Next. 3. In step 1 of the Migration Wizard, enter the Server Name or IP address of the source server, and then select Deploy SMP Source Agent. 4. Enter the user name and password for the source server, and then click Next. You can specify a domain account in the domain\username format in the user name field. In addition, the Password field cannot be blank. To check the progress of the agent launch, select the View Status/Logs tab. Manually running SMP Source Agent on the source server Deploying Windows SMP Source Agent locally on the source server 1. Access SMP Source Agent in the following folder on the application station: \Agents\SMP\hpsmpagent.exe 2. Copy the file in this folder to the source server, and then run the file. If a security warning window appears, click Run on the window. 3. To launch SMP Source Agent, click Install. Deploying SMP Source Agents 31
-
 1
1 -
2
-
3
-
4
-
5
-
6
-
7
-
8
-
9
-
10
-
11
-
12
-
13
-
14
-
15
-
16
-
17
-
18
-
19
-
20
-
21
-
22
-
23
-
24
-
25
-
 26
26 -
 27
27 -
 28
28 -
 29
29 -
 30
30 -
 31
31 -
 32
32 -
 33
33 -
 34
34 -
 35
35 -
 36
36 -
37
-
38
-
39
-
40
-
41
-
42
-
43
-
44
-
45
-
46
-
47
-
48
-
49
-
50
-
51
-
52
-
53
-
54
-
55
-
56
-
57
-
58
-
59
-
60
-
61
-
62
-
63
-
64
-
65
-
66
-
67
-
68
-
69
-
70
-
71
-
72
-
73
-
74
-
75
-
76
-
77
-
78
-
79
-
80
-
81
-
82
-
83
-
84
-
85
-
86
-
87
-
88
-
89
-
90
-
91
-
92
-
93
-
94
-
95
-
96
-
97
-
98
-
99
-
100
-
101
-
102
-
103
-
104
-
105
-
106
-
107
-
108
-
109
-
110
-
111
-
112
-
113
-
114
-
115
-
116
-
117
-
118
-
119
-
120
-
121
-
122
-
123
-
124
-
125
-
126
-
127
-
128
-
129
-
130
-
131
-
132
-
133
-
134
-
135
-
136
-
137
-
138
-
139
-
140
-
141
-
142
-
143
-
144
-
145
-
146
-
147
 |
 |