HP Scanjet 7450c HP Scanjet 7400C Series Scanner Windows - (English) Setup and - Page 14
Changing the SCSI address
 |
View all HP Scanjet 7450c manuals
Add to My Manuals
Save this manual to your list of manuals |
Page 14 highlights
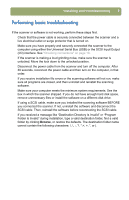
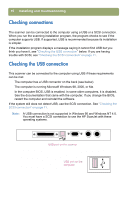
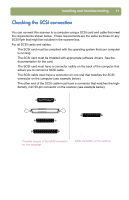
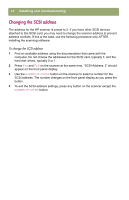
14 Installing and troubleshooting Changing the SCSI address The address for the HP scanner is preset to 2. If you have other SCSI devices attached to this SCSI card, you may need to change the scanner address to prevent address conflicts. If this is the case, use the following procedure only AFTER installing the scanning software. To change the SCSI address 1 Find an available address using the documentation that came with the computer. Do not choose the addresses for the SCSI card, typically 7, and the hard disk drives, typically 0 or 1. 2 Press FAX and FILE on the scanner at the same time. "SCSI Address: 2" should appear on the front panel display. 3 Use the NUMBER OF COPIES button on the scanner to select a number for the SCSI address. The number changes on the front panel display as you press the button. 4 To exit the SCSI address settings, press any button on the scanner except the NUMBER OF COPIES button.
-
 1
1 -
2
-
3
-
4
-
5
-
6
-
7
-
8
-
 9
9 -
 10
10 -
 11
11 -
 12
12 -
 13
13 -
 14
14 -
 15
15 -
 16
16 -
 17
17 -
 18
18 -
 19
19 -
20
-
21
-
22
-
23
-
24
-
25
-
26
-
27
-
28
-
29
-
30
-
31
-
32
 |
 |