HP Xw6600 HP Workstations - Second Xeon Processor Installation - Page 12
Step 5-Reassembling the workstation, Step 6-Configuring the operating system and verifying, - memory upgrade
 |
UPC - 883585731121
View all HP Xw6600 manuals
Add to My Manuals
Save this manual to your list of manuals |
Page 12 highlights
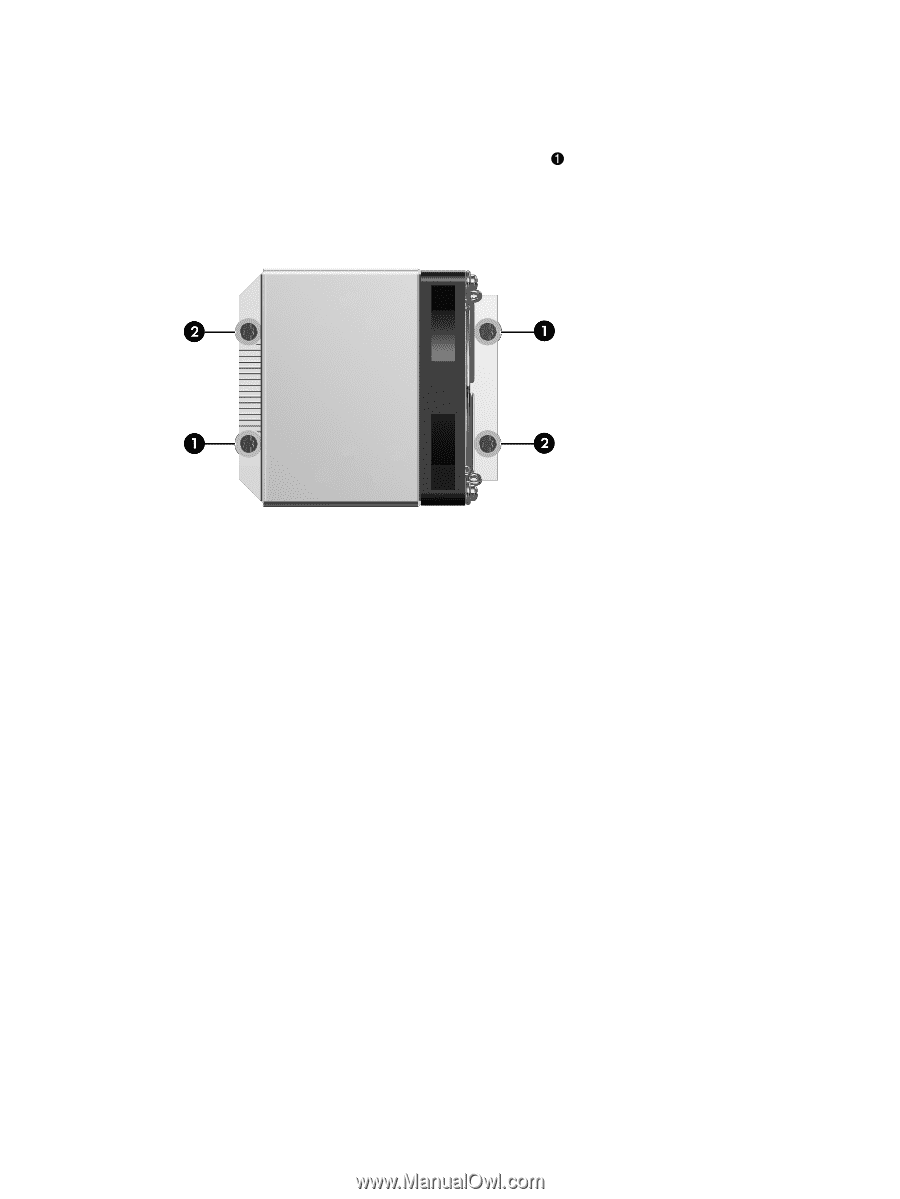
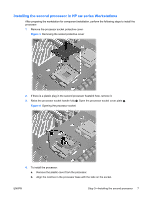
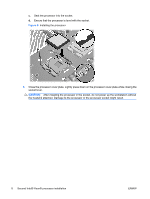
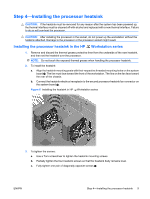
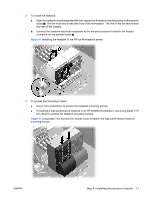
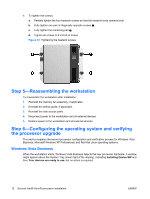
4. To tighten the screws: a. Partially tighten the four heatsink screws so that the heatsink body remains level. b. Fully tighten one pair of diagonally opposite screws . c. Fully tighten the remaining pair 2. d. Tighten all screws to 6 inch-lb of torque. Figure 10 Tightening the heatsink screws Step 5-Reassembling the workstation To reassemble the workstation after installation: 1. Reinstall the memory fan assembly, if applicable. 2. Reinstall the airflow guide, if applicable. 3. Reinstall the side access panel. 4. Reconnect power to the workstation and all external devices. 5. Restore power to the workstation and all external devices. Step 6-Configuring the operating system and verifying the processor upgrade This section explains the second processor configuration and verification process for Windows Vista Business, Microsoft Windows XP Professional, and Red Hat Linux operating systems. Windows Vista Business When the workstation starts, Windows Vista Business detects the new processor hardware. A window might appear above the System Tray (lower right of the display), indicating Installing Device SW and then Your devices are ready to use, but no action is required. 12 Second Intel® Xeon® processor installation ENWW
-
 1
1 -
2
-
3
-
4
-
5
-
6
-
 7
7 -
 8
8 -
 9
9 -
 10
10 -
 11
11 -
 12
12 -
 13
13 -
 14
14
 |
 |