Husqvarna AUTOMOWER 550 Owner Manual - Page 21
Checking the installation, 9 Connectivity
 |
View all Husqvarna AUTOMOWER 550 manuals
Add to My Manuals
Save this manual to your list of manuals |
Page 21 highlights
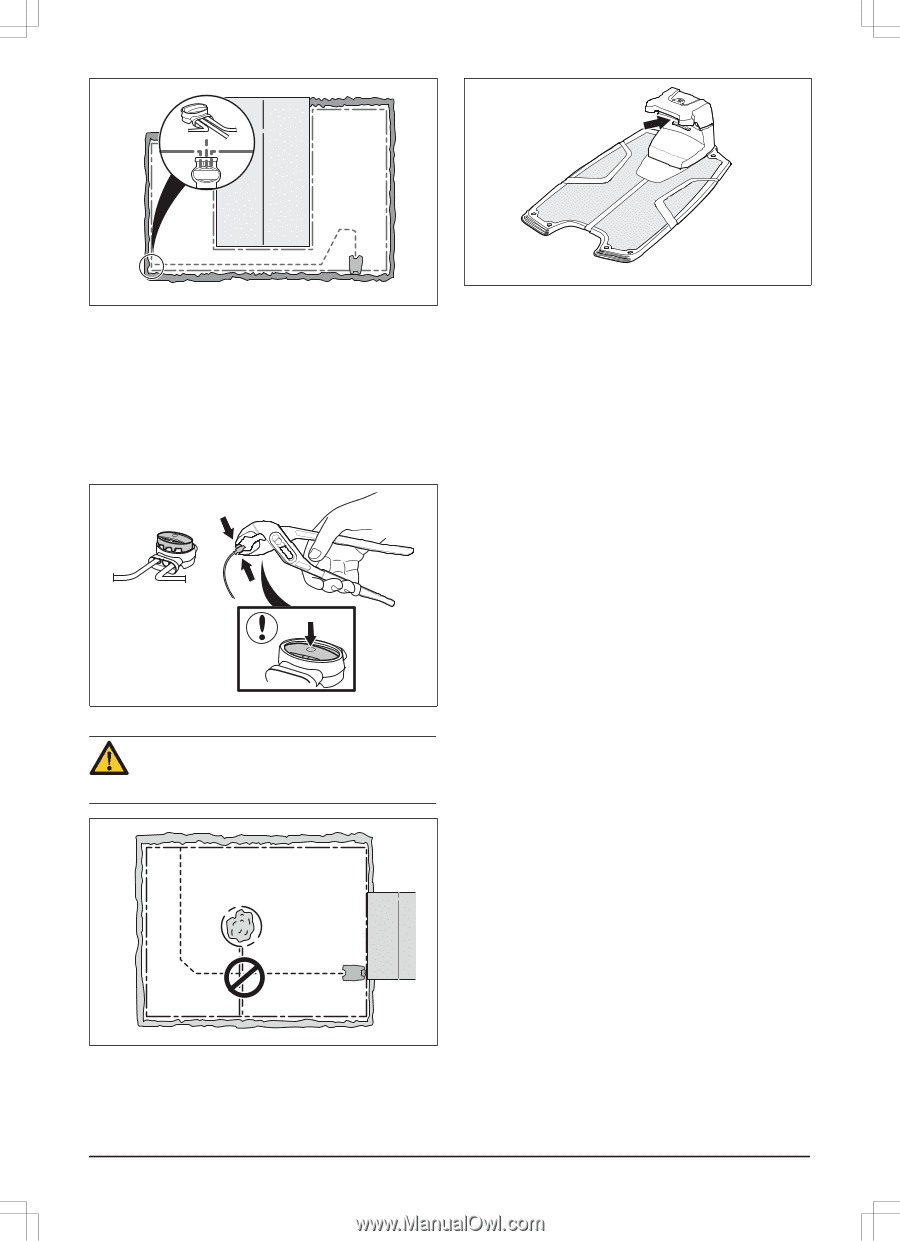
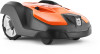
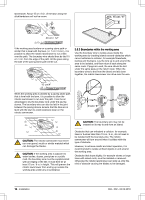
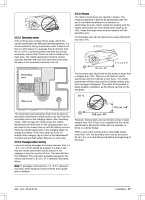
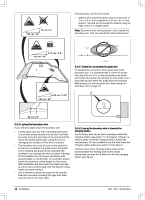
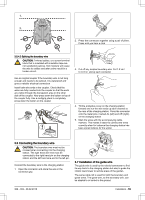
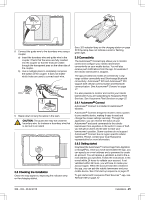
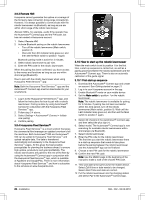
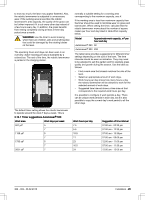
8. Connect the guide wire to the boundary wire using a coupler: a) Insert the boundary wire and guide wire in the coupler. Check that the wires are fully inserted into the coupler so that the ends are visible through the transparent area on the other side of the coupler. b) Use a multigrip pliers to completely compress the button on the coupler. It does not matter which holes are used to connect each wire. 9. Staple down or bury the splice in the lawn. CAUTION: The guide wire may not cross the boundary wire, for instance a boundary wire that is laid out to an island. 3.8 Checking the installation Check the loop signal by inspecting the indicator lamp on the charging station. See LED indicator lamp on the charging station on page 50 if the lamp does not indicate a solid or flashing green light. 3.9 Connectivity The Automower® Connect app allows you to monitor, control and configure your robotic lawnmower conveniently on your mobile device. You will also receive push notifications from the app, for example if the robotic lawnmower is stopped. The app provides two modes of connectivity: Longrange cellular connectivity and Short-range Bluetooth connectivity. Automower® 520 and Automower® 550 support both cellular communication and Bluetooth communication. See Automower® Connect on page 21. It is also possible to monitor and control your robotic lawnmower if you are subscribing to Husqvarna Fleet Services. See Husqvarna Fleet Services on page 22. 3.9.1 Automower® Connect Automower® Connect is included in Automower® 520/550. Automower® Connect brings the mower's menu system to your mobile device, making it easy to read and change the mower settings remotely. Through this application, you can receive the status of your Automower® and send commands to the robotic lawnmower from anywhere in the world. In case of theft, you will get an alarm and be able to track your lawnmower's position. Some countries do not support Automower® Connect due to region specific cellular systems. Please, contact your local Husqvarna representative for more information. 3.9.2 Getting started Download the Automower® Connect app from AppStore or GooglePlay. Once you have downloaded the app, you can specify an e-mail address and a password to create an account. You will receive a validation e-mail to the email address you specified. Follow the instructions in the e-mail within 24 hours to validate your account. If not validated within 24 hours, you will have to create your account again. When the account has been created in the app, you can pair the robotic lawnmower and your mobile device. See First start-up sequence on page 22. To get started with Husqvarna Fleet Services™ app, see Remote HMI on page 22. 362 - 002 - 06.02.2018 Installation - 21
-
 1
1 -
2
-
3
-
4
-
5
-
6
-
7
-
8
-
9
-
10
-
11
-
12
-
13
-
14
-
15
-
 16
16 -
 17
17 -
 18
18 -
 19
19 -
 20
20 -
 21
21 -
 22
22 -
 23
23 -
 24
24 -
 25
25 -
 26
26 -
27
-
28
-
29
-
30
-
31
-
32
-
33
-
34
-
35
-
36
-
37
-
38
-
39
-
40
-
41
-
42
-
43
-
44
-
45
-
46
-
47
-
48
-
49
-
50
-
51
-
52
-
53
-
54
-
55
-
56
-
57
-
58
-
59
-
60
-
61
-
62
-
63
-
64
 |
 |