Image Fitness Access 3000 English Manual - Page 20
Image Fitness Access 3000 Manual
 |
View all Image Fitness Access 3000 manuals
Add to My Manuals
Save this manual to your list of manuals |
Page 20 highlights
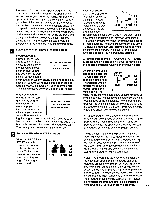
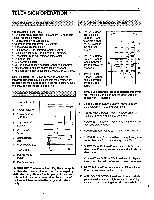
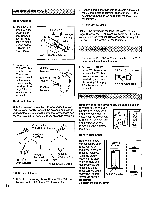
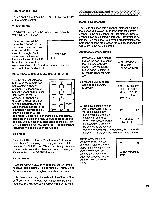
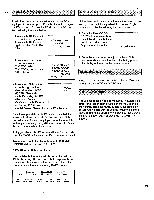
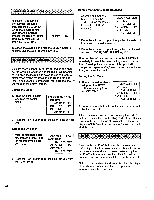
Erasing Channels Manually Searching for and Storing Channels After all channels available in your area have been set into memory, you can erase unwanted channels by following the steps below: 1. Select the unwanted channel by using the CHANNEL or V button or the channel selection buttons. 1. Press the MENU button to turn on the pop up menu. Press the MENU button again to select CH MEMORY. CH MEMORY ANALOG CLOCK/TIMER 2. Press the MENU button to turn on the pop up menu. Press the MENU button again to select CH MEMORY. CH MEMORY ANALOG CLOCK/TIMER 3. Press the + or - button to move the arrow to MEMORY ADD•ERASE. Select MEMORY ADD•ERASE by pressing the MENU button. AUTO MEMORY SEARCH/SKIP >MEMORY ADD •ERASE TV/CATV 2. Press the + or - button to move the arrow to SEARCH/SKIP. Select SEARCH/SKIP by pressing the MENU button. AUTO MEMORY >SEARCH/SKIP MEMORY ADD •ERASE TV/CATV 3. Press the - button to select the SEARCH mode. The TV will return to the normal screen after four seconds. CHANNEL UP/DOWN SKIP : [+] SEARCH : [-] 4. Press the - button to erase the stored channel from memory. The channel number will change from green to red. TV 07 CHANNEL MEMORY END ERASE [+] [-] - Adding Chia/Theis Channels that are not in memory can be stored manually. To manually store a channel, follow the steps above, but press the + button when MEMORY ADD• ERASE is selected. The channel will be stored in memory, and the channel number will change from red to green. 4. Press the CHANNEL or V button to start searching. It will stop whenever an available channel is found. 5. If you do not want to store the channel in memory, press the CHANNEL or V button again. To store the channel in memory, refer to ADDING CHANNELS at the left. 6. Until all desired channels have been stored, return to SEARCH/SKIP as described above and press the + button to return to the SKIP mode. 20
-
 1
1 -
2
-
3
-
4
-
5
-
6
-
7
-
8
-
9
-
10
-
11
-
12
-
13
-
14
-
 15
15 -
 16
16 -
 17
17 -
 18
18 -
 19
19 -
 20
20 -
 21
21 -
 22
22 -
 23
23 -
 24
24 -
 25
25 -
26
-
27
-
28
-
29
-
30
-
31
-
32
-
33
-
34
 |
 |
