Intermec PB51 PB50 and PB51 Mobile Printer User Guide - Page 23
Charging the Batteries, Understanding the Battery Icon, AC18 4-Bay Battery Charger Instructions
 |
View all Intermec PB51 manuals
Add to My Manuals
Save this manual to your list of manuals |
Page 23 highlights
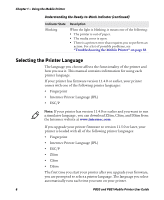
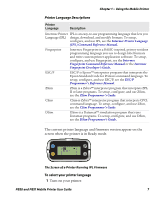
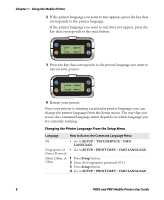
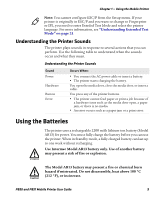
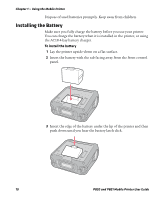
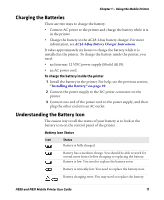
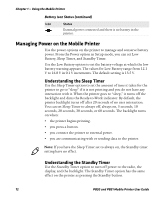
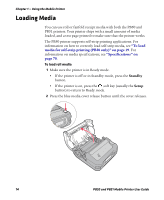
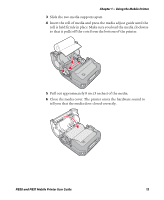
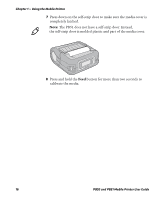
Chapter 1 - Using the Mobile Printer Charging the Batteries There are two ways to charge the battery: • Connect AC power to the printer and charge the battery while it is in the printer. • Charge the battery in the AC18 4-bay battery charger. For more information, see AC18 4-Bay Battery Charger Instructions. It takes approximately six hours to charge the battery while it is installed in the printer. To charge the battery inside the printer, you need: • an Intermec 12 VDC power supply (Model AE19). • an AC power cord. To charge the battery inside the printer 1 Install the battery in the printer. For help, see the previous section, "Installing the Battery" on page 10. 2 Connect the power supply to the DC power connector on the printer. 3 Connect one end of the power cord to the power supply, and then plug the other end into an AC outlet. Understanding the Battery Icon The easiest way to tell the status of your battery is to look at the battery icon on the control panel of the printer. Battery Icon Status Icon Status Battery is fully charged. Battery has a medium charge. You should be able to work for several more hours before charging or replacing the battery. Battery is low. You need to replace the battery soon. Battery is critically low. You need to replace the battery now. Battery charging error. You may need to replace the battery. PB50 and PB51 Mobile Printer User Guide 11
-
 1
1 -
2
-
3
-
4
-
5
-
6
-
7
-
8
-
9
-
10
-
11
-
12
-
13
-
14
-
15
-
16
-
17
-
 18
18 -
 19
19 -
 20
20 -
 21
21 -
 22
22 -
 23
23 -
 24
24 -
 25
25 -
 26
26 -
 27
27 -
 28
28 -
29
-
30
-
31
-
32
-
33
-
34
-
35
-
36
-
37
-
38
-
39
-
40
-
41
-
42
-
43
-
44
-
45
-
46
-
47
-
48
-
49
-
50
-
51
-
52
-
53
-
54
-
55
-
56
-
57
-
58
-
59
-
60
-
61
-
62
-
63
-
64
-
65
-
66
-
67
-
68
-
69
-
70
-
71
-
72
-
73
-
74
-
75
-
76
-
77
-
78
-
79
-
80
-
81
-
82
-
83
-
84
-
85
-
86
-
87
-
88
-
89
-
90
-
91
-
92
-
93
-
94
-
95
-
96
-
97
-
98
-
99
-
100
-
101
-
102
 |
 |