JVC DLA-M4000LU DLA-M4000LU User instruction manual (1.1MB) - Page 27
Adjust focus, For Operating Other Functions
 |
View all JVC DLA-M4000LU manuals
Add to My Manuals
Save this manual to your list of manuals |
Page 27 highlights
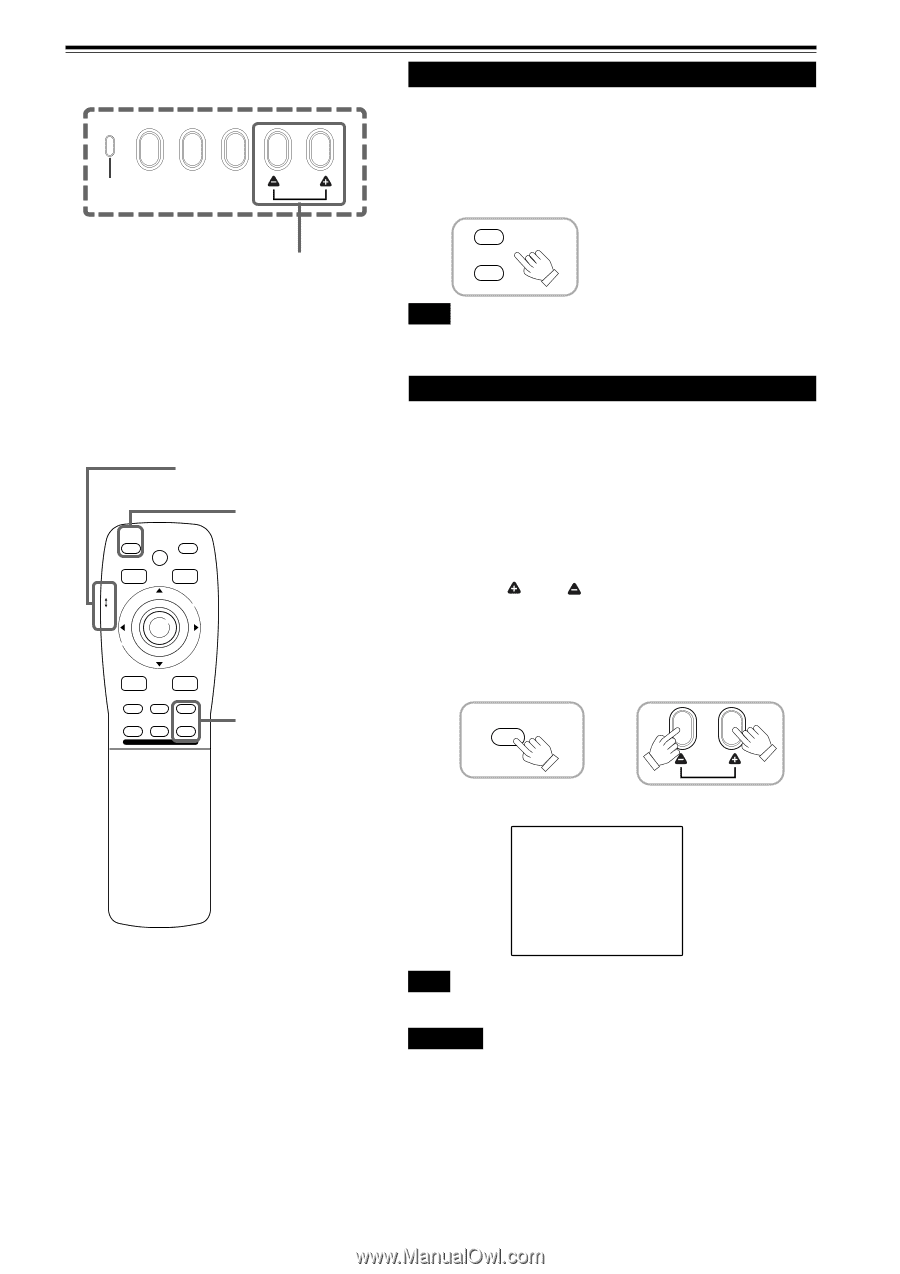
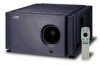
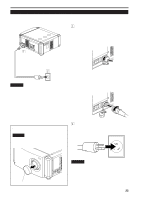
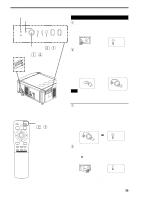
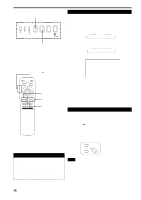
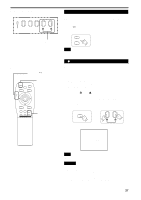
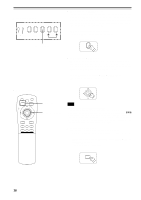
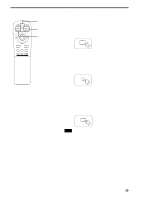
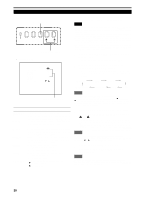
Basic Operations (Cont.) s Projector's buttons MERGENCY AV RGB SETTING QUICK ALIGN. QUICK ALIGN. button s Remote control unit LENS LOCKÔ UNLOCK switch QUICK ALIGN. OPERATE AV HIDE PRESET PAGE BACK QUICK ALIGN. button MENU/ ENTER LENS LOCK UNLOCK AV RGB/COMPUTER U SHIFT D T ZOOM W LENS + FOCUS - FOCUS (+/-) buttons 4. Adjust focus s Adjust focus with the remote control's FOCUS (+/-) buttons. When adjusting the focus with the FOCUS buttons, set the LENS LOCKÔUNLOCK switch to the UNLOCK position. Remote control unit + FOCUS - Note • Focus adjustment can also be made on the setting menu. For operating the setting menu, refer to "Making Basic Settings" on page 30. ¶ For Operating Other Functions s To use the quick alignment function The quick alignment function is used to automatically adjust (set) the screen settings of "TRACKING, PHASE, H. POS. and V. POS." of computer system input video. • Use either the remote control's or projector's button. s When using the remote control unit: Press the QUICK ALIGN. button. s When using the projector: Clear the menu display, and press the projector's QUICK ALIGN. " " and " " buttons at the same time. * During the automatic adjustment, "QUICK-ALIGNMENT" appears on the screen and disappears automatically after the adjustment is completed. Remote control unit Projector QUICK ALIGN. Screen display QUICK ALIGN. QUICK-ALIGNMENT Note • This function works only for computer system inputs. CAUTION • When performing automatic adjustment using the quick alignment function: Use a bright, still-picture screen. It may not function correctly on a dark or motion-picture screen. If the condition adjusted by using the quick alignment function is not good, manually adjust TRACKING, PHASE, H. POS. and V. POS. (see pages 30, 36 and 37). 27
-
 1
1 -
2
-
3
-
4
-
5
-
6
-
7
-
8
-
9
-
10
-
11
-
12
-
13
-
14
-
15
-
16
-
17
-
18
-
19
-
20
-
21
-
 22
22 -
 23
23 -
 24
24 -
 25
25 -
 26
26 -
 27
27 -
 28
28 -
 29
29 -
 30
30 -
 31
31 -
 32
32 -
33
-
34
-
35
-
36
-
37
-
38
-
39
-
40
-
41
-
42
-
43
-
44
-
45
-
46
-
47
-
48
-
49
-
50
-
51
-
52
-
53
-
54
-
55
-
56
-
57
-
58
-
59
-
60
-
61
-
62
-
63
-
64
-
65
-
66
-
67
-
68
 |
 |