JVC GRSXM37U Instructions - Page 12
MENU SETTINGS, Using The Cassette Adapter - svhs c camcorder
 |
UPC - 046838017216
View all JVC GRSXM37U manuals
Add to My Manuals
Save this manual to your list of manuals |
Page 12 highlights
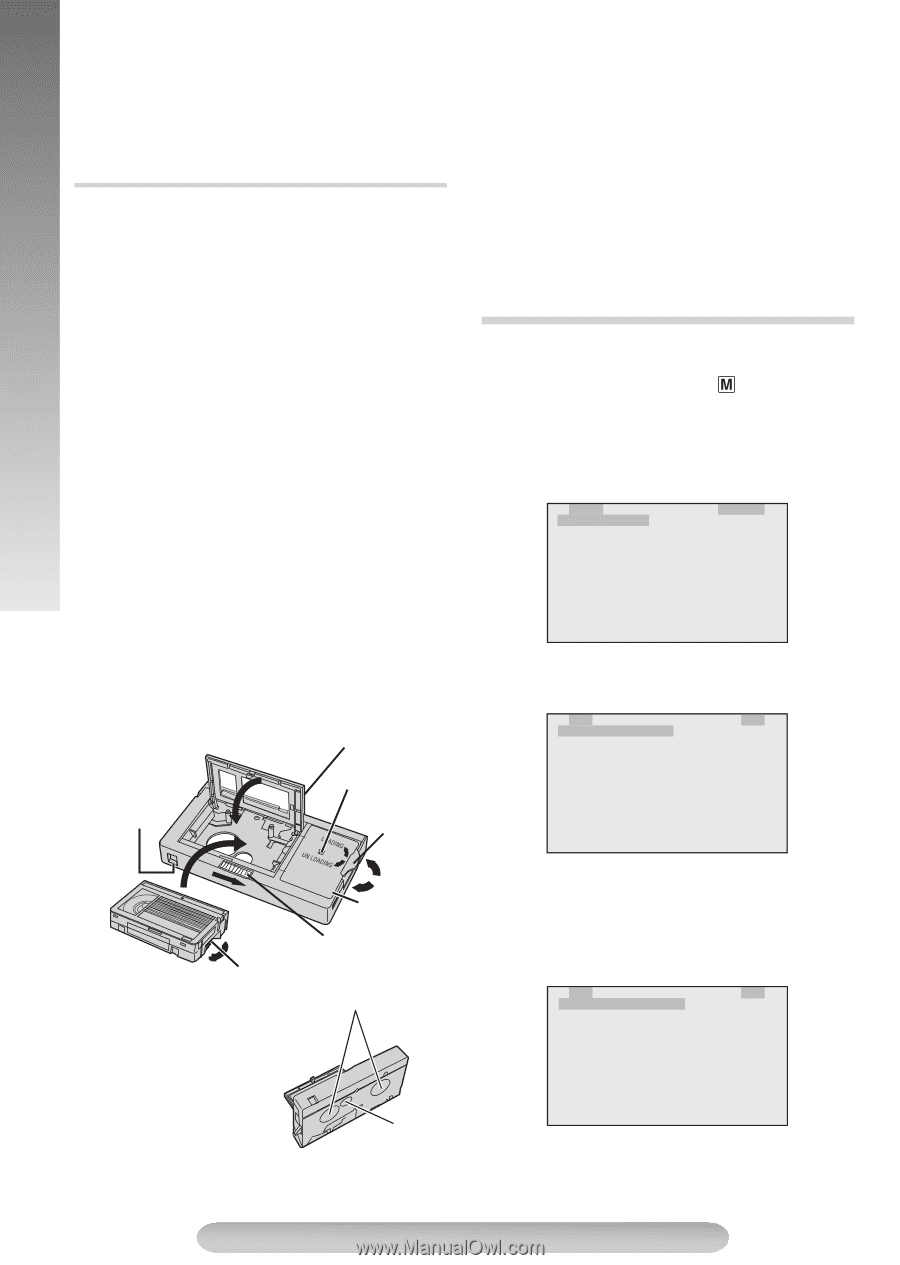
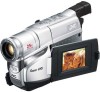
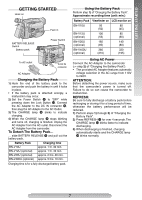
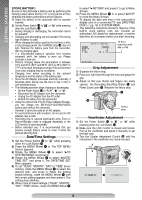
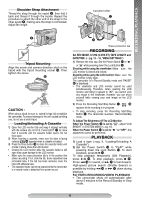
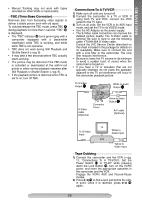
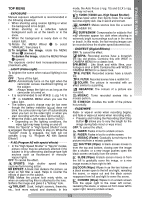
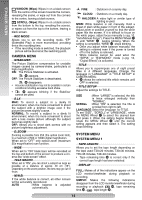
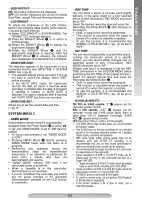
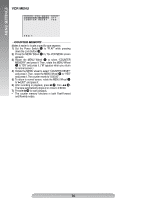
MENU SETTINGS 3) Press 3/8 ( and engage the VCR's Record mode. 4) Engage the VCR's Record-Pause mode and press 3/8 (. • Repeat steps 2) through 4) for additional editing, then stop the VCR and camcorder when finished. Using The Cassette Adapter Use this to play back an S-VHS-C/VHS-C video cassette recorded with this camcorder on a SVHS-C/VHS VCR. 1) Slide the latch 1 to open the compartment door, then insert the cassette and close the compartment door 2. • If the colour shown in the window 4 is green or red, turn the dial 5 in the direction of "UNLOADING" so that colour changes to blue. 2) Turn the dial 5 in the direction of "LOADING" all the way until it stops. • The color shown in the window 4 changes from blue \ red \ green (indicating playback is possible). 3) Load the cassette adapter into the VCR and play the tape back. • To record on a VCR using a compact cassette and the adapter, cover the adapter's recording safety hole with Adhesive tape. 4) To unload the cassette, turn the dial 5 in the direction of "UNLOADING" all the way until it stops. • The color shown in the window 4 changes from green \ red \ blue (indicating unloading is possible). 5) Slide the latch 1 to open the compartment door, then insert your finger in the hole 6, and push up and remove the cassette. 6) Close the compartment door 2. 2 Compartment door Recording safety hole 4 Window 5 Dial The protection sheet is 1 Latch affixed 3 Gear Compact video cassette 7 Reels adapter, the tape may become damaged. To take up slack in the tape, turn the gear 3 in the direction of the arrow. • During tape loading and unloading, do not touch the reels 7 for safety and tape protection. • Tapes recorded in S-VHS or S-VHS ET mode cannot be played back on a regular VHS VCR. Playback is possible with a VCR equipped with the S-VHS function. • During special-effect playback (slow motion, still frame, etc.), the picture may vibrate or noise bars may appear on the screen. MENU SETTINGS This Menu Screen cannot be accessed while recording. 1) Set the Power Switch $ to " " while pressing down the Lock Button #. 2) Press the MENU Wheel 1 in. The TOP MENU Screen appears. Rotate the MENU Wheel 1 to select the desired menu or function and press it. TOP MENU E X POS URE AU TO L I GH T OF F P . AE OF F D I G I F ECT OF F F ADE / W I PE OF F R E C MODE S P 2 T O C AME R A MEN U 2 TO S YSTEM MENU 2EXI T • To go from TOP MENU to CAMERA MENU, rotate the MENU Wheel 1 to select "3 TO CAMERA MENU" and press it. C AME R A MEN U S T AB I L I Z E R O F F S . LX MA X . D . ZOOM 50x W I DE OFF T E L E MACRO O F F 2M .W . B . 2T ITLE A UTO 2 T I T L E SETUP 2EXI T • To go from TOP MENU to SYSTEM MENU, rotate the MENU Wheel 1 to select "3 TO SYSTEM MENU" and press it. SYSTEM MENU has 2 pages. To go to the next page, rotate the MENU Wheel 1 to select "3 TO SYSTEM MENU 2" and press it. S YSTEM MENU1 T APE LENGT H T 3 0 D I SP L AY FULL OSD OUTPUT O N L CD B R I GH T 2DAT E / T I ME D I SP. 2DAT E / T I ME SET 2 TO S YSTEM MENU 2 6 Hole • If there is slack in the video tape when inserting the compact cassette into the 2EXI T 3) Rotate the Menu Wheel 1 to select the desired setting and press it. 4) Press "3 EXIT" to exit from any menu. 12
-
 1
1 -
2
-
3
-
4
-
5
-
6
-
 7
7 -
 8
8 -
 9
9 -
 10
10 -
 11
11 -
 12
12 -
 13
13 -
 14
14 -
 15
15 -
 16
16 -
 17
17 -
18
-
19
-
20
-
21
-
22
-
23
-
24
 |
 |