Jensen UV8020 Operation Manual - Page 13
Power On / Off, Audible Beep Confirmation, Playing Source Selection, Volume Adjustment, Audio/ - navigation
 |
UPC - 043258304209
View all Jensen UV8020 manuals
Add to My Manuals
Save this manual to your list of manuals |
Page 13 highlights
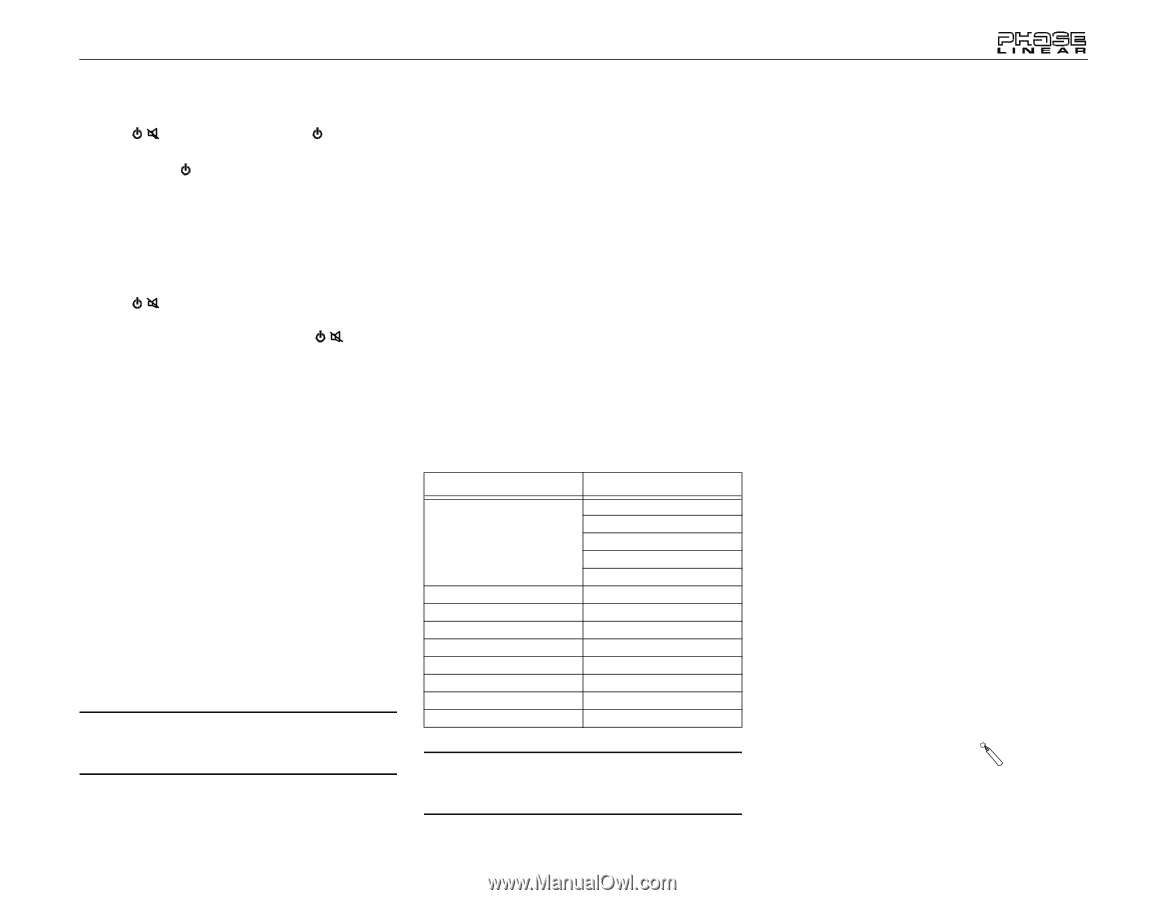
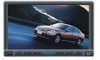
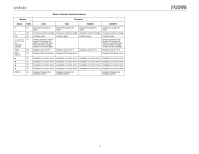
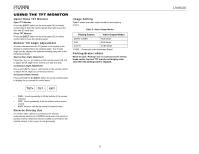
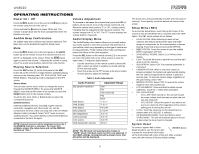
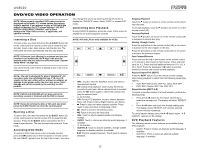
UV8020 OPERATING INSTRUCTIONS Power On / Off Press the / button (1) on the unit (or the button (4) on the remote control) to turn the unit on. Press and hold the button to power off the unit. The monitor is drawn back into the main compartment (if the Tilt function is in use). Audible Beep Confirmation An audible beep tone confirms each function selection. The Beep tone can be disabled through the Setup menu. Mute Press the / button (1) on the front panel or the MUTE button (3) on the remote to mute the volume from the unit. MUTE" is displayed on the screen. Press the / button again to restore the volume. " Adjusting the volume or using any of the audio setup features cancels the mute function. Playing Source Selection Press the SRC button (2) on the front panel or the SRC button (8) on the remote to change between available playing sources in the following order: SD, AUX (AV-IN), DISC and BAND (Radio). The playing mode is displayed on the TFT screen. Source Menu You can also use the touch screen to change the source through the SOURCE MENU. To access the SOURCE MENU, touch the top left corner of the screen (or press the MODE button (12) on the remote control). Touch the SD, AUX, DISC or BAND button to select the corresponding source. External Devices External peripheral devices, including a game console, camcorder, navigation unit, iPod, Zune, etc. can be connected to the front of this unit using one of the A/V Media Adapter Cables (included). Select "AUX" mode to access auxiliary devices. You cannot directly control external devices connected to the AUX IN inputs. NOTE: External sources will be displayed incorrectly if the MIRROR function is activated. To correct this problem, access the setup menu and set the MIRROR function to "OFF". Volume Adjustment To increase or decrease the volume level, press the VOL-/+ buttons on the unit (3, 4) or on the remote control (15, 16). When the volume level reaches "0" or "40", a beep sounds, indicating that the adjustment limit has been reached. The volume ranges from "0" to "40". The TFT screen displays the volume level for 3 seconds. Audio/Display Menu The Audio/Display menu feature allows you to easily adjust your audio system to meet the acoustical characteristics of your vehicle, which vary depending on the type of vehicle and its measurements. Proper setting of the Fader and Balance boosts the effects of the cabin equalizer. Press the SEL button on the remote control (13) or on screen (or touch the bottom left corner of the screen) to view the audio menu. To adjust an audio feature: • Use the arrow keys on the remote control to move left/ right to select an option or up/down to modify settings for the selected option. • Touch the arrows on the TFT screen at the top or bottom of each option to adjust the settings. Table 3: Audio Adjustments Audio Function EQ (graphic equalizer) BAS (bass) TRE (treble) FAD (fader) BAL (balance) BRI (brightness) CON (contrast) COL (color) SUB (subwoofer volume) Adjustable Range User Flat Clas (classical) Pop Rock -7 to +7 -7 to +7 F7 to R7 L7 to R7 -8 to +8 -8 to +8 -8 to +8 33 to 0 NOTE: The EQ mode will automatically change to "USER" when individual audio functions are adjusted. If the USER settings correspond with a preset curve, that EQ option will be displayed. The Audio menu will automatically exit after a few seconds of inactivity. To exit quickly, touch the bottom left corner of the screen. Setup Menu (SET) To access the Setup Menu, touch the top left corner of the screen to view the SOURCE menu, and then select the "SET" option. The SET menu options are as follows: • LOUD OFF/ON: When listening to music at low volumes, this feature will boost the bass and treble ranges to compensate for the characteristics of human hearing. Touch the arrows to turn LOUD OFF/ON. • BEEP OFF/ON: Touch the arrows to turn the audible BEEP confirmation OFF/ON. • 24 HOURS/12 HOURS: Select 12 or 24-hour clock display. • Clock: Touch the left arrow to set the hour and the right arrow to set the minutes. • SUB OFF/ON: Select "ON" if an external subwoofer is connected. • CAMERA OFF/ON: When a rear-view camera is properly installed, the System will automatically display the rear camera image when the vehicle is placed in reverse gear. To view the camera image regardless of the gear setting, select "ON". • MIRROR OFF/ON: Select "ON" to reverse the screen image for rear view camera use. • LCD CALIBRATE: Touch and hold to initiate screen calibration. Touch the + marks when prompted. • VOL LAST/ADJUST • VOL LAST: When turned on, the unit will resume the same volume level that was set when the unit was last turned off. • VOL ADJUST: Select this option if you want to set a turn-on volume (A-VOL) regardless of the volume setting prior to turning the unit off. • A VOL: Touch the arrows to set the desired turn-on volume when VOL ADJUST is selected. • US BAND/EURO BAND: Touch and hold to select "EURO BAND". The unit will automatically turn off and re-boot when the tuner band is changed. System Reset To correct a system halt or other [RESET] Button illegal operation, use the tip of a pen to press the reset button (9) located on the front bottom-left corner of the unit. After a system reset, the unit restores all factory default settings. 9
-
 1
1 -
2
-
3
-
4
-
5
-
6
-
7
-
 8
8 -
 9
9 -
 10
10 -
 11
11 -
 12
12 -
 13
13 -
 14
14 -
 15
15 -
 16
16 -
 17
17 -
 18
18 -
19
-
20
-
21
-
22
-
23
-
24
-
25
-
26
-
27
-
28
-
29
-
30
 |
 |