Jensen VM9021TS Instruction Manual - Page 18
Operating Instructions - navigation
 |
UPC - 043258303059
View all Jensen VM9021TS manuals
Add to My Manuals
Save this manual to your list of manuals |
Page 18 highlights
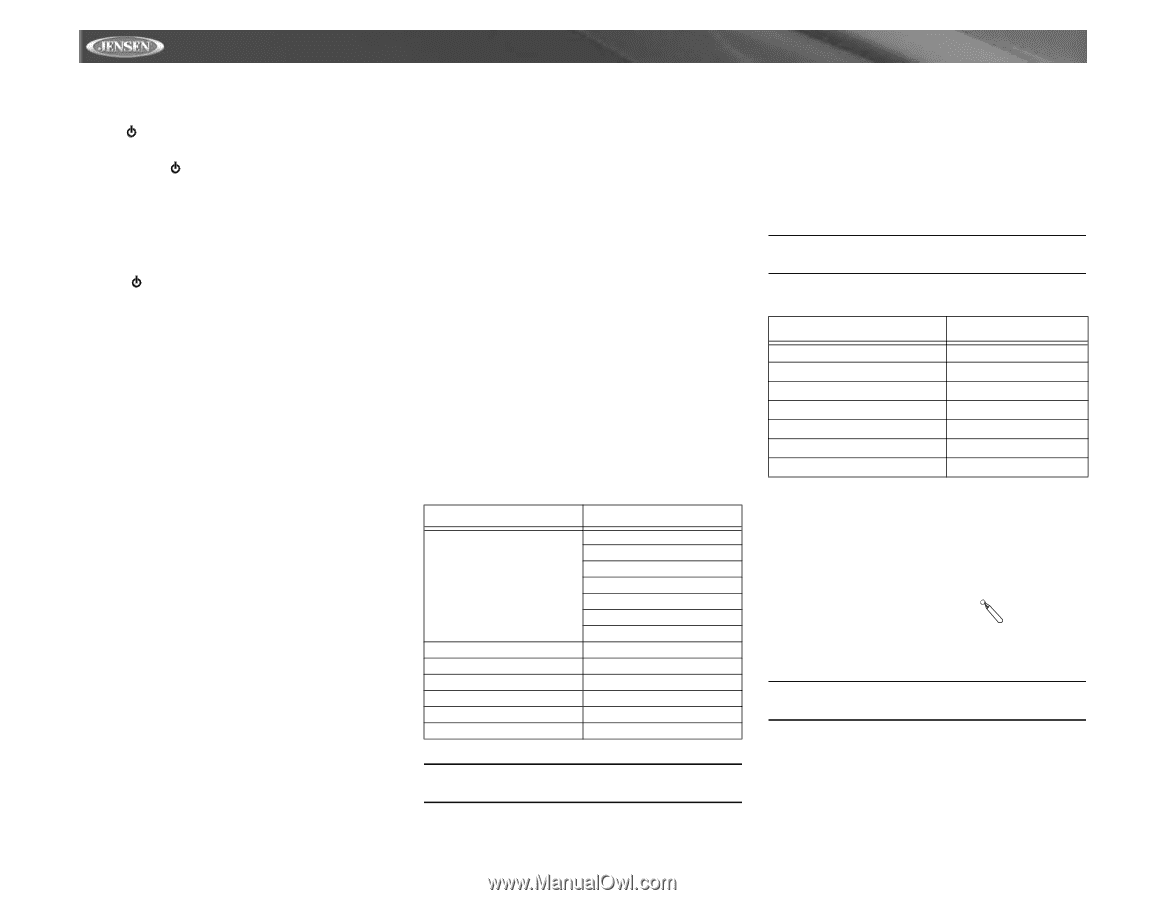
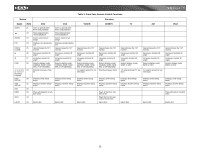
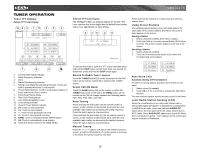
OPERATING INSTRUCTIONS Power On / Off Press the /MUTE button (1) to turn the unit on. The buttons on the front of the unit light up. Press and hold the /MUTE button (1) on the front panel or the POWER button (4) on the remote to power off the unit.. Audible Beep Confirmation An audible beep tone confirms each function selection. The beep tone cannot be disabled. Mute Press the /MUTE button (1) on the front panel or remote (3) to mute the volume from the unit. Press the MUTE button again to restore the volume. The mute icon flashes on the right side of the screen. Adjusting the volume or using any of the audio set-up features cancels the mute function. Playing Source Selection Press the SRC button (11) on the remote to change between available playing sources in the following order: TUNER, DVD, AUX IN or CAMERA (rear view video camera). The playing mode is displayed on the screen. Press the MENU/SRC button (11) on the unit to access the playing source menu. Use the direction buttons on the joystick (6, 7, 8, 9) or remote control (14, 17, 18, 19, 22) to select a playing source, then press the >/|| button (18) or the joystick enter button (5) to enter the selected source. AUX IN Mode An external peripheral device can be connected to this unit via RCA output and "AUX-IN". CAMERA Mode "CAMERA" mode is only available if the camera is connected and during reverse driving. To install a rear view video camera, connect the video input cable to the camera output cable. Volume Adjustment To increase the volume level, press the VOL + button (3) on the front panel or remote control. To decrease the volume level, press the VOL - button (4) on the front panel or remote control.The volume ranges from "0" to "40". When the volume level reaches "0" or "40", a triple beep sounds, indicating that the adjustment limit has been reached. The screen displays the volume level for 3 seconds. Programmable Turn-On Volume This feature allows the user to select a turn-on volume setting regardless of the volume setting prior to turning the unit off. To program a specific volume level, push and hold the AUDIO button (2) while the yellow volume bar is displayed on the screen. The unit will beep two times to confirm your turnon volume setting. Audio Control Menu The Audio Control feature allows you to easily adjust your audio system to meet the acoustical characteristics of your vehicle, which vary depending on the type of vehicle and its measurements. To get the best possible sound quality from your new system, be sure to adjust the settings for the speakers as well. Proper setting of the Fader and Balance boosts the effects of the cabin equalizer. Accessing the Audio Control Menu Press the AUDIO/LOC button (2) on the front panel to display the "AUDIO" menu. Selecting an Audio Feature for Adjustment Press the () buttons (8, 9) on the joystick or the buttons (17, 19) on the remote control to select the audio feature to be adjusted. Adjusting an Audio Feature Press the >> or
-
 1
1 -
2
-
3
-
4
-
5
-
6
-
7
-
8
-
9
-
10
-
11
-
12
-
 13
13 -
 14
14 -
 15
15 -
 16
16 -
 17
17 -
 18
18 -
 19
19 -
 20
20 -
 21
21 -
 22
22 -
 23
23 -
24
-
25
-
26
-
27
-
28
-
29
-
30
-
31
-
32
-
33
-
34
-
35
-
36
-
37
-
38
-
39
-
40
-
41
-
42
-
43
-
44
-
45
-
46
-
47
-
48
-
49
-
50
-
51
-
52
-
53
-
54
-
55
-
56
-
57
-
58
-
59
-
60
-
61
-
62
-
63
-
64
-
65
-
66
-
67
-
68
-
69
-
70
-
71
-
72
-
73
-
74
-
75
-
76
-
77
-
78
-
79
-
80
-
81
-
82
-
83
-
84
-
85
-
86
-
87
-
88
-
89
-
90
-
91
-
92
-
93
-
94
-
95
-
96
-
97
-
98
-
99
-
100
-
101
-
102
-
103
-
104
-
105
-
106
-
107
-
108
-
109
-
110
-
111
-
112
-
113
-
114
-
115
-
116
 |
 |