Kodak I260 User Guide - Page 33
Calibrating the scanner, The Image Chain Calibration dialog box appears. - twain drivers
 |
UPC - 041771844417
View all Kodak I260 manuals
Add to My Manuals
Save this manual to your list of manuals |
Page 33 highlights
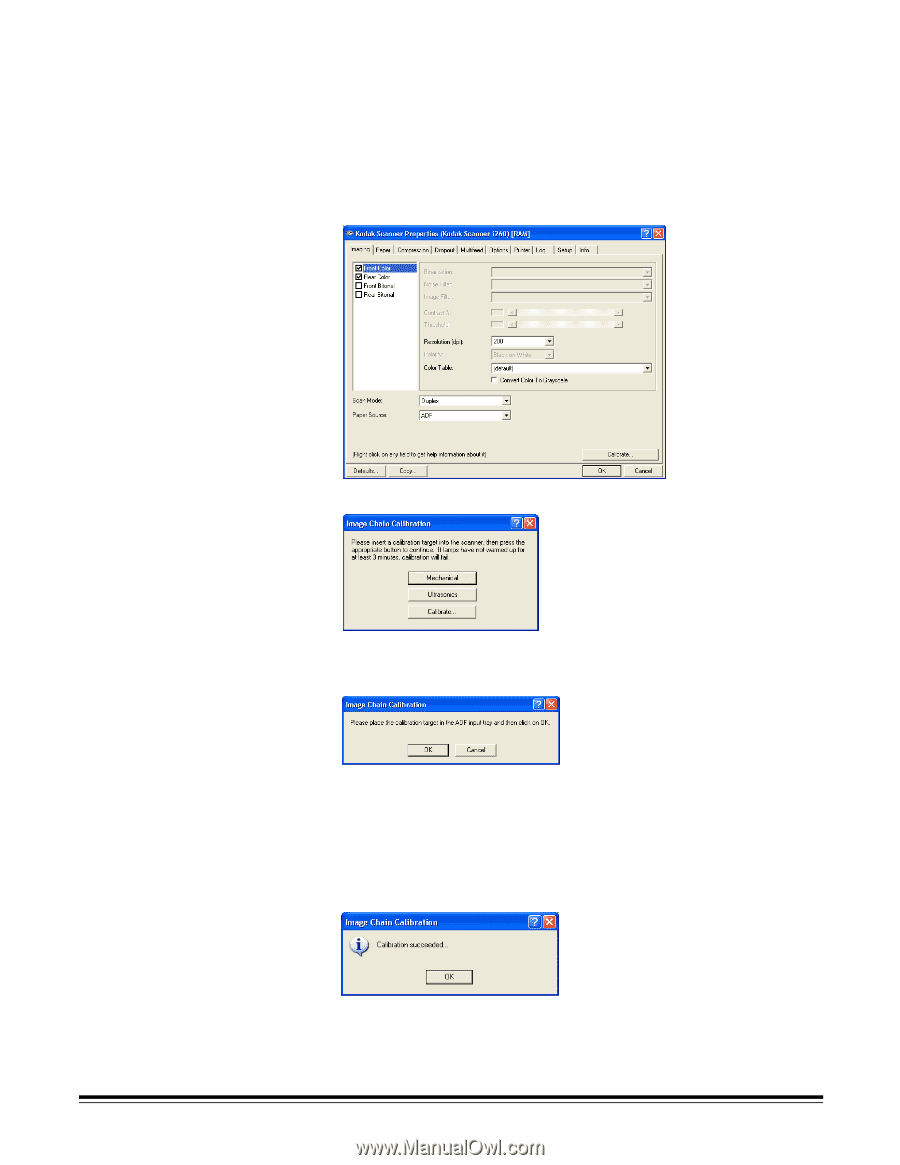
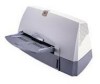
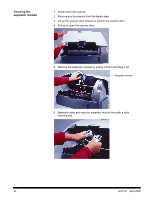
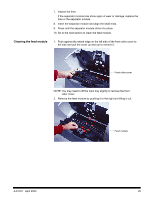
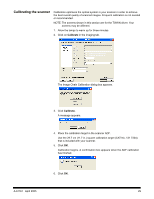
Calibrating the scanner Calibration optimizes the optical system in your scanner in order to achieve the best overall quality of scanned images. Frequent calibration is not needed or recommended. NOTE: The screens shown in this section are for the TWAIN driver. Your screens may be different. 1. Allow the lamps to warm up for three minutes. 2. Click on Calibrate in the Imaging tab. The Image Chain Calibration dialog box appears. 3. Click Calibrate. A message appears. 4. Place the calibration target in the scanner ADF. Use the 29.7 cm (11.7 in.) square calibration target (CAT No. 131 7304) that is included with your scanner. 5. Click OK. Calibration begins. A confirmation box appears when the ADF calibration has finished. 6. Click OK. A-61167 April 2005 29
-
 1
1 -
2
-
3
-
4
-
5
-
6
-
7
-
8
-
9
-
10
-
11
-
12
-
13
-
14
-
15
-
16
-
17
-
18
-
19
-
20
-
21
-
22
-
23
-
24
-
25
-
26
-
27
-
 28
28 -
 29
29 -
 30
30 -
 31
31 -
 32
32 -
 33
33 -
 34
34 -
 35
35 -
 36
36 -
 37
37 -
 38
38 -
39
-
40
-
41
-
42
-
43
-
44
-
45
-
46
-
47
-
48
-
49
-
50
-
51
-
52
-
53
-
54
-
55
-
56
-
57
-
58
-
59
-
60
-
61
-
62
-
63
-
64
-
65
-
66
-
67
-
68
-
69
-
70
 |
 |