LG LRBP1031W User Guide - Page 5
Disassembly - parts
 |
UPC - 048231777223
View all LG LRBP1031W manuals
Add to My Manuals
Save this manual to your list of manuals |
Page 5 highlights
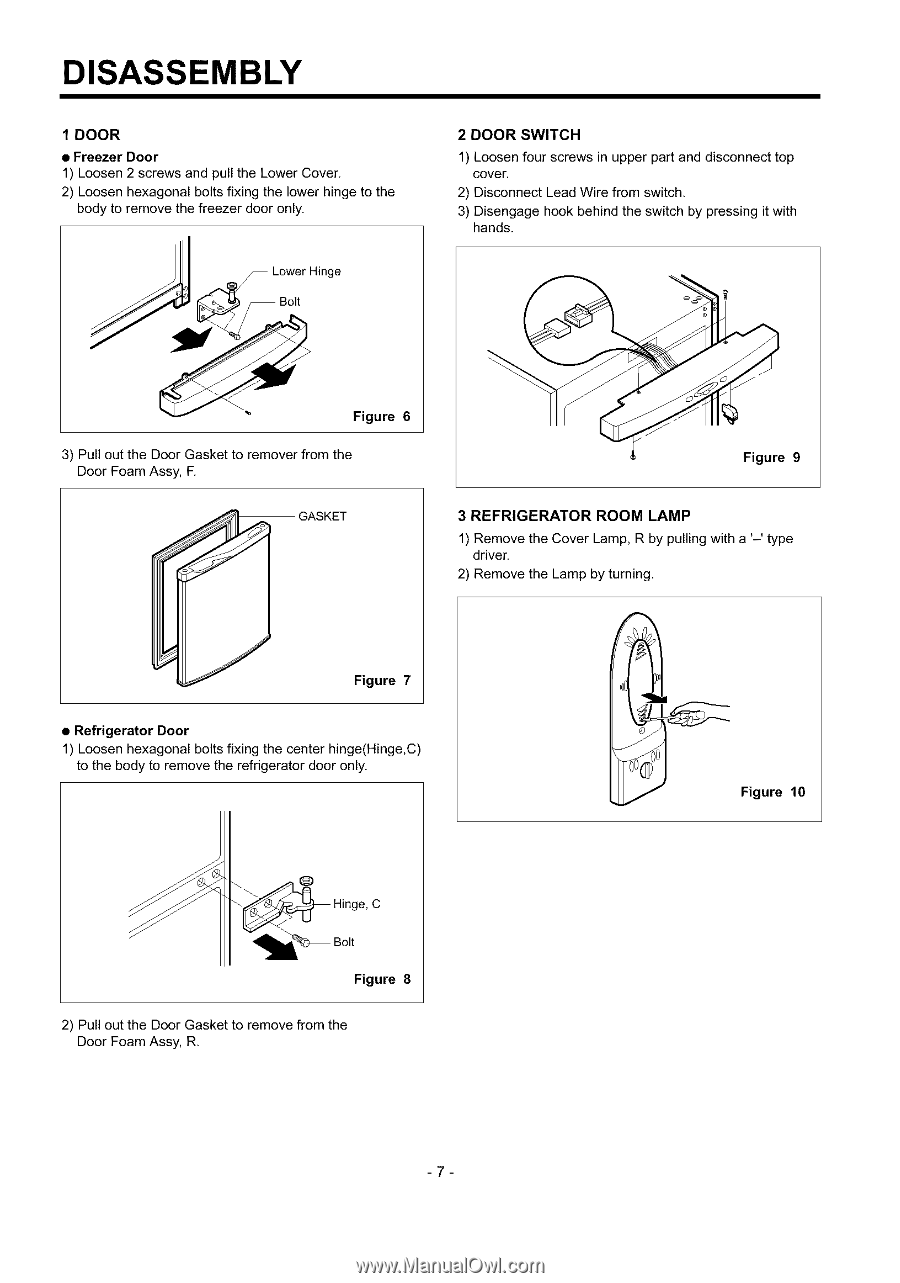
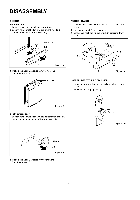
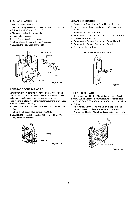
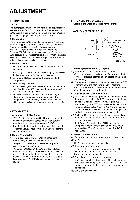
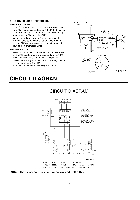
DISASSEMBLY 1 DOOR • Freezer Door 1) Loosen 2 screws and pull the Lower Cover. 2) Loosen hexagonal bolts fixing the lower hinge to the body to remove the freezer door only. Lower Hinge 2 DOOR SWITCH 1) Loosen four screws in upper part and disconnect top cover. 2) Disconnect Lead Wire from switch. 3) Disengage hook behind the switch by pressing it with hands. _ Figure 6 3) Pull out the Door Gasket to remover from the Door Foam Assy, F. GASKET Figure 9 3 REFRIGERATOR ROOM LAMP 1) Remove the Cover Lamp, R by pulling with a '-' type driver. 2) Remove the Lamp by turning. Figure 7 • Refrigerator Door 1) Loosen hexagonal bolts fixing the center hinge(Hinge,C) to the body to remove the refrigerator door only. Figure 10 e,C Figure 8 2) Pull out the Door Gasket to remove from the Door Foam Assy, R. -7-
-
 1
1 -
 2
2 -
 3
3 -
 4
4 -
 5
5 -
 6
6 -
 7
7 -
 8
8 -
 9
9 -
 10
10 -
 11
11 -
12
-
13
-
14
-
15
-
16
-
17
-
18
-
19
-
20
-
21
-
22
-
23
-
24
-
25
-
26
-
27
-
28
-
29
-
30
-
31
-
32
-
33
 |
 |