Lexmark Apps Fax Forward - Page 11
Configuring applications using MarkVision Professional
 |
View all Lexmark Apps manuals
Add to My Manuals
Save this manual to your list of manuals |
Page 11 highlights
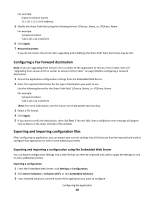
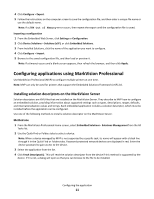
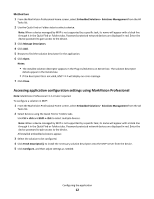
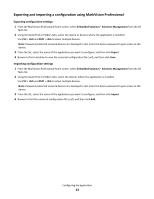
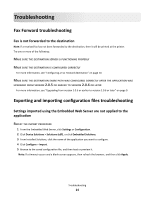
4 Click Configure > Export. 5 Follow the instructions on the computer screen to save the configuration file, and then enter a unique file name or use the default name. Note: If a JVM Out of Memory error occurs, then repeat the export until the configuration file is saved. Importing a configuration 1 From the Embedded Web Server, click Settings or Configuration. 2 Click Device Solutions > Solutions (eSF), or click Embedded Solutions. 3 From Installed Solutions, click the name of the application you want to configure. 4 Click Configure > Import. 5 Browse to the saved configuration file, and then load or preview it. Note: If a timeout occurs and a blank screen appears, then refresh the browser, and then click Apply. Configuring applications using MarkVision Professional Use MarkVision Professional (MVP) to configure multiple printers at one time. Note: MVP can only be used for printers that support the Embedded Solutions Framework (eSF) 2.0. Installing solution descriptors on the MarkVision Server Solution descriptors are XML files that are installed on the MarkVision Server. They describe to MVP how to configure an embedded solution, providing information about supported settings such as types, descriptions, ranges, defaults, and internationalization values and strings. Each embedded application includes a solution descriptor, which must be installed before the application can be configured. Use one of the following methods to install a solution descriptor on the MarkVision Server: Method one 1 From the MarkVision Professional Home screen, select Embedded Solutions ‑ Solutions Management from the All Tasks list. 2 Use the Quick Find or Folders tabs to select a device. Note: When a device managed by MVP is not supported by a specific task, its name will appear with a black line through it in the Quick Find or Folders tabs. Password-protected network devices are displayed in red. Enter the device password to gain access to the device. 3 Select the application from the list. 4 Click Fetch Descriptor(s). This will read the solution descriptor from the device if this method is supported by the device. If it is not, a dialog will open so that you can browse to the file to be installed. Configuring the application 11
-
 1
1 -
2
-
3
-
4
-
5
-
 6
6 -
 7
7 -
 8
8 -
 9
9 -
 10
10 -
 11
11 -
 12
12 -
 13
13 -
 14
14 -
 15
15 -
 16
16 -
17
-
18
-
19
 |
 |