Linksys CIT400 User Guide - Page 17
Getting Started, Before You Begin, Getting Started with the Handset - telephony kit with skype
 |
UPC - 745883577460
View all Linksys CIT400 manuals
Add to My Manuals
Save this manual to your list of manuals |
Page 17 highlights
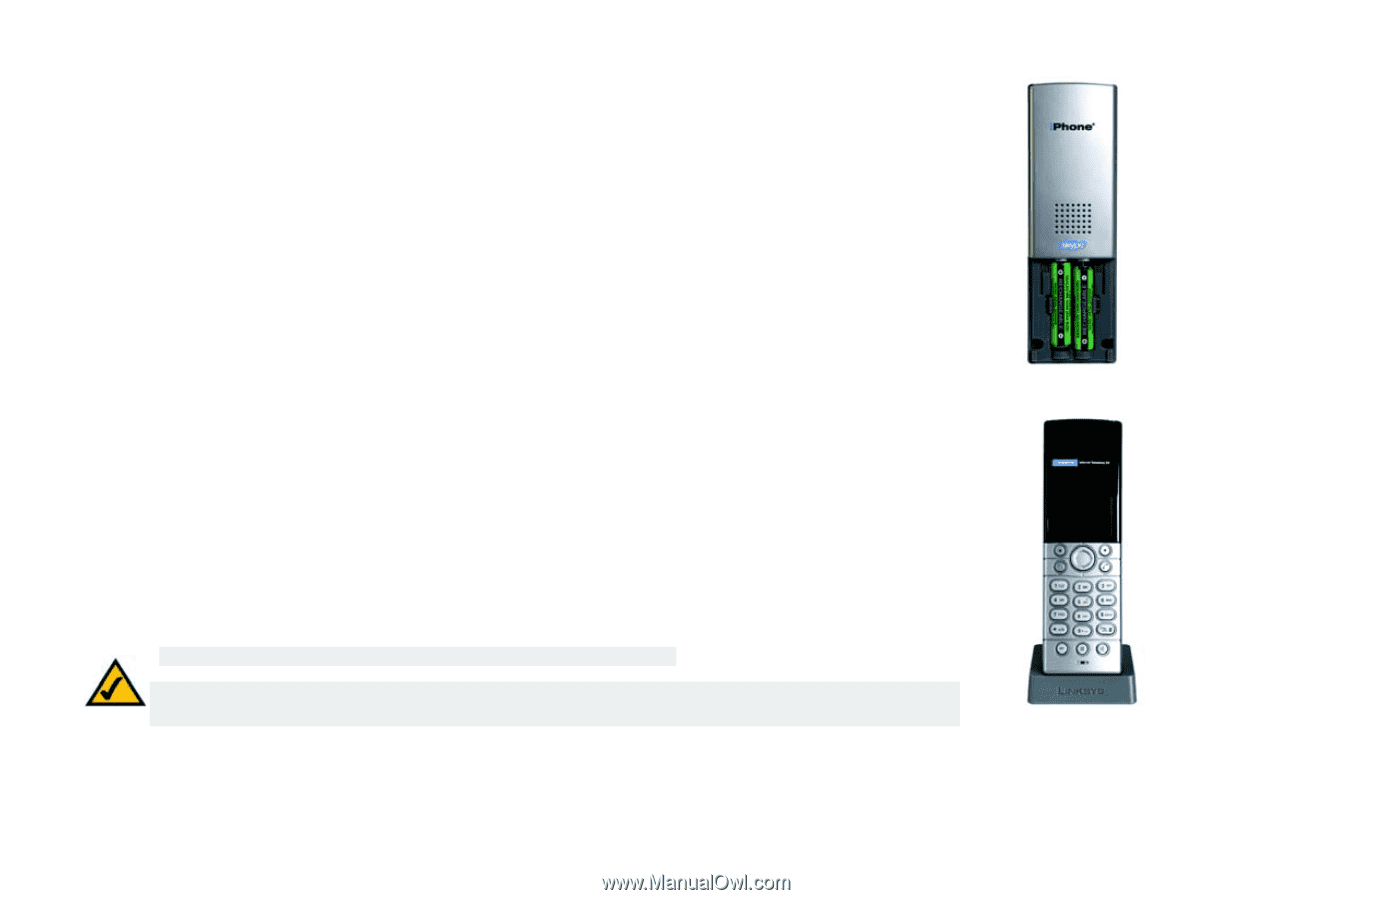
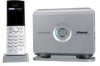
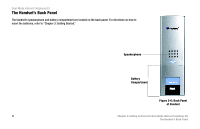
Chapter 3: Getting Started Before You Begin To use Skype you will need an available ethernet port. If you have traditional phone service (landline), you will also need an available telephone wall jack. Getting Started with the Handset To insert the batteries and charge them, follow these instructions: 1. Remove the cover of the battery compartment. 2. Insert the two NiMH rechargeable, AAA batteries (included). Make sure the polarities are correct. (The + and - ends of the batteries should be in the + and - slots of the compartment.) 3. Slide the cover upward until it snaps into place. 4. Plug the charger's power adapter into an electrical outlet. Place the handset on the charger. For the initial charge, let the batteries charge for 14 hours before using the handset. This maximizes battery performance and life. NOTE: The handset may become warm during the initial charge. NOTE: If the batteries are low, the handset may not power on for up to 15 minutes and will emit a warning tone. Place the handset on the charger to recharge. Proceed to the next section, "Getting Started with the Base Station." Chapter 3: Getting Started Before You Begin Dual-Mode Internet Telephony Kit Figure 3-1: Handset's Batteries Figure 3-2: Handset on Charger 9
-
 1
1 -
2
-
3
-
4
-
5
-
6
-
7
-
8
-
9
-
10
-
11
-
 12
12 -
 13
13 -
 14
14 -
 15
15 -
 16
16 -
 17
17 -
 18
18 -
 19
19 -
 20
20 -
 21
21 -
 22
22 -
23
-
24
-
25
-
26
-
27
-
28
-
29
-
30
-
31
-
32
-
33
-
34
-
35
-
36
-
37
-
38
-
39
-
40
-
41
-
42
-
43
-
44
-
45
-
46
-
47
-
48
-
49
-
50
-
51
-
52
-
53
-
54
-
55
-
56
-
57
-
58
-
59
-
60
-
61
-
62
-
63
-
64
-
65
-
66
-
67
-
68
-
69
-
70
-
71
-
72
-
73
-
74
-
75
-
76
-
77
-
78
-
79
-
80
-
81
-
82
-
83
-
84
-
85
-
86
-
87
-
88
-
89
-
90
-
91
-
92
-
93
-
94
-
95
-
96
-
97
-
98
-
99
-
100
-
101
-
102
-
103
-
104
-
105
-
106
 |
 |