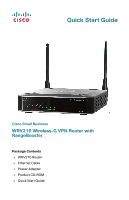
Linksys WRV210 Cisco Small Business WRV210 Quick Start Guide - Page 6
The Power and Internet LEDs on the front panel will shine green
 |
UPC - 745883582303
View all Linksys WRV210 manuals
Add to My Manuals
Save this manual to your list of manuals |
Page 6 highlights
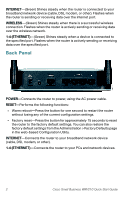
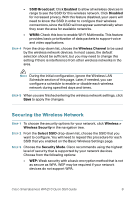
STEP 4 Connect an Ethernet cable from the Broadband network device to the Internet port on the router's back panel. STEP 5 Connect the power adapter to the router's Power port, and then insert the other end into an electrical outlet. NOTE Use only the power adapter that is supplied with the router. Using a different power adapter could damage the router. The Power and Internet LEDs on the front panel will shine green as soon as the power adapter is connected properly. STEP 6 Power on the connected devices and the broadband network device. The hardware installation is now complete. Cisco Small Business WRV210 Quick Start Guide 5
-
 1
1 -
 2
2 -
 3
3 -
 4
4 -
 5
5 -
 6
6 -
 7
7 -
 8
8 -
 9
9 -
 10
10 -
 11
11 -
 12
12 -
13
-
14
-
15
-
16
 |
 |

Cisco Small Business WRV210 Quick Start Guide
5
S
TEP
4
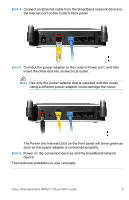
Connect an Ethernet cable from the Broadband network device to
the Internet port on the router’s back panel.
S
TEP
5
Connect the power adapter to the router’s Power port, and then
insert the other end into an electrical outlet.
N
OTE
Use only the power adapter that is supplied with the router.
Using a different power adapter could damage the router.
The Power and Internet LEDs on the front panel will shine green as
soon as the power adapter is connected properly.
S
TEP
6
Power on the connected devices and the broadband network
device.
The hardware installation is now complete.