Linksys WRV210 Cisco Small Business WRV210 Quick Start Guide - Page 9
Configuring the Wireless Network, Connect on Demand and Max Idle Time - default password
 |
UPC - 745883582303
View all Linksys WRV210 manuals
Add to My Manuals
Save this manual to your list of manuals |
Page 9 highlights
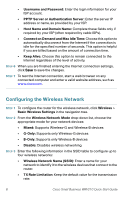
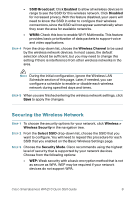
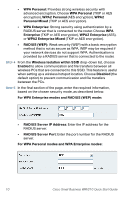
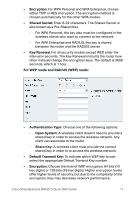
• Username and Password: Enter the login information for your ISP account. • PPTP Server or Authentication Server: Enter the server IP address or name, as provided by your ISP. • Host Name and Domain Name: Complete these fields only if required by your ISP (often required by cable ISPs). • Connect on Demand and Max Idle Time: Choose this option to automatically disconnect from the Internet if the connection is idle for the specified number of seconds. This option is helpful if you are billed based on the amount of connection time. • Keep Alive: Choose this option to remain connected to the Internet regardless of the level of activity. STEP 6 When you are finished entering the Internet connection settings, click Save to save the changes. STEP 7 To test the Internet connection, start a web browser on any connected computer and enter a valid website address, such as www.cisco.com. Configuring the Wireless Network STEP 1 To configure the router for the wireless network, click Wireless > Basic Wireless Settings in the navigation tree. STEP 2 From the Wireless Network Mode drop-down list, choose the appropriate mode for your network devices: • Mixed: Supports Wireless-G and Wireless-B devices • G-Only: Supports only Wireless-G devices • B-Only: Supports only Wireless-B devices • Disable: Disables wireless networking STEP 3 Enter the following information in the SSID table to configure up to four wireless networks: • Wireless Network Name (SSID): Enter a name for your network to identify it to the wireless devices that connect to the router. • TX Rate Limitation: Keep the default value for the transmission rate. 8 Cisco Small Business WRV210 Quick Start Guide
-
 1
1 -
2
-
3
-
 4
4 -
 5
5 -
 6
6 -
 7
7 -
 8
8 -
 9
9 -
 10
10 -
 11
11 -
 12
12 -
 13
13 -
 14
14 -
15
-
16
 |
 |