Logitech 915-000120 User Manual - Page 11
Setting up your Harmony 700 for the first time
 |
UPC - 097855062086
View all Logitech 915-000120 manuals
Add to My Manuals
Save this manual to your list of manuals |
Page 11 highlights
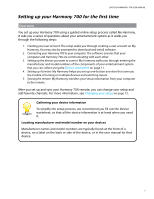
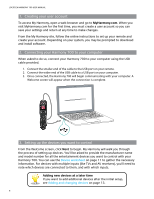
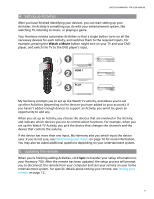
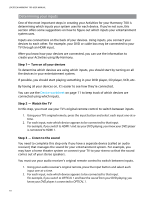
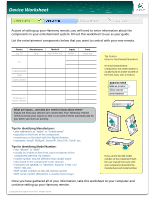
LOGITECH HARMONY 700 USER MANUAL Setting up your Harmony 700 for the first time Overview You set up your Harmony 700 using a guided online setup process called My Harmony. It asks you a series of questions about your entertainment system as it walks you through the following steps: 1. Creating your user account: The setup walks you through creating a user account on My Harmony. You may also be prompted to download and install software. 2. Connecting your Harmony 700 to your computer: The software ensures that your computer and Harmony 700 are communicating with each other. 3. Setting up the devices you want to control: My Harmony walks you through entering the manufacturer and model numbers of the components of your entertainment system that you can collect using the Device worksheet on page 11. 4. Setting up Activities: My Harmony helps you set up one-button activities that save you the trouble of turning on multiple devices and switching inputs. 5. Syncing the remote: My Harmony transfers your setup information from your computer to the remote. Guided online setup After you set up and sync your Harmony 700 remote, you can change your setup and add favorite channels. For more information, see Changing your setup on page 13. Gathering your device information To simplify the setup process, we recommend you fill out the Device worksheet, so that all the device information is at hand when you need it. Locating manufacturer and model number on your devices Manufacturer names and model numbers are typically found at the front of a device, on a label on the back or side of the device, or in the user manual for that device. 7
-
 1
1 -
2
-
3
-
4
-
5
-
 6
6 -
 7
7 -
 8
8 -
 9
9 -
 10
10 -
 11
11 -
 12
12 -
 13
13 -
 14
14 -
 15
15 -
 16
16 -
17
-
18
-
19
-
20
-
21
-
22
-
23
-
24
-
25
-
26
 |
 |