Logitech HD Powerline 200a Powerline Network Utility Help File - Page 7
STEP 1: Set the Powerline network back to HomePlugAV default
 |
View all Logitech HD Powerline 200a manuals
Add to My Manuals
Save this manual to your list of manuals |
Page 7 highlights
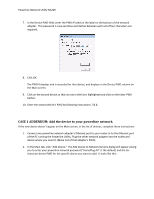
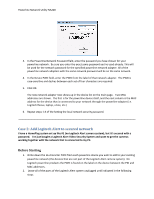
Powerline Network Utility NA200 STEP 1: Set the Powerline network back to HomePlugAV default 1. Open the Powerline Utility Tool. 2. Click on the Privacy tab. The Privacy tab screen displays. 3. In the Powerline Network Password field, click on the button "Use Default (Public Network)". 4. If each device listed on the main screen has the PWD set for it, then click the button "Set ALL Devices." This will set all the devices back to the default powerline network password. (If the PWD is not set for each device on the main screen, refer to the instructions in CASE 1, steps 6 - 8, but using the default network password instead of a custom network password.) STEP 2: Add Logitech Alert network adapter (NA750) 1. Unplug the HD 200a network adapter that was connected to the Ethernet port of your router or the Ethernet port of the PC running the Powerline Utility. 2. Plug in the Logitech Alert network adapter (NA750) to the outlet and device that were previously connected to the HD 200a. You should not plug in another powerline network adapter to the same PC or router (only one is needed). 3. You can plug in the HD 200a or other powerline network adapters into other outlets and devices that need it.
-
 1
1 -
 2
2 -
 3
3 -
 4
4 -
 5
5 -
 6
6 -
 7
7 -
 8
8 -
 9
9 -
 10
10 -
 11
11 -
 12
12 -
13
-
14
-
15
 |
 |
