Meade LX850-ACF 10 inch User Manual - Page 18
Attach Diagonal and Eyepiece, Attach StarLock Assembly
 |
View all Meade LX850-ACF 10 inch manuals
Add to My Manuals
Save this manual to your list of manuals |
Page 18 highlights
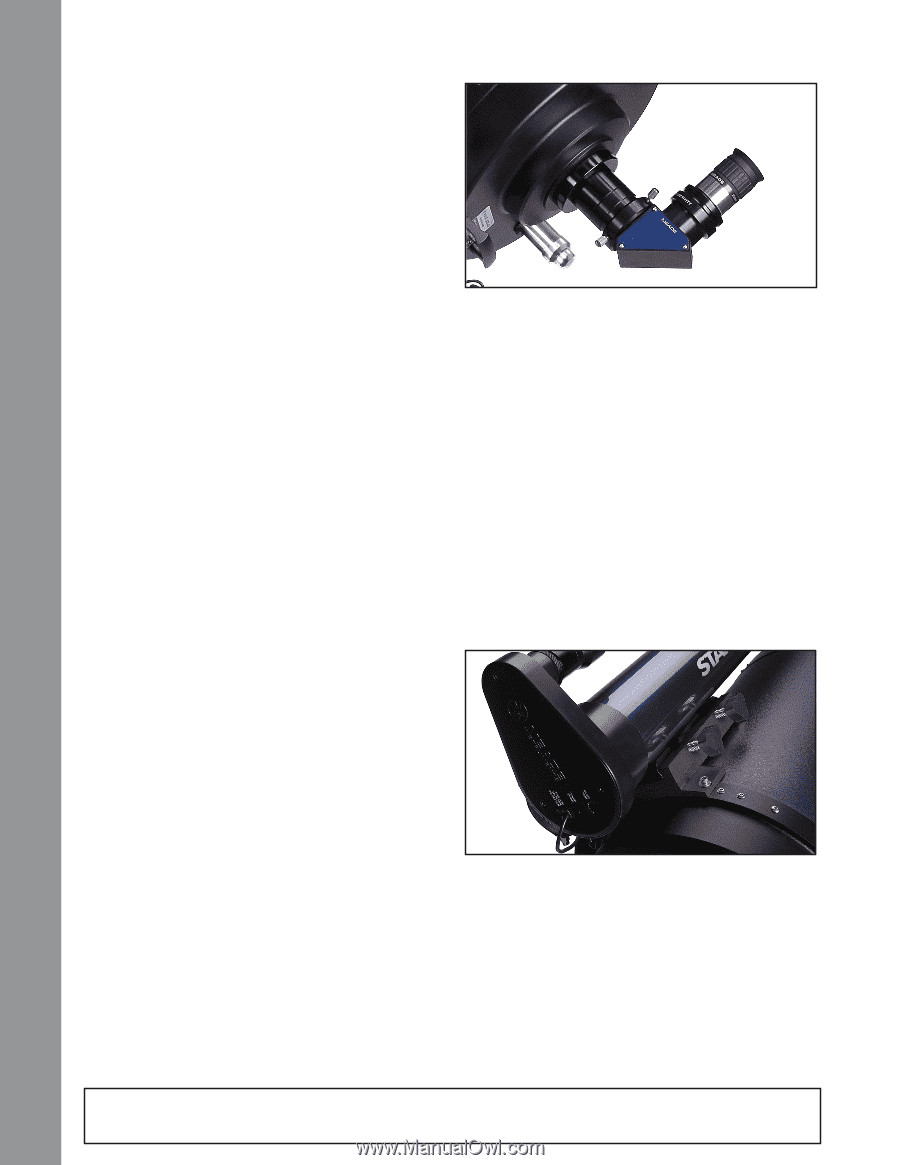
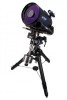
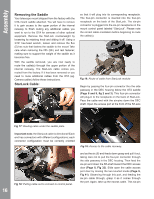
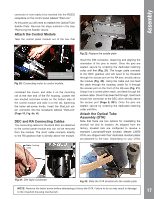
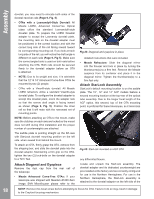
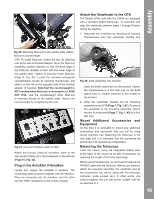
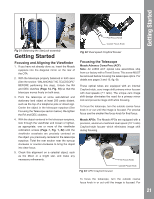
AutoStar #497 HAsAsNeDmBbOlyX dovetail, you may need to relocate both sides of the dovetail receiver rails (Page 9, Fig. 5). • OTAs with a Losmandy®-Style Dovetail: All Meade LX850, Advanced Coma-Free Optical tubes utilize the standard Losmandy®-style dovetail plate. To prepare the LX850 Dovetail adapter to accept the Losmandy dovetail plate, the mounting rails on the dovetail adapter must be positioned in the correct location and with the correct long side of the rail facing inward toward its corresponding mounting rail. If you look at each long side of the rail, you will notice the draft angle is different on each side (Page 9, Fig 5). Make sure the correct angled side is used on both rails before attaching the OTA. Both rails should be secured firmly to the dovetail adapter before an OTA is attached. • NOTE: Due to its weight and size, it is advisable that the 12" & 14" Advanced Coma-Free OTAs be mounted by two (2) people. • OTAs with a Vixen®-style dovetail: All Meade LX850 refractors utilize a standard Vixen®-style dovetail plate. To configure the dovetail adapter to accept this dovetail plate, orient the adapter rails so that the narrow draft angle is facing inward as shown (Page 9, Fig. 5). Position the inner rail so that it will mate with the narrowest set of mounting points. NOTE: Before attaching an OTA to the mount, make sure the clutches on each axis are locked so the mount does not shift during OTA installation and the proper number of counterweights are attached. The saddle plate is pointing straight up the RA axis with StarLock dovetail mounting position on the left side when viewed from behind the mount. To attach an OTA, firmly grasp the OTA, remove from the shipping box, and slide the dovetail plate into the dovetail adapter. Maintaining a firm grip on the OTA, tighten the two (2) lock-bolts on the dovetail adapter to a "firm" feel. Attach Diagonal and Eyepiece Remove the dust cap from the rear cell of the telescope. • Meade Advanced Coma-Free OTAs: If your telescope was shipped with Meade's #1209 Zero Image Shift Microfocuser please refer to the Fig 24: Diagonal and eyepiece in place detailed instructions that were included. • Meade Refractors: Slide the diagonal mirror into the focuser and lock in place by turning the thumbscrew(s) to a firm feel. Remove the Meade eyepiece from its container and place it in the diagonal mirror. Tighten the thumbscrew(s) to a firm feel only. Attach StarLock Assembly StarLock's default mounting location is on the saddle plate. The 10", 12" and 14" ACF models feature a second mounting location at the top-rear of the optical tube assembly. Due to the longer focal length of the ACF optics, this second, top of the OTA mounting point, is preferred for these telescopes, as it minimizes Fig 25: StarLock mounted on ACF OTA any differential flexure. Locate and unpack the StarLock assembly. The dovetail adapter and its dedicated counterweight are pre-installed at the factory and are correctly configured for use in the Northern Hemisphere. For use in the Northern Hemisphere, the StarLock assembly is attached to the dovetail adapter on the left side of the 18 NOTE: Remove the travel screw before attempting to focus the OTA. Failure to do so may result in damage to the Crayford focusing mechanism.
-
 1
1 -
2
-
3
-
4
-
5
-
6
-
7
-
8
-
9
-
10
-
11
-
12
-
 13
13 -
 14
14 -
 15
15 -
 16
16 -
 17
17 -
 18
18 -
 19
19 -
 20
20 -
 21
21 -
 22
22 -
 23
23 -
24
-
25
-
26
-
27
-
28
-
29
-
30
-
31
-
32
-
33
-
34
-
35
-
36
-
37
-
38
-
39
-
40
-
41
-
42
-
43
-
44
-
45
-
46
-
47
-
48
-
49
-
50
-
51
-
52
-
53
-
54
-
55
-
56
-
57
-
58
-
59
-
60
 |
 |