Netgear HA311 HA311 User Manual - Page 21
For Windows Nt 4.0 Users
 |
View all Netgear HA311 manuals
Add to My Manuals
Save this manual to your list of manuals |
Page 21 highlights
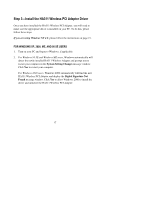
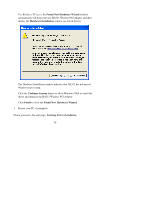
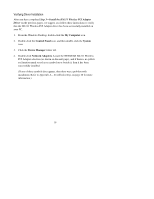
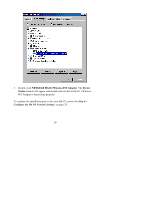
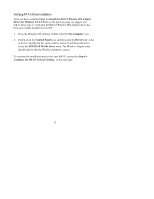
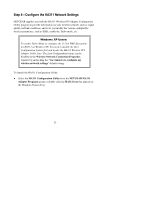
FOR WINDOWS NT 4.0 USERS 1. Turn on your computer and logon to Windows, if applicable. 2. From the Windows NT desktop, double-click the My Computer icon. 3. Double-click the Control Panel icon, and then double-click the Network icon. 4. Click the Adapter tab and click the Add button to continue. 5. The Select Network Adapter dialog box will be displayed and list a number of network adapter cards. Insert the HA311 Wireless PCI Adapter Resource CD-ROM into your CD-ROM drive. Click Have Disk... 6. In the Insert Disk dialog box, enter D:\ in the field provided, assuming that D: is the driver letter for your CD-ROM drive. Click OK. 7. The Select OEM Option dialog box will be displayed and list the drivers from which to choose. Select NETGEAR HA311 Wireless PCI Adapter and click OK. 8. The Resources and Properties dialog box will be displayed. Modify the IRQ or Memory Base if necessary. Click OK. 9. The Network dialog box will be displayed. Click Close. 10. If TCP/IP is enabled, the system will prompt you for an IP address or use DHCP. Answer accordingly. 11. Click Yes when prompted if you want to reboot your PC. Please proceed to the next page, Verifying NT 4.0 Driver Installation. 21
-
 1
1 -
2
-
3
-
4
-
5
-
6
-
7
-
8
-
9
-
10
-
11
-
12
-
13
-
14
-
15
-
 16
16 -
 17
17 -
 18
18 -
 19
19 -
 20
20 -
 21
21 -
 22
22 -
 23
23 -
 24
24 -
 25
25 -
 26
26 -
27
-
28
-
29
-
30
-
31
-
32
-
33
-
34
-
35
-
36
-
37
-
38
-
39
-
40
-
41
-
42
-
43
-
44
-
45
 |
 |