Netgear HA311 HA311 User Manual - Page 22
Verifying NT 4.0 Driver Installation
 |
View all Netgear HA311 manuals
Add to My Manuals
Save this manual to your list of manuals |
Page 22 highlights
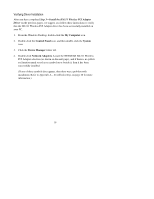
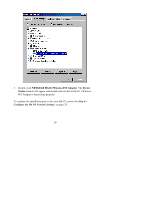
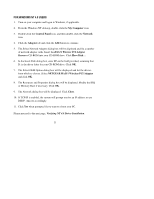
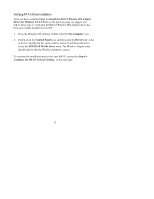
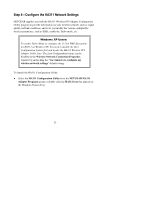
Verifying NT 4.0 Driver Installation After you have completed Step 3-Install the HA311 Wireless PCI Adapter Driver for Windows NT 4.0 Users on the previous page, we suggest you follow these steps to verify that the HA311 Wireless PCI Adapter driver has been successfully installed on your PC. 1. From the Windows NT desktop, double-click the My Computer icon. 2. Double-click the Control Panel icon, and then click the Devices tab. A list of devices installed in the system will be shown. Scroll down the list to locate the NETGEAR HA501 driver entry. The Wireless Adapter entry should indicate that the Wireless Adapter is started. To continue the installation process for your HA311, proceed to Step 4- Configure the HA311 Network Settings, on the next page. 22
-
 1
1 -
2
-
3
-
4
-
5
-
6
-
7
-
8
-
9
-
10
-
11
-
12
-
13
-
14
-
15
-
16
-
 17
17 -
 18
18 -
 19
19 -
 20
20 -
 21
21 -
 22
22 -
 23
23 -
 24
24 -
 25
25 -
 26
26 -
 27
27 -
28
-
29
-
30
-
31
-
32
-
33
-
34
-
35
-
36
-
37
-
38
-
39
-
40
-
41
-
42
-
43
-
44
-
45
 |
 |