Olympus DS 20 DS-2000 Instructions - Purchased Prior to September 2002 (Englis - Page 14
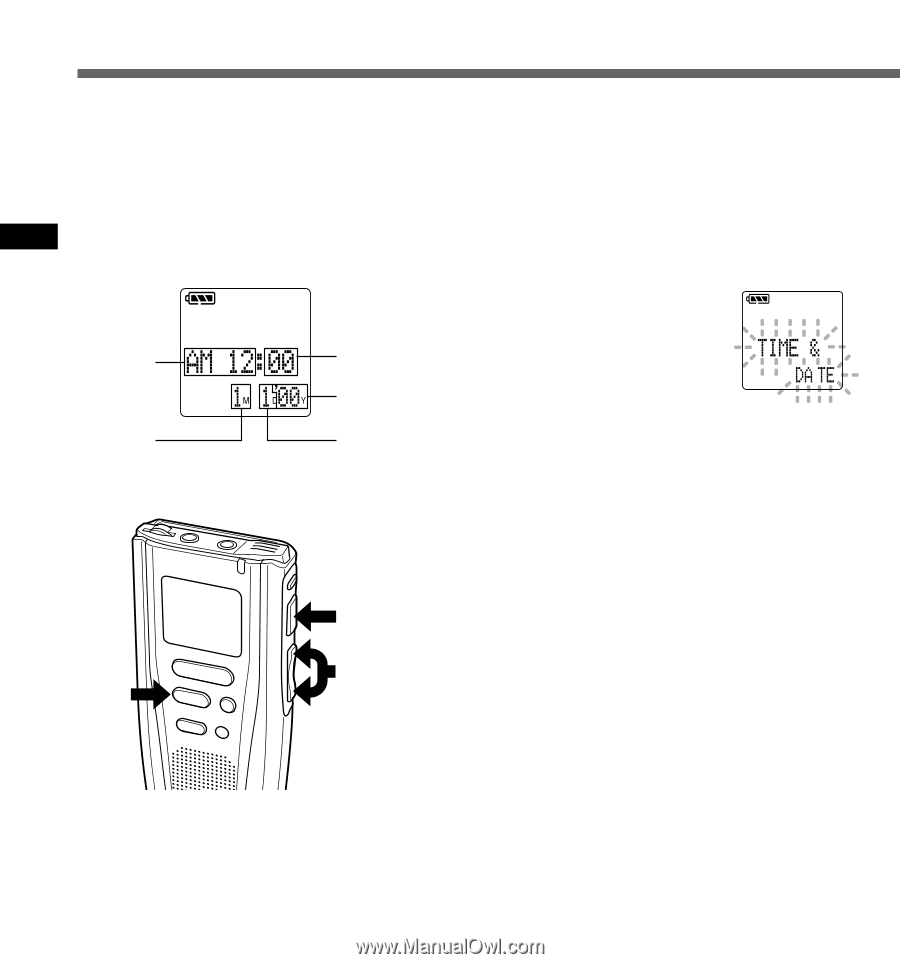
Time/Date Screen
 |
UPC - 050332298736
View all Olympus DS 20 manuals
Add to My Manuals
Save this manual to your list of manuals |
Page 14 highlights
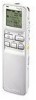
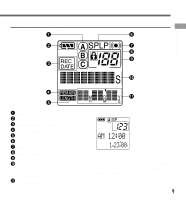
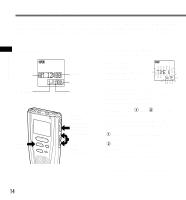
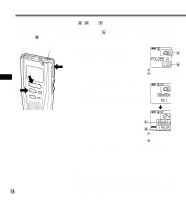
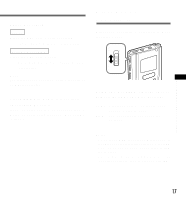
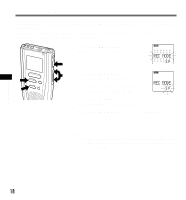
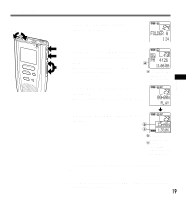
Setting Time/Date Setting Time/Date If you have set the time and date, information as to when an audio file is recorded is stored automatically with that file. The time and date should be set to ease audio file management tasks. The time and date setting is also needed to perform the alarm playback function (→ P.28, 29). Time/Date Screen Hour Month STOP button REC STOP INDEX MENU ERASE Minute Year Date PLAY button (accepts a choice and moves on to the next item) FF/+ or REW/- button (alters a choice) 1 Press the MENU button. The menu opens (→P.38). 2 Press the FF/+ or REW/- button to choose the time/date setup screen. 3 Press the PLAY button. Time/Date screen appears. The hour indicator flashes, indicating the start of the time/date setup process. 4 Repeat steps 1 and 2 to set the time and date: Time and date setup proceeds in the order of hour, minute, year, month, and date. 1 Press the FF/+ button or REW/- button to set a value. 2 Press the PLAY button to accept the value. 5 Press the STOP button to end. This completes the time setup procedure. 14
-
 1
1 -
2
-
3
-
4
-
5
-
6
-
7
-
8
-
 9
9 -
 10
10 -
 11
11 -
 12
12 -
 13
13 -
 14
14 -
 15
15 -
 16
16 -
 17
17 -
 18
18 -
 19
19 -
20
-
21
-
22
-
23
-
24
-
25
-
26
-
27
-
28
-
29
-
30
-
31
-
32
-
33
-
34
-
35
-
36
-
37
-
38
-
39
-
40
-
41
-
42
-
43
-
44
 |
 |