Olympus DS 20 DS-2000 Instructions - Purchased Prior to September 2002 (Englis - Page 27
Locking Files
 |
UPC - 050332298736
View all Olympus DS 20 manuals
Add to My Manuals
Save this manual to your list of manuals |
Page 27 highlights
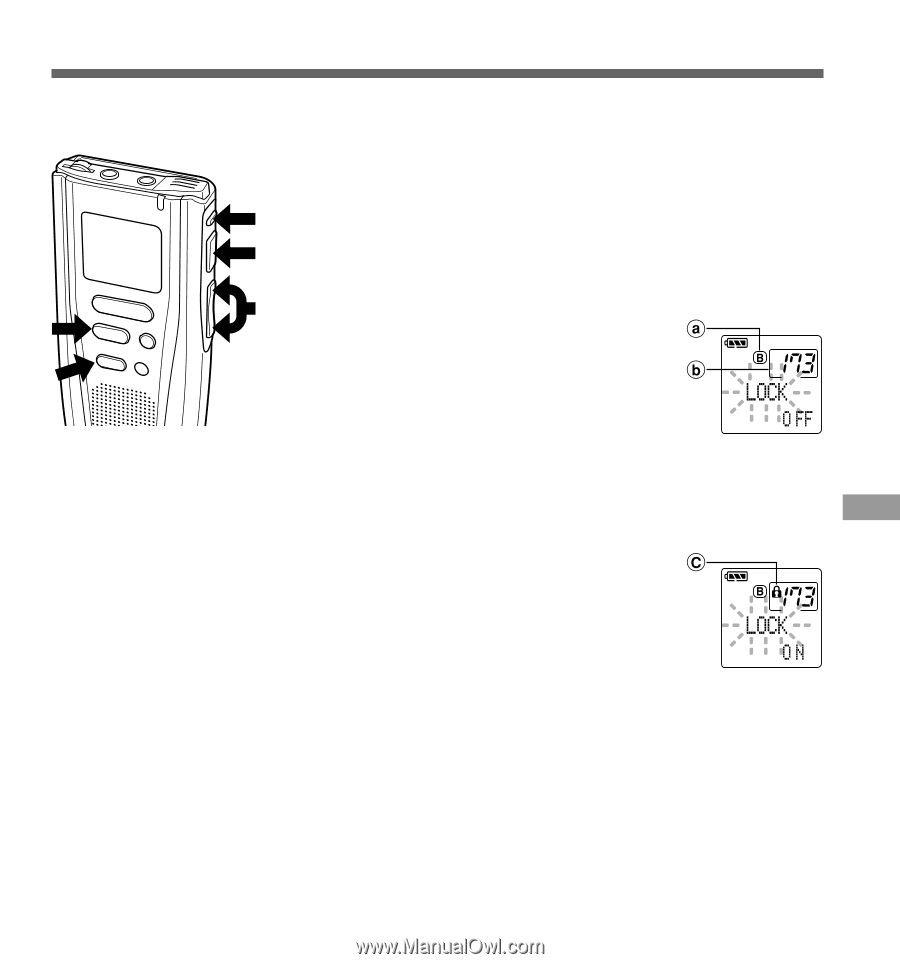
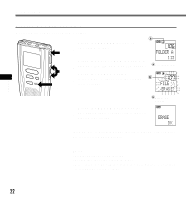
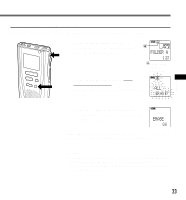
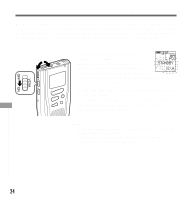
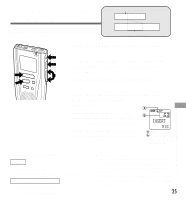
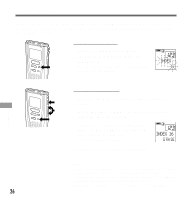
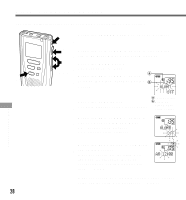
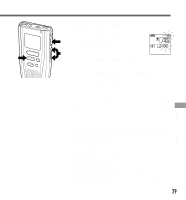
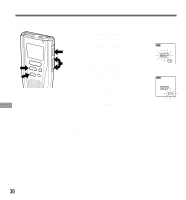
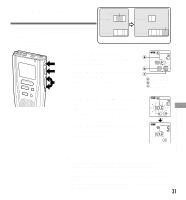
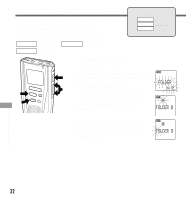
Locking Files Locking a file keeps important data from being accidentally erased. Locked files are not erased when you choose to erase all files from a folder (→ P.23). REC 8 STOP INDEX 3 MENU ERASE 1 5,7 1 Press the FOLDER button to choose a folder. 2 Press the FF/+ or REW/- button to choose the file you want to lock. 2,4,6 3 Press the MENU button. The menu opens (→ P.38). 4 Press the FF/+ or REW/- button to open the locking screen. 5 Press the PLAY button. The file locking setup process begins. 6 Press the FF/+ or REW/- button to choose between ON and OFF. a Current folder b File to be locked ON : Locks the file and prevents it from being erased. OFF : Unlocks the file and allows it to be erased. 7 Press the PLAY button to complete the setup process. If you select ON, the lock mark appears on the display. 8 Press the STOP button to close the c Lock mark menu. Notes • You cannot insert additional recordings into locked files or set index marks in locked files. • Files stored on a SmartMedia card with a write-protect seal attached to it cannot be locked. • Locked files are erased when a SmartMedia card is formatted. 27 Locking Files
-
 1
1 -
2
-
3
-
4
-
5
-
6
-
7
-
8
-
9
-
10
-
11
-
12
-
13
-
14
-
15
-
16
-
17
-
18
-
19
-
20
-
21
-
 22
22 -
 23
23 -
 24
24 -
 25
25 -
 26
26 -
 27
27 -
 28
28 -
 29
29 -
 30
30 -
 31
31 -
 32
32 -
33
-
34
-
35
-
36
-
37
-
38
-
39
-
40
-
41
-
42
-
43
-
44
 |
 |