Panasonic KX-TG133CSK Operating Instructions - Page 49
Useful Information, Charger
 |
View all Panasonic KX-TG133CSK manuals
Add to My Manuals
Save this manual to your list of manuals |
Page 49 highlights
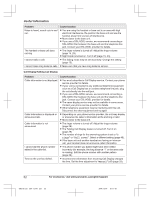
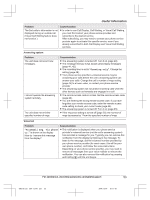
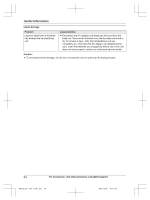
3 Insert the lower tabs of the adaptor into the unit's bottom slots (A), then insert by pushing down the levers of the adaptor into the upper slots (B). R The words "UP WALL" should be facing up. B B AA 4 Mount the unit on a wall then slide down to secure in place. R This product is compliant with the following wall phone plate sizes (2 types). 1 83 mm (3 1/4 inches) 2 102 mm (4 inches) Fit the slots of the unit onto the corresponding wall phone plate tabs for (3) and (4) respectively. 3 4 3 1 4 2 Charger Drive the screws (1) (not supplied) into the wall. 2 27.2 mm (1 1/16 inches) 2 1 Useful Information For assistance, visit www.panasonic.ca/english/support 49 TGF3xxC(en)_1216_ver011.pdf 49 2014/12/16 19:11:03
-
 1
1 -
2
-
3
-
4
-
5
-
6
-
7
-
8
-
9
-
10
-
11
-
12
-
13
-
14
-
15
-
16
-
17
-
18
-
19
-
20
-
21
-
22
-
23
-
24
-
25
-
26
-
27
-
28
-
29
-
30
-
31
-
32
-
33
-
34
-
35
-
36
-
37
-
38
-
39
-
40
-
41
-
42
-
43
-
 44
44 -
 45
45 -
 46
46 -
 47
47 -
 48
48 -
 49
49 -
 50
50 -
 51
51 -
 52
52 -
 53
53 -
 54
54 -
55
-
56
-
57
-
58
-
59
-
60
 |
 |
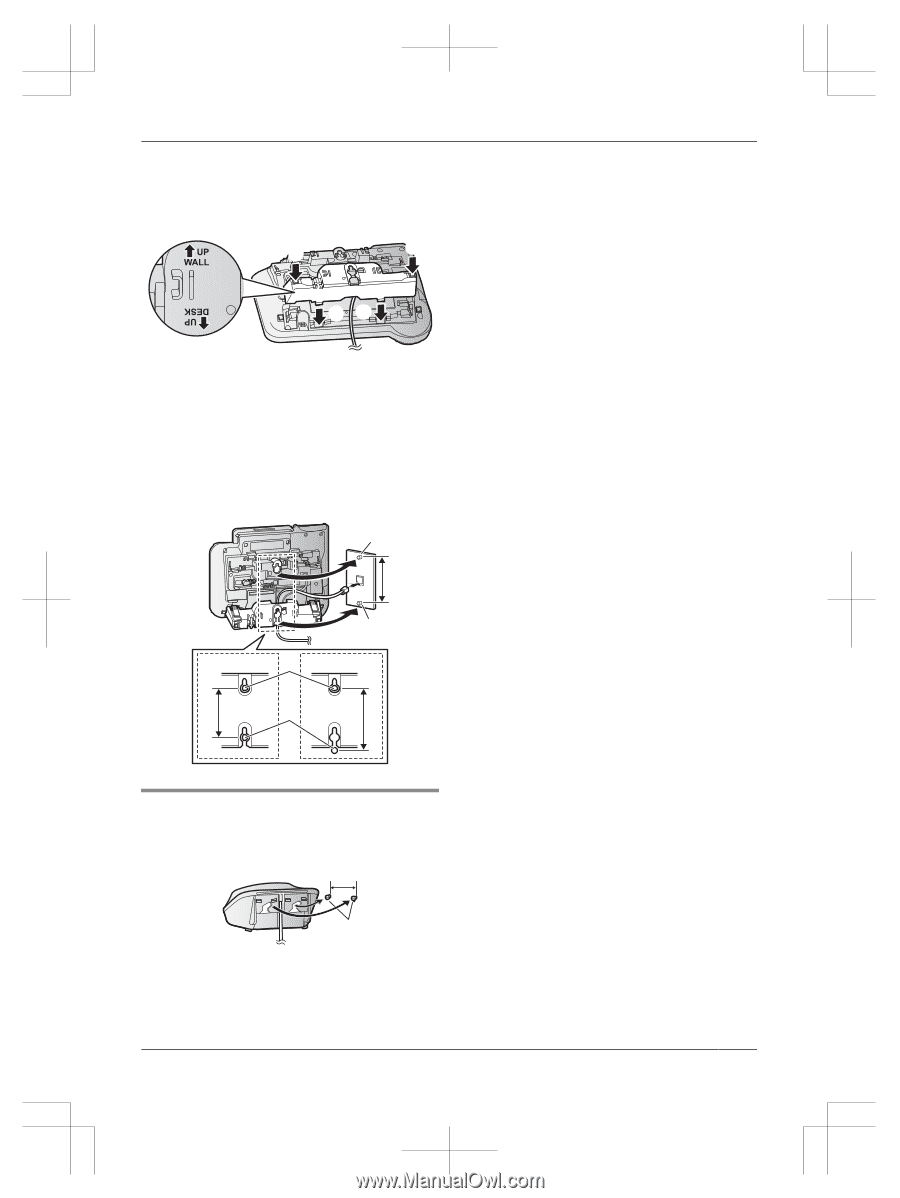
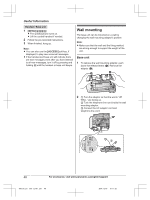
3
Insert the lower tabs of the adaptor into the
unit’s bottom slots (
A
), then insert by pushing
down the levers of the adaptor into the upper
slots (
B
).
R
The words “UP WALL” should be facing up.
A
A
B
B
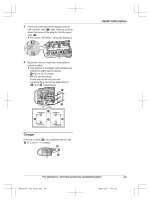
4
Mount the unit on a wall then slide down to
secure in place.
R
This product is compliant with the following
wall phone plate sizes (2 types).
1
83 mm (3
1
/
4
inches)
2
102 mm (4 inches)
Fit the slots of the unit onto the
corresponding wall phone plate tabs for
(
3
) and (
4
) respectively.
1
2
3
4
3
4
Charger
Drive the screws (
1
) (not supplied) into the wall.
2
27.2 mm (1
1
/
16
inches)
1
2
For assistance, visit www.panasonic.ca/english/support
49
Useful Information
TGF3xxC(en)_1216_ver011.pdf
49
2014/12/16
19:11:03