Pfaff expression 2044 Owner's Manual - Page 110
UUU[dLlVt, Tying, Quilt, Motion, Stippling
 |
View all Pfaff expression 2044 manuals
Add to My Manuals
Save this manual to your list of manuals |
Page 110 highlights
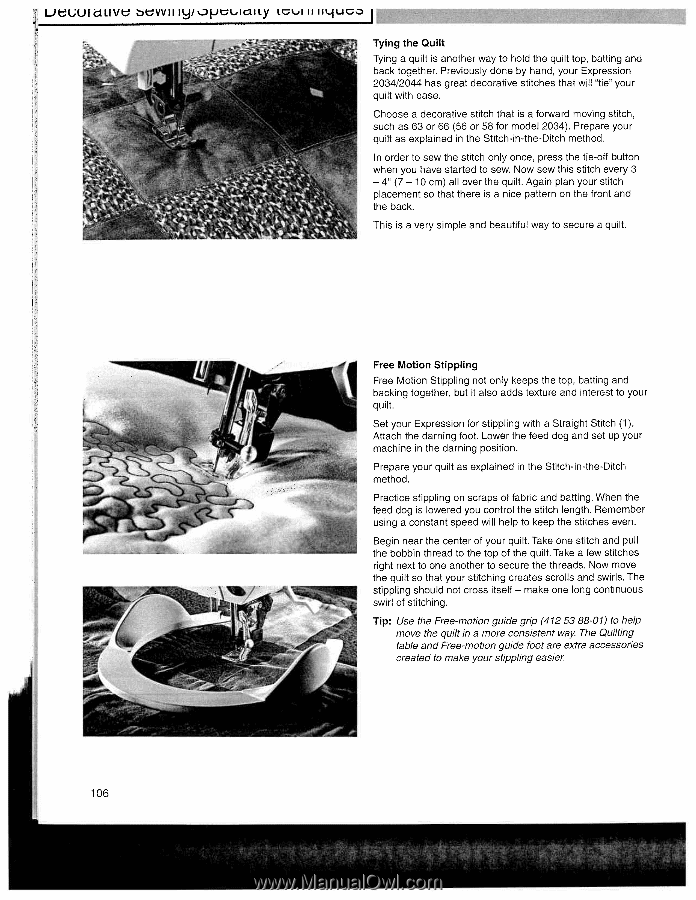
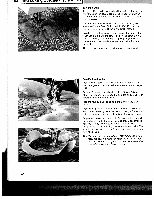
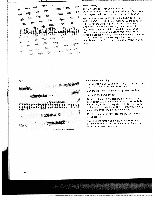
UUU[dLlVt tVVIlIy/peLIaILy iiiiiiu i Tying the Quilt Tying a quilt is another way to hold the quilt top, batting and back together. Previously done by hand, your Expression 2034/2044 has great decorative stitches that will "tie" your quilt with ease. Choose a decorative stitch that is a forward moving stitch, such as 63 or 66 (56 or 58 for model 2034). Prepare your quilt as explained in the Stitch-in-the-Ditch method. In order to sew the stitch only once, press the tie-off button when you have started to sew. Now sew this stitch every 3 4 - (7- 10 cm) all over the quilt. Again plan your stitch placement so that there is a nice pattern on the front and the back. This is a very simple and beautiful way to secure a quilt. Free Motion Stippling Free Motion Stippling not only keeps the top, batting and backing together, but it also adds texture and interest to your quilt. Set your Expression for stippling with a Straight Stitch (1). Attach the darning foot. Lower the feed dog and set up your machine in the darning position. Prepare your quilt as explained in the Stitch-in-the-Ditch method. Practice stippling on scraps of fabric and batting. When the feed dog is lowered you control the stitch length. Remember using a constant speed will help to keep the stitches even. Begin near the center of your quilt. Take one stitch and pull the bobbin thread to the top of the quilt. Take a few stitches right next to one another to secure the threads. Now move the quilt so that your stitching creates scrolls and swirls. The stippling should not cross itself - make one long continuous swirl of stitching. Tip: Use the Free-motion guide grip (4125388-01) to help move the quilt in a more consistent way The Quilting table and Free-motion guide foot are extra accessories created to make your stippling easier 106
-
 1
1 -
2
-
3
-
4
-
5
-
6
-
7
-
8
-
9
-
10
-
11
-
12
-
13
-
14
-
15
-
16
-
17
-
18
-
19
-
20
-
21
-
22
-
23
-
24
-
25
-
26
-
27
-
28
-
29
-
30
-
31
-
32
-
33
-
34
-
35
-
36
-
37
-
38
-
39
-
40
-
41
-
42
-
43
-
44
-
45
-
46
-
47
-
48
-
49
-
50
-
51
-
52
-
53
-
54
-
55
-
56
-
57
-
58
-
59
-
60
-
61
-
62
-
63
-
64
-
65
-
66
-
67
-
68
-
69
-
70
-
71
-
72
-
73
-
74
-
75
-
76
-
77
-
78
-
79
-
80
-
81
-
82
-
83
-
84
-
85
-
86
-
87
-
88
-
89
-
90
-
91
-
92
-
93
-
94
-
95
-
96
-
97
-
98
-
99
-
100
-
101
-
102
-
103
-
104
-
 105
105 -
 106
106 -
 107
107 -
 108
108 -
 109
109 -
 110
110 -
 111
111 -
 112
112 -
 113
113 -
 114
114 -
 115
115 -
116
-
117
-
118
-
119
-
120
-
121
 |
 |