Pfaff expression 2044 Owner's Manual - Page 68
especially
 |
View all Pfaff expression 2044 manuals
Add to My Manuals
Save this manual to your list of manuals |
Page 68 highlights
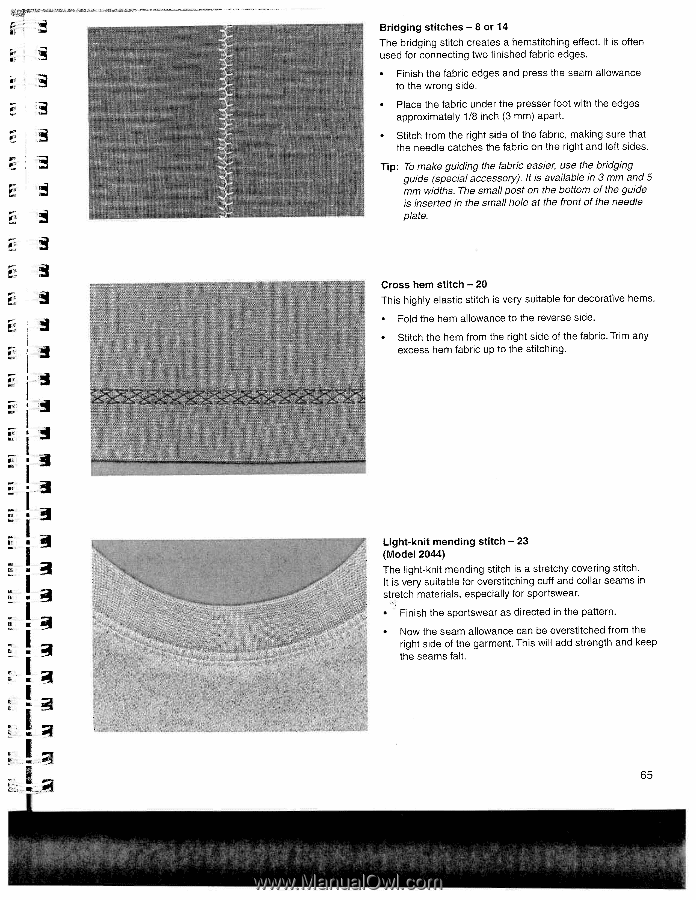
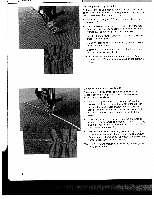
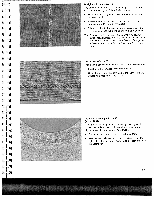
Ei h4 I Bridging stitches -8 or 14 The bridging stitch creates a hemstitching effect. It is often used for connecting two finished fabric edges. • Finish the fabric edges and press the seam allowance to the wrong side. • Place the fabric under the presser foot with the edges approximately 1/8 inch (3 mm) apart. • Stitch from the right side of the fabric, making sure that the needle catches the fabric on the right and left sides. Tip: To make guiding the fabric easier use the bridging guide (special accessory). It is available in 3 mm and 5 mm widths. The small post on the bottom of the guide is inserted in the small hole at the front of the needle plate. Cross hem stitch -20 This highly elastic stitch is very suitable for decorative hems. • Fold the hem allowance to the reverse side. • Stitch the hem from the right side of the fabric. Trim any excess hem fabric up to the stitching. Light-knit mending stitch - 23 (Model 2044) The light-knit mending stitch is a stretchy covering stitch. It is very suitable for overstitching cuff and collar seams in stretch materials, especially for sportswear. • Finish the sportswear as directed in the pattern. • Now the seam allowance can be overstitched from the right side of the garment. This will add strength and keep the seams falt. 65
-
 1
1 -
2
-
3
-
4
-
5
-
6
-
7
-
8
-
9
-
10
-
11
-
12
-
13
-
14
-
15
-
16
-
17
-
18
-
19
-
20
-
21
-
22
-
23
-
24
-
25
-
26
-
27
-
28
-
29
-
30
-
31
-
32
-
33
-
34
-
35
-
36
-
37
-
38
-
39
-
40
-
41
-
42
-
43
-
44
-
45
-
46
-
47
-
48
-
49
-
50
-
51
-
52
-
53
-
54
-
55
-
56
-
57
-
58
-
59
-
60
-
61
-
62
-
 63
63 -
 64
64 -
 65
65 -
 66
66 -
 67
67 -
 68
68 -
 69
69 -
 70
70 -
 71
71 -
 72
72 -
 73
73 -
74
-
75
-
76
-
77
-
78
-
79
-
80
-
81
-
82
-
83
-
84
-
85
-
86
-
87
-
88
-
89
-
90
-
91
-
92
-
93
-
94
-
95
-
96
-
97
-
98
-
99
-
100
-
101
-
102
-
103
-
104
-
105
-
106
-
107
-
108
-
109
-
110
-
111
-
112
-
113
-
114
-
115
-
116
-
117
-
118
-
119
-
120
-
121
 |
 |